Best Way to Apply Diatomaceous Earth to Plants: 11 Pro Tips
If you’re searching for an organic, non-toxic solution to eliminate bothersome garden pests, diatomaceous earth (DE) makes an excellent choice.
But if you’ve never used it before, you might be wondering: “What’s the best way to apply diatomaceous earth to plants?”
The best way to apply diatomaceous earth to plants is to dust infested areas with a thin layer of DE, particularly the undersides of leaves where garden pests tend to hide and reproduce. DE applications should be done as late as possible on dry, windless days to avoid killing beneficial pollinators.
Diatomaceous earth is an incredible, non-toxic pest control product, but if you don’t have much experience with it, you might make some beginner mistakes.
In this article, I’ll give you a head start by covering these important topics:
- a simple step-by-step guide for applying DE to your plants.
- recommendations when it comes to applying DE directly to plants.
- concerns and suggestions for those who wish to experiment with both wet and dry applications of DE.
Using DE is relatively easy once you get the hang of it, but doing so requires thought and care.
You don’t want to apply too little, letting the pests survive, but you also don’t want to overdo it and risk harming your plants or the beneficial bugs that live in your garden.
To avoid these problems, just follow the easy steps found below whenever you plan to apply DE to your garden plants.
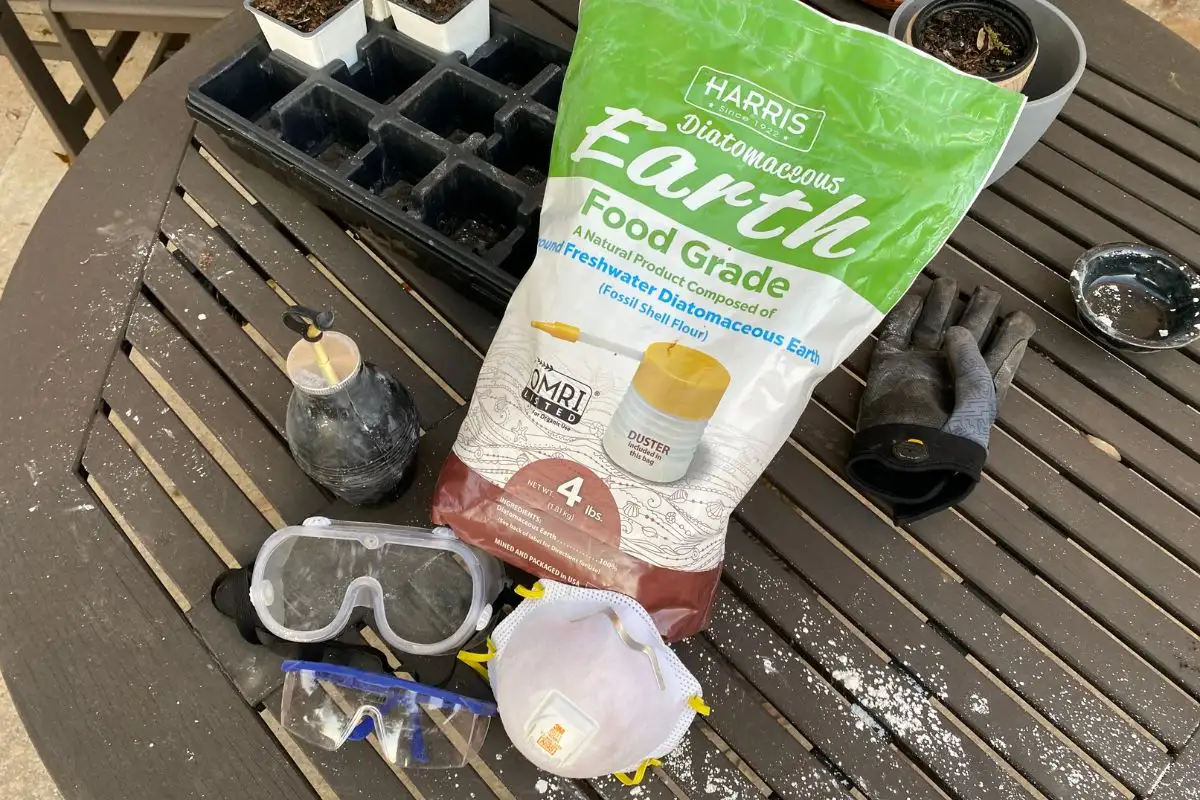
If you’d like to do things exactly as I do them, here are a few products that you’ll need to have on hand:
Now that we’ve covered the basics, let’s take a closer look at the very best way to apply diatomaceous earth to plants!
How to Apply Diatomaceous Earth to Plants: 11 Simple Steps
When it comes to using diatomaceous earth in your garden, the key lies in thoughtful planning and careful execution.
Please note that DE isn’t a selective insecticide—it can easily harm beneficial bugs as well.
Yours is a balancing act when using DE. You want to eradicate the pests that’ll harm your garden but safeguard those helpful bugs that’ll contribute to its health.
In this section, I’ll share a careful, step-by-step process that’ll help you protect both yourself and the beneficial insects that are living in and around your plants.
Before I give you a detailed overview of each step, here’s a quick summary showing the very best way to apply diatomaceous earth to plants:
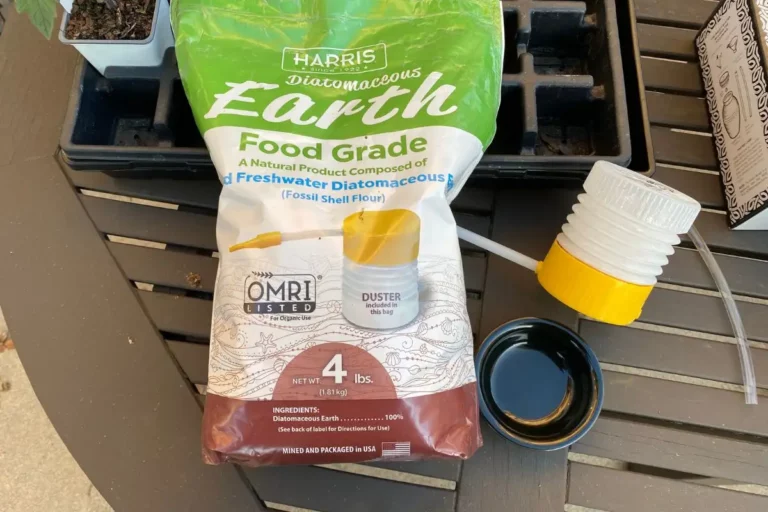
| Step 1: Purchase Food-Grade DE and a Bulb Duster | Acquire food-grade DE and a high-quality bulb duster like Dr. Killigan’s. |
| Step 2: Check the Weather Forecast | Verify that dry conditions are forecasted for the next few days. |
| Step 3: Suit Up for Safety | Wear gloves and consider a mask and goggles on windy days for safe application. |
| Step 4: Spot-Check Your Plants for Beneficial Bugs | Inspect your plants to avoid accidentally harming beneficial insects. |
| Step 5: Check Your Plants for Infestations | Scrutinize your plants, especially under leaves, for signs of pest infestation. |
| Step 6: Note Pest Severity | Gauge the intensity of the infestation to determine the required amount of DE. |
| Step 7: Add DE to Your Bulb Duster | Carefully fill your bulb duster with DE, ensuring it’s not overly full. |
| Step 8: Apply DE in the Early Evening | Distribute DE later in the day to protect pollinators active during daylight. |
| Step 9: Dust Your Plants Carefully | Precisely dust your plants with DE, paying attention to infested areas. |
| Step 10: Reapply as Needed | Reapply DE as necessary based on infestation severity and weather conditions. |
| Step 11: Use Other Pest Control Methods | Supplement DE application with soapy water and neem oil sprays when necessary. |
Alright, now that I’ve given you a quick overview, let’s take a closer look at each of these steps:
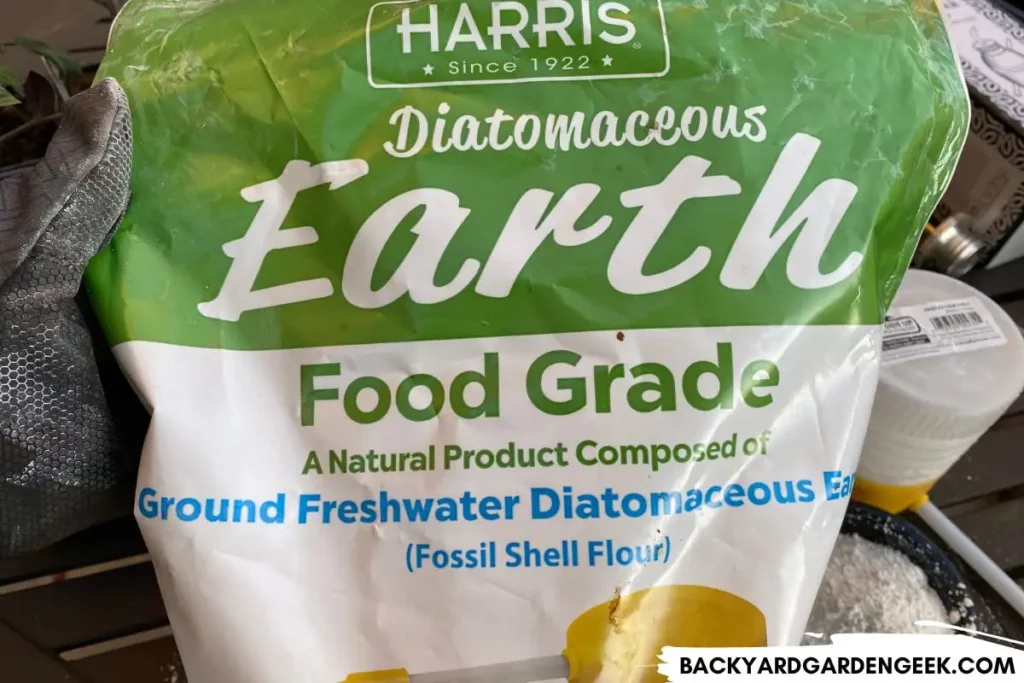
Step 1: Purchase Food-Grade DE and a Bulb Duster
Start with buying a food-grade DE product and a bulb duster.
I swear by Dr. Killigan’s bulb dusters. They surpass the quality of the plastic bulb dusters that come with bags of Harris Diatomaceous Earth.
The plastic ones tend to blow out larger puffs of DE, which can coat plants in a thick layer, but the Dr. Killigan’s bulb dusters allow for much more control.

Having the right tools from the start will help you apply DE more effectively and makes the application process smoother.
Step 2: Check the Weather Forecast
Before you begin, please check the weather forecast because DE works best in dry conditions.
Rain, dew, or high humidity can reduce its effectiveness, so make sure you’re going to have at least a few dry days after application.
I made this mistake once and applied DE without paying attention to the forecast. Sure enough, it rained that evening, and I had to reapply the DE a day or two later once everything had dried out.
Step 3: Suit Up for Safety
Safety always comes first when handling DE since it’ll cause a powdery mess if you’re not careful.
Always wear gloves during the application process; otherwise, your hands will get covered in powdery DE (and you don’t want to accidentally rub DE in your eyes).
If it’s a windy day, you should wear a mask and goggles as well. This’ll help prevent inhalation and protect your eyes from fine dust.
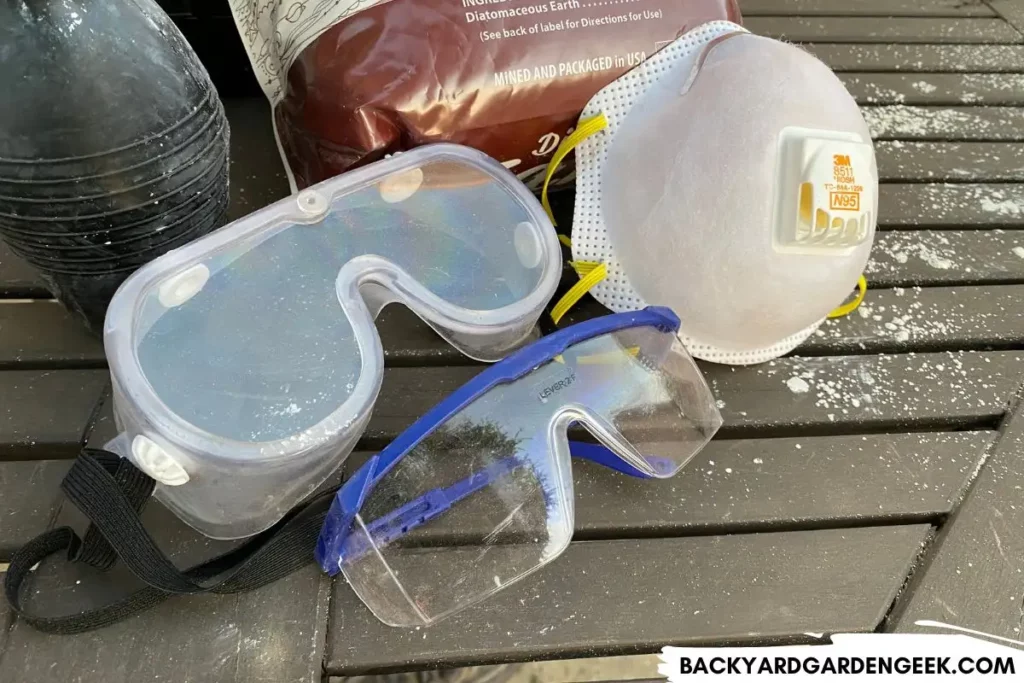
I made this mistake once as well. I was applying DE with a plastic bulb duster when, all of a sudden, a breeze came and blew a cloud of DE into my face. I ran in the opposite direction, but since that time, I wear a mask (and sometimes goggles too) whenever applying DE.
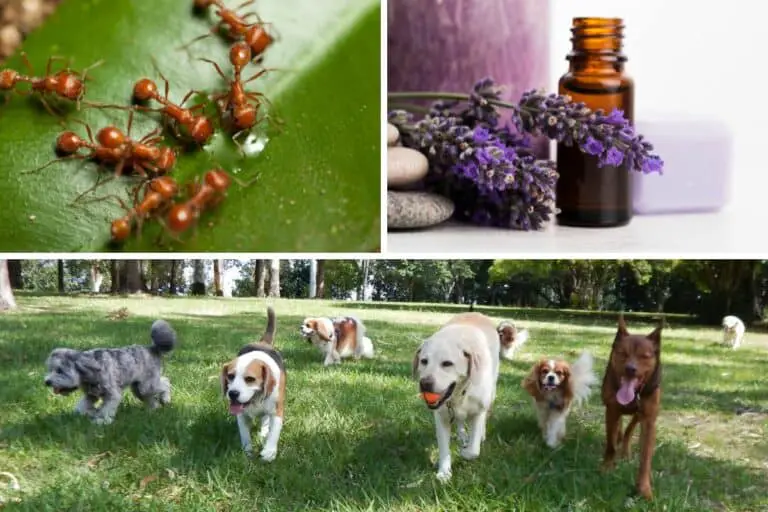
Step 4: Spot-Check Your Plants for Beneficial Bugs
Before applying DE, check your plants for beneficial insects like ladybugs or bees.
These insects play a crucial role in maintaining a healthy garden ecosystem. If you spot any, you’ll want to be particularly careful during application to avoid harming them.
Pollinators will usually quit their work later on in the day, so just wait for them to go away, and you can use DE.
But if you see ladybug or lacewing larvae, you might want to postpone your DE application until they’re no longer handing around your plants…or until the infestation can no longer be ignored.
Step 5: Check Your Plants for Infestations
Before you begin, inspect your plants closely for any signs of pest infestation.
Look under the leaves first since many pests (such as aphids, caterpillars, and spider mites) like to hide there.
DE does no good unless bad bugs come into direct contact with it, so knowing the extent and location of infestation will help you apply DE more effectively.
Step 6: Note Pest Severity
Once you’ve found the pests, you’ll need to take note of how severe the infestation is. This will guide you on how much DE to apply and where.
If the problem is minor, you can do some spot applications. If the infestation is much more extensive, you might need to dust entire plants or follow my instructions in Step 11 and include other pest control methods.
No matter what you choose to do, please don’t dust entire plants with DE unless you do so as a last resort. I mention this because dusting entire plants will likely harm beneficial bugs.
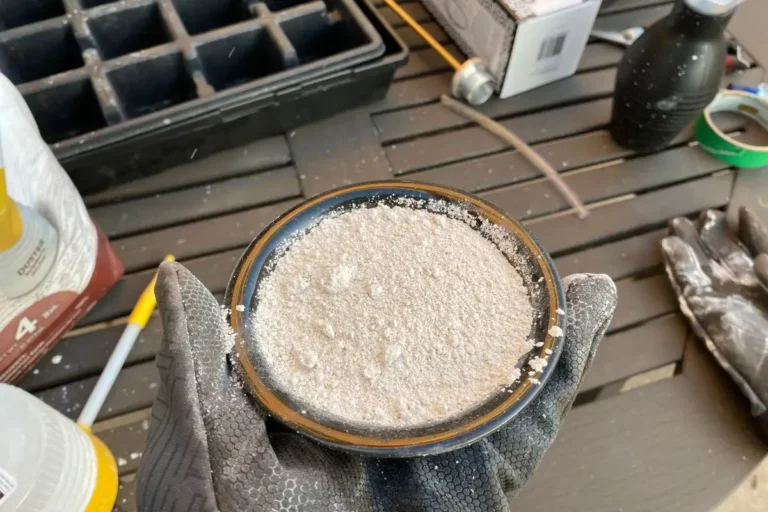
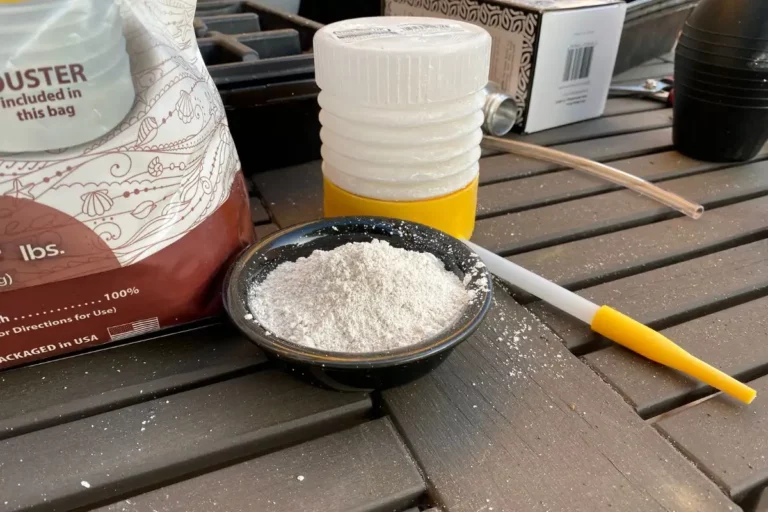
Step 7: Add DE to Your Bulb Duster
With your gloves on, carefully pour DE into your bulb duster.
Avoid overfilling since that’ll just make a huge mess. You need to leave some space in your duster so that you can control the amount of DE that comes out when you squeeze the bulb.
The plastic dusters are fine, but you can purchase high-quality bulb dusters online, and they’ll allow you to apply DE much more efficiently.
Step 8: Apply DE in the Early Evening
You’ll want to apply DE later in the day to avoid spraying beneficial pollinators that are more active during daylight hours.
Unlike neem oil, DE won’t harm your plants, but if you apply DE earlier in the day, you might unwittingly get it on bees, wasps, or other beneficial insects, especially on windy days.
This is why I prefer applying DE at sunset. I can still see what I’m doing, but I know that most pollinators are no longer active among my plants.
Step 9: Dust Your Plants Carefully
Go around your garden and dust your plants with DE.
Pay special attention to the undersides of leaves and the areas where you noticed infestations. Remember, the goal is to be as targeted as possible to spare beneficial bugs.
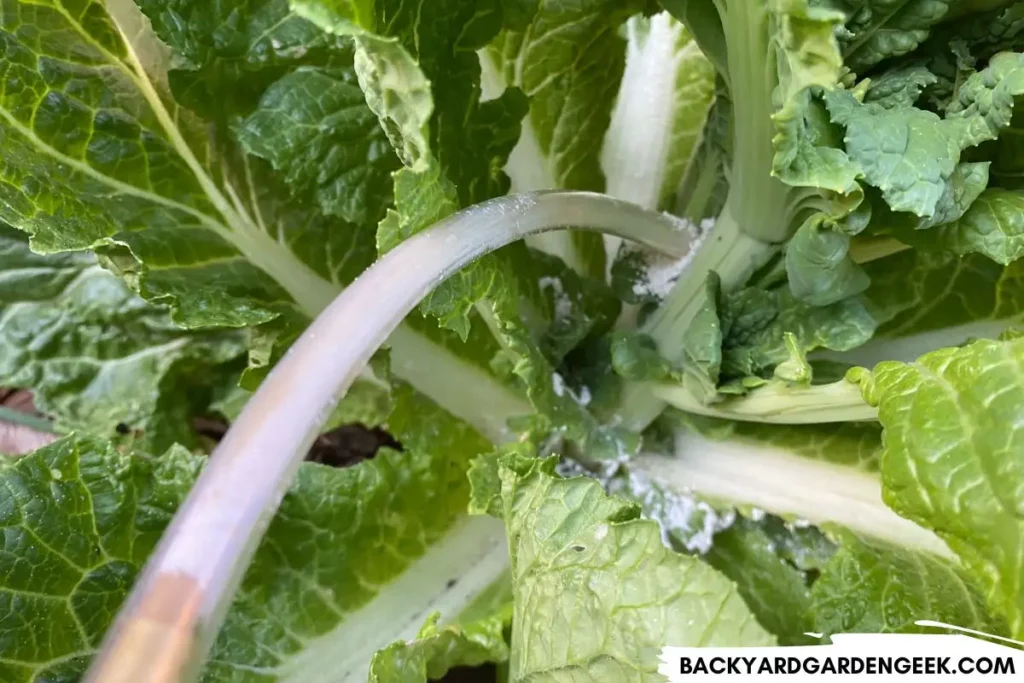
You also want to apply thin coats of DE. Don’t press the bulb duster too hard, or you’ll send a jet of DE onto your plants, coating them and temporarily clogging their stomata (which regulate the plant’s ability to take in and release gasses.
Step 10: Reapply as Needed
Reapply DE as needed based on the severity of the infestation and weather conditions. Always remember to check the weather forecast before reapplication.
Generally speaking, if it’s dry outside, you’ll likely need to reapply DE once a week if your infestation continues.
If there’s been rain recently or if you’ve watered your plants and gotten water on their foliage or flowers, you’ll need to reapply DE once the plants are dry.
Step 11: Use Other Pest Control Methods
In some cases, infestations may benefit from additional pest control methods, especially with harder-to-kill bugs such as cucumber beetles, leaf-footed bugs, squash bugs, or stink bugs.
Consider using soapy water sprays daily and neem oil sprays once per week. Always apply DE after the soapy water or neem oil has dried.
For soapy water sprays, simply add water and 5 tablespoons of soap to a garden sprayer and shake well. I prefer Dr. Bronner’s Peppermint Castile Soap over Dawn and other such soaps.
For neem oil sprays, add 2 tablespoons of cold-pressed neem oil per gallon of water, then add a teaspoon or two of soap as an emulsifier; otherwise, your oil and water won’t mix.
I had a massive infestation of flea beetles a few years ago, and they had taken over several tomato plants. Because of that, I had to dust several plants entirely.
That’s a pretty extreme measure, but it was necessary to stop the infestation before the beetles killed off everything. My plants took a few weeks to recover, but they survived and ended up producing a decent harvest later in the season.
Always remember that using DE is a balance. You want to control pests effectively without harming the beneficial insects or the plants themselves.
If you follow these steps, you’ll be well-equipped to use DE safely and efficiently in your garden.
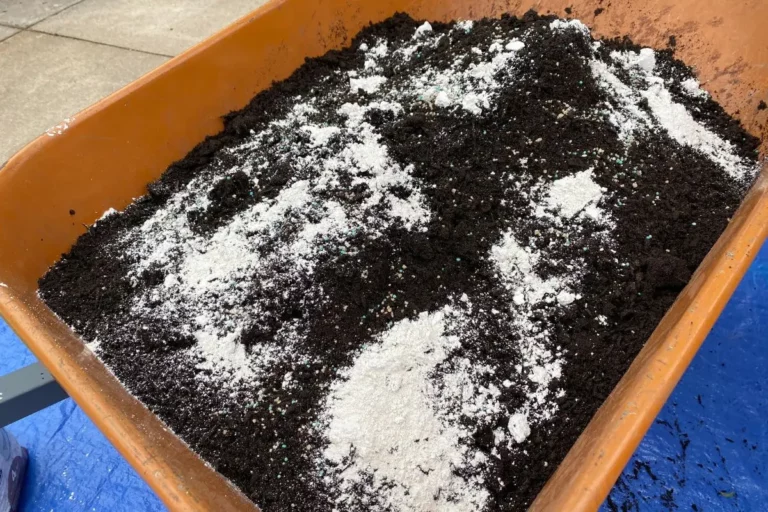
Can I Put Diatomaceous Earth Directly on Plants?
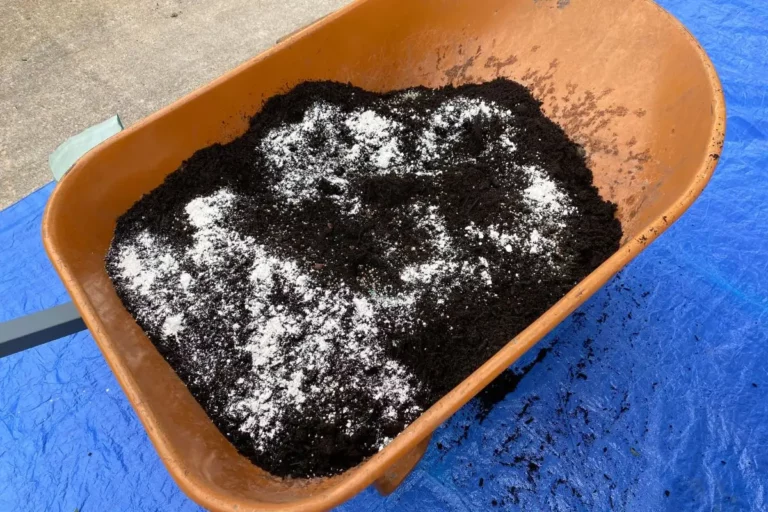
You can mix diatomaceous earth with soil as an amendment under certain circumstances, but DE works best when it’s directly applied to infested stems, leaves, or flowers…basically anywhere you’ve got nasty garden pests attacking your plants.
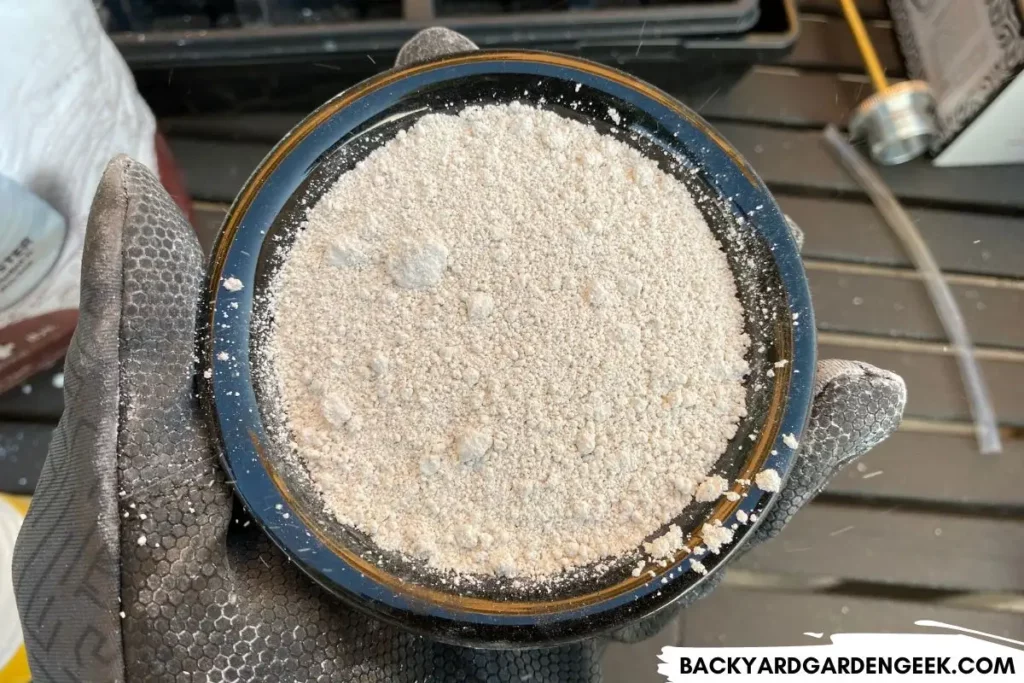
DE is a siliceous substance that comes from the fossilized remains of tiny aquatic organisms known as diatoms. Weirdly enough, diatoms have cellular structures that are made up of silica, an incredibly rare phenomenon.
When collected and ground up, that silica becomes a powdery substance that’s harmless (to the touch) to humans and animals but destructive to insects due to the damage it causes to their exoskeletons and the dehydration that ensues.
(Please note that you should NEVER inhale DE. On windy days, I always wear a face mask when applying DE to my plants so that I don’t breathe it in during the application process.)
Thankfully, DE won’t harm plants at all unless you coat the entire plant in it, and even then, the effects are temporary since DE will mostly wash off during a rainstorm.
But don’t get too enthusiastic and start applying DE all over your garden!
While DE won’t physically harm your plants, a thick layer of it can temporarily clog plant stomata: the tiny pores on the surface of leaves through which plants breathe. Blocking these stomata could delay healthy plant development as it hinders the plant’s ability to perform essential functions like photosynthesis and transpiration.
The golden rule of applying DE is selectivity. Focus only on those parts of the plant where you’ve noticed an infestation.
You don’t need to cover every single leaf and stem, but you do need to spread a thin layer over infested areas so that the bugs there will come into contact with its abrasive particles.
This is why I like high-quality bulb dusters like Dr. Killigan’s. Using the attachments, you can get into nooks and crannies where cheaper bulb dusters might not do the trick.
With this selective approach, DE can be a powerful weapon in your arsenal against garden pests, providing a safer, non-toxic alternative to harsh chemical pesticides.
Is It Better to Apply Diatomaceous Earth Wet or Dry?
The best time to apply diatomaceous earth is on dry days when it’s not windy outside.
There’s a straightforward reason for this: DE needs to be dry to work effectively. When DE comes into contact with pests, it inflicts damage on their exoskeletons, causing them to dehydrate and die. For this process to occur, DE must be in its dry, powdered form.
You might have read blogs or heard about people who mix DE into their garden sprayers and apply DE as a wet spray.
Here’s the logic: If you mix DE, then apply it with a garden sprayer, you’ll have a thin coating all over your plants once everything dries out.
While this method might seem convenient, I don’t recommend it.
Once DE gets wet, it loses its abrasive properties, making it ineffective against pests. DE can dry out given enough time, but it’s also very easy to wash away, which means there’s a good chance that you lost a lot of it the very moment you apply it to your plants.
Long story short, DE is not doing its job when wet, and the benefits you might gain from a less messy application can be outweighed by the reduced effectiveness of your pest control method.
Regardless of how you decide to apply it, please remember that DE isn’t a set-it-and-forget-it solution.
Rain will wash away DE, and even in dry conditions, DE gradually loses effectiveness over time due to wind and weathering. You’ll need to reapply once a week or so to maintain your pest defense.
Or even better: You can use DE alongside soapy water sprays and neem oil sprays, favoring the latter methods most often but using DE whenever you’ve got an infestation that’s getting a little out of control.
DE is a powerful tool, but like any tool, it works best when used correctly.
This is why I always recommend experimenting a bit to see what works best for you and your unique gardening situation.
Just remember the simple steps noted above: Apply DE on dry days, focus on infested areas, and don’t forget to wear your safety gear.
By doing so, you’ll maximize the effectiveness of DE while minimizing its potential downsides.
I hope you’ll find success using DE in your own garden. It’s a wonderfully organic way to control pests and protect your plants. Happy gardening!
Further Reading
If you’ve enjoyed learning more about diatomaceous earth, you might want to check out these related articles:
Hey John,
Enjoyed your article. I use DE too. One thing I would like to address: DE is not harmless to humans.
If it is inhaled, it can damage the lungs. I only say this because it is stated in the article that it is “harmless to humans and animals” and this could confuse some people.
Thanks,
Vickie
Good catch, Vickie! I meant “harmless to the touch,” but I see why that didn’t come across clearly. I’ll update the article to make it clear because yes, as you noted, you definitely should not inhale DE!