Can You Mix Compost and Mulch? Here Are Some Expert Tips
If you’ve started composting on your property—or even if you’ve just purchased some compost at your local garden center or home improvement store—you might be wondering how exactly to handle applying both compost and mulch in your garden.
Compost and mulch can be mixed and applied atop garden beds to maximize moisture retention and add additional nutrients to the soil over time. However, compost can also be added first, then topped off with mulch, to speed along the process of nutrient uptake.
I regularly apply both compost and mulch to my garden beds, and in this article, I’ll share insights and tips on how to use them together for optimal garden health.
Here’s an overview of what I’ll cover below:
- Understanding the different benefits of compost and mulch.
- Looking at reasons why you might consider mixing your compost with your mulch.
- Reasons why you might consider applying compost and mulch separately.
- A step-by-step guide to compost and mulch application.
- Choosing the right mulch for your compost and garden beds.
- Ways to make sure your garden soil maintains its richness over time.
Compost and Mulch: Here’s Why They’re Both Important
Compost and mulch are both important, but each plays a different role when it comes to helping your plants develop healthy root systems and thrive even during the harshest months of the year.
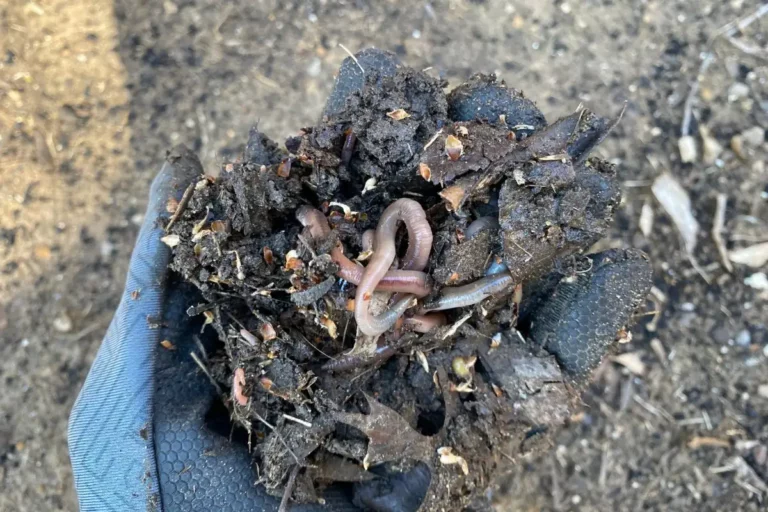
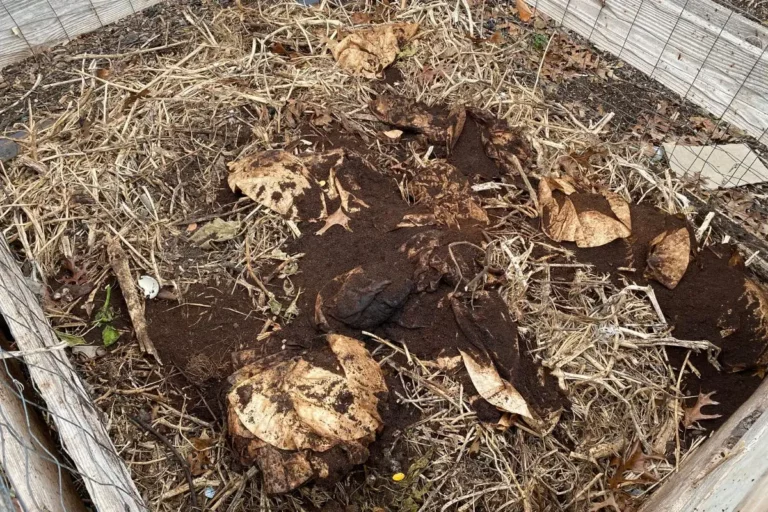
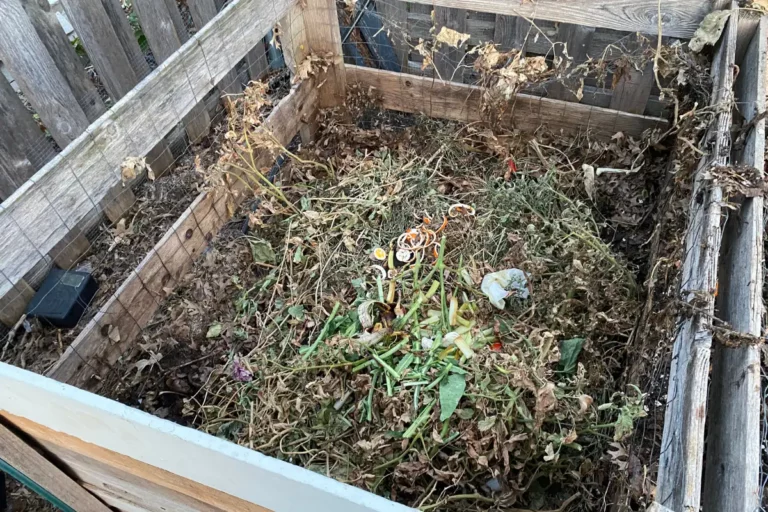
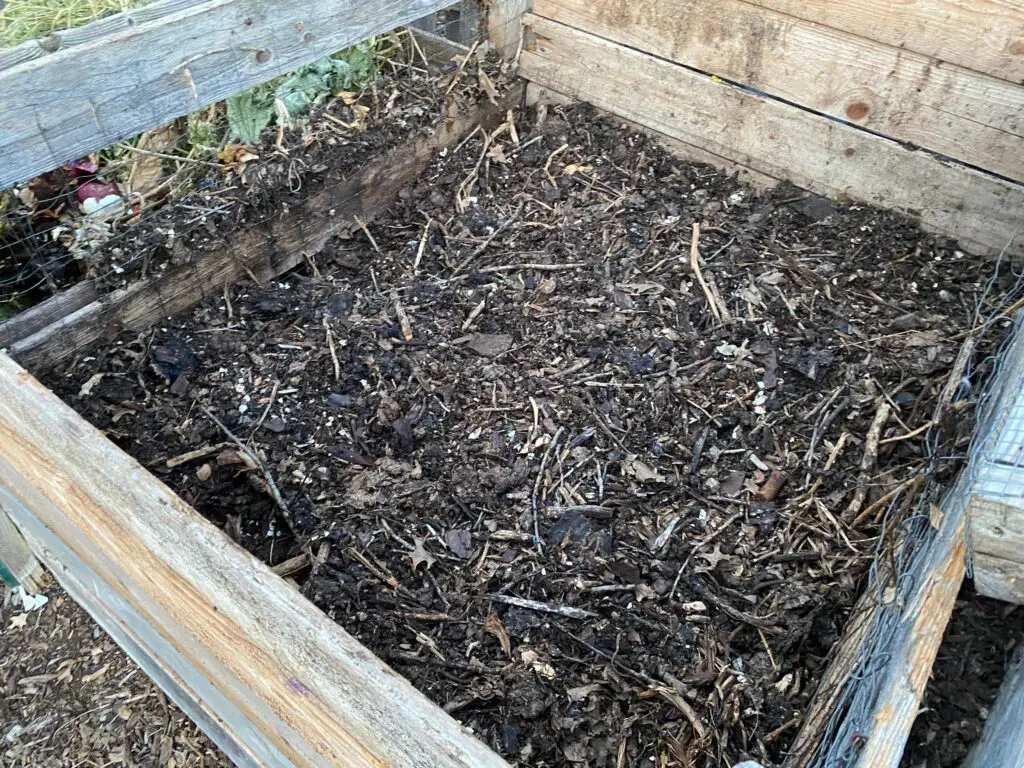
Simply put, compost is decomposed, organic matter. It’s often referred to as “black gold” because of its rich nutrient content. Made up of decomposed plant materials like leaves, grass clippings, and kitchen scraps, compost enhances the soil by improving its structure and its ability to retain water and nutrients.
When added to the soil, compost provides essential nutrients plants need to thrive, including carbon, nitrogen, phosphorus, and potassium (among other nutrients).
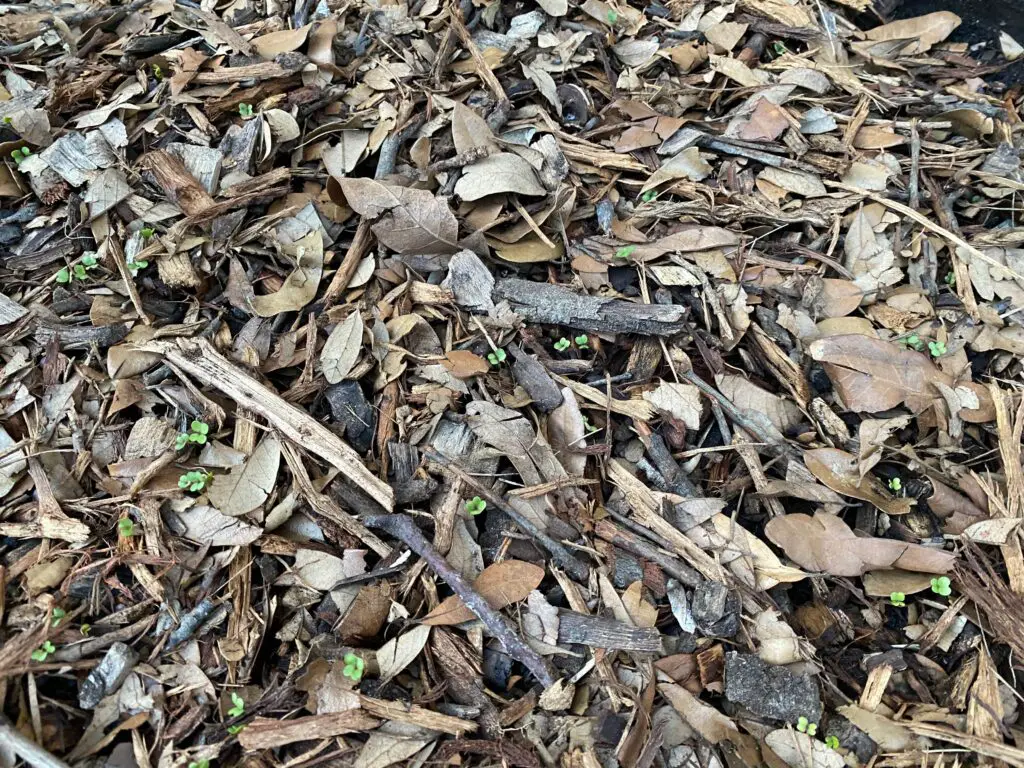
Unlike compost, mulch is a layer of material made up of organic materials (leaves, wood chips, straw, dead grass, etc.). Mulch’s primary purpose is to conserve moisture, suppress weeds, improve the soil’s health, and enhance the overall visual appeal of your garden beds.
When it comes to integrating compost and mulch into your garden, there are two primary methods: the mixing method and the layering method.
Over the years, I’ve gravitated towards the layering method. However, I’ve given the mixing approach a fair shot in the past, and there are pros and cons to both techniques.
Mixing Method: Combine your compost and mulch, mix everything together, then apply it all at once.
The pros to this approach are:
- You don’t have to worry about layering different materials. Just mix it all together and apply!
- Both compost and mulch will help retain soil moisture.
- You don’t need to worry about how much you have of one versus the other since they’ll get mixed together.
The cons to this approach are:
- Your compost might take a little longer to start enriching your soil since it’s mixed in with mulch instead of directly applied to the soil.
- You’ll need to spend time mixing things together instead of just applying everything to your soil.
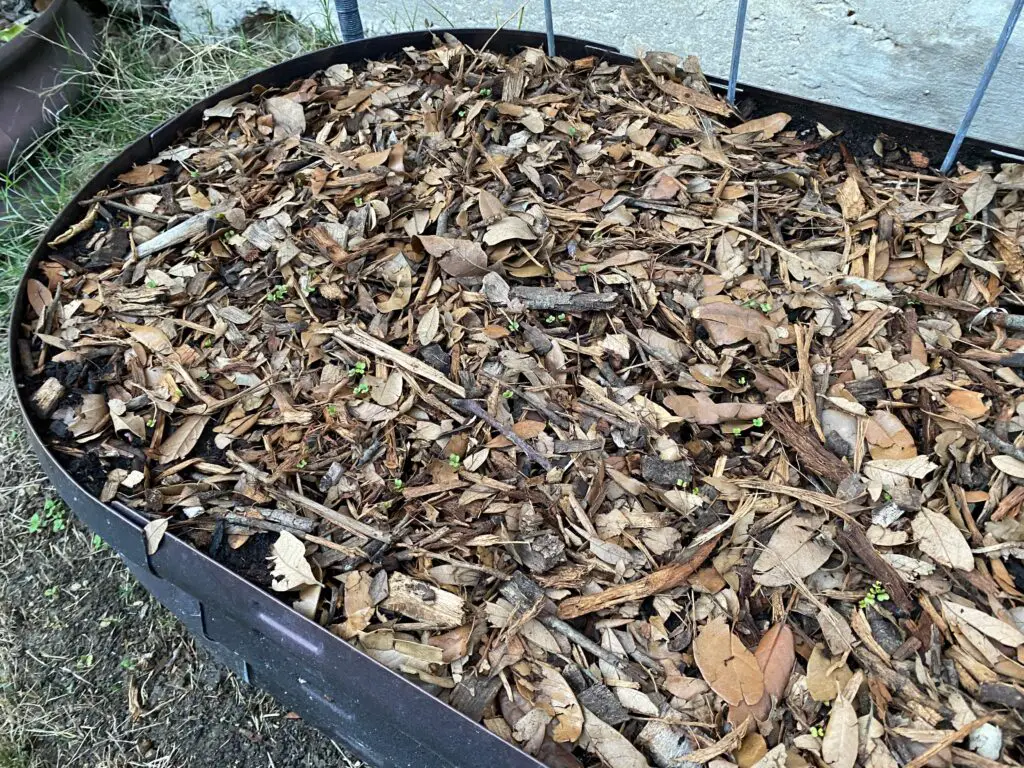
Layering Method: First, put down your compost atop your soil, then add mulch atop it for maximum nutrient uptake and moisture retention.
The pros to this approach are:
- You’ll decrease the time it’ll take for your soil to benefit from the compost.
- Both materials will break down over time, so there’s no need to fuss about how exactly you add them to your garden beds.
- You can adjust how much you add depending on what your garden needs most.
The cons to this approach are:
- You might have to remove old mulch before adding new compost and new mulch, which could take time to do so.
- You could put down too much compost, then realize you piled it so high you didn’t leave much room for the remaining mulch.
In my garden, I’ve done various things over the years:
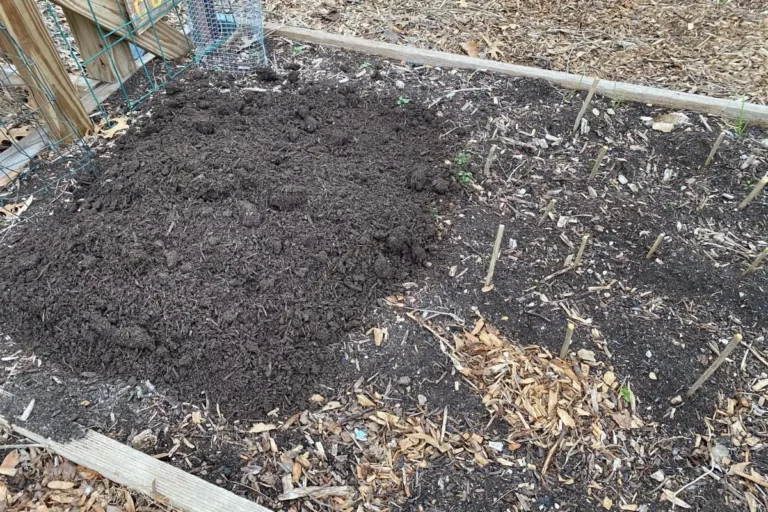
- I’ve used compost as a kind of mulch, liberally shoveling it atop my garden soil and foregoing the need for mulch later on.
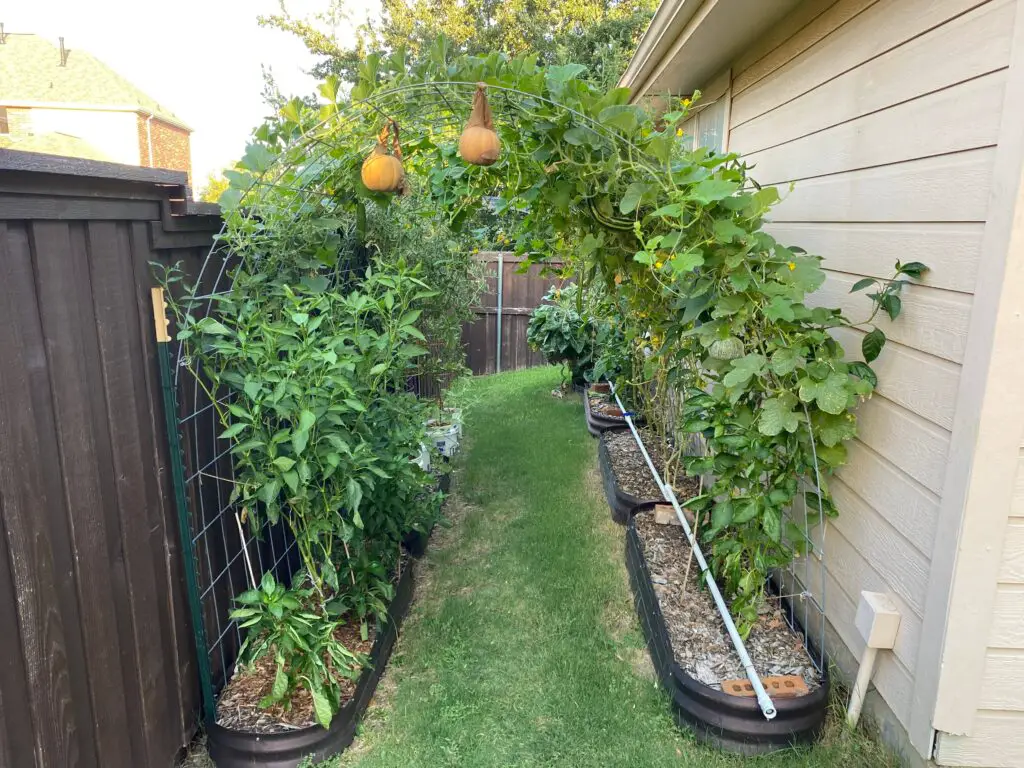
- I’ve layered compost atop my garden soil, the layered mulch atop that compost. In North Texas, where the summers are brutal, this method is probably my favorite since it provides the most moisture retention in June, July, and August.
- I’ve tossed compost on top of my old mulch, then layered new mulch atop that compost. Mixing mulch and wood chips into your soil can temporarily result in a reduction of nitrogen—since wood chips retain nitrogen initially—but over time, those chips will degrade and release that nitrogen back into the soil.1
Now that I’ve covered the basics, let’s look at my step-by-step guide to adding compost and mulch to your garden beds.
Adding Compost and Mulch: A Step-by-Step Guide
Here’s what I think about when it comes time to add both compost and mulch to my garden. The steps are all fairly simple, but I thought I’d put them in one place to help you learn how to use these materials effectively.
- Step 1: Avoid the wrong materials. Some mulches, primarily those made from rubber, stone, or other non-biodegradable materials, should never be used in your garden. Please don’t add these materials anywhere near your plants. There’s just no reason to do so since you can likely get your hands on much better materials.
- Step 2: Choose the right materials. I always opt for wood chips, but you can use straw or chopped-up sticks, twigs, and bark as well. These will decompose over time, enriching the soil. I tend to avoid dyed mulches since I like the natural look best, but if you’re interested in dyed mulch, just be sure to check and make sure the dyes are natural, not chemical. You don’t want to add unnecessary chemicals to your garden beds.
- Step 3: Get free mulch (if you live in certain areas). If you live in urban or suburban areas where tree trimmers tend to work, the getchipdrop.com website is a gold mine. Through it, you can request a truckload of wood chips, which will arrive on your property absolutely free! But a word to the wise: Make sure you’re prepared for a mountain of wood chips because they will literally dump a truckload on your property. If you’ve got a large garden, no problem. If not, you’ll want to either partner up with some of your neighbors or head to your local garden center.
- Step 4: Estimate how much you need. If you’re purchase in bulk, you don’t need to do much estimation since you’ll likely be getting at least .5 cubic yards (or more). But if you’re purchasing bags of compost, you don’t want to overspend so be sure to figure out how much soil you need to purchase before going to the garden center. Gardener’s Supply Company has a helpful soil calculator that’s free to use. Give it a try!
- Step 5 (Optional): Sow seeds. If you plan to sow anything directly in the soil—and for me, I prefer to do so when it comes to okra and just about all root vegetables—you’ll want to sow your seeds before you put down compost and mulch. That way, you won’t accidentally destroy any of your little seedlings when you add compost or mulch at a later time.
- Step 6a: Mix everything well (the mixing method). If you’re going to use the mixing method, follow my guide (see below) and mix everything well using either a spading fork or garden fork, then apply it to your garden beds.
- Step 6b: Layering materials appropriately (the layering method). If you prefer the layering method, dump all of your compost into the wheelbarrow, then add it to your garden beds. Do the same thing with mulch afterward.
- Step 7: Water everything thoroughly. As soon as I apply my compost and mulch, I like to water it all down. That way, I’m encouraging nutrient uptake as soon as possible while also giving my garden bed a nice layer of moisture-retaining materials that’ll help my plants during the hot summer months.
- Step 8: Move materials and add seedlings. When it comes to seedlings, simply push aside any mulch, dig a hole to accommodate the baby plants, then plant them and move your soil back into place. For the mulch, carefully push it closer to the seedlings, but don’t go too fast. If you do, you might end up damaging your seedlings by crushing pieces of mulched wood up against their tender stems.
If you live in an urban or suburban area with regular tree trimming activities, the getchipdrop.com amazing. Through it, you can request a truckload of wood chips absolutely free!
Just make sure you’re prepared for a small mountain of wood chips. For those with compact gardens or properties, this might be overwhelming unless you’ve already got a few neighbors lined up who are interested in hauling some of your pile away.
If you live in a more remote, rural location—whether tree trimmers might be hard to find—or if you want a smaller quantity of compost or mulch, visiting your local garden center or home improvement store is probably your best bet.
Just make sure you choose the best compost and mulch at your local store. The cheap stuff might be tempting, but it’s often worth a few extra bucks if you can get a higher-quality product.
Here’s what I suggest:
- Organic Materials are Best: Opt for wood chips, straw, or bark. These will decompose over time, enriching the soil.
- Avoid Dyed Mulches (if possible): Dyes can introduce unwanted chemicals into your garden. Either avoid them altogether or make sure you read the packaging to see if the dyes are organic or not.
- Consider Particle Size: Finer mulches decompose quicker. Coarser ones offer better weed suppression but decompose slower. The best mulches are those that are made up of both brown materials (chopped-up bark, sticks, twigs) and green materials (chopped-up leaves). Almost everything you get from the chip drop website will be a mix of both browns and greens. Most of what you’ll find at the garden stores are primarily composed of brown materials.
Disclosure: This post may contain affiliate links to some of my favorite products found on Amazon and other retail sites. I’ll earn a small commission from purchases made through those links, at no additional cost to you. Please read my product disclosure page to learn about the care I take when recommending products to my readers.
Now that I’ve covered those basics, let’s looks at my quick, simple guide to mixing compost with mulch (for those who want to do the mixing method).
- Step 1: Preparation. Start with well-decomposed compost. It should be dark, crumbly, and have an earthy smell. If your compost is too chunky—or if you can see un-decomposed materials in your compost bin—you should give the compost more time to decompose.
- Step 2: Choosing mulch. Opt for organic mulch, preferably wood chips or bark. See a local tree trimmer in the area? You can ask if they’ll drop their load of wood chips on your property. You’ll save them a city dump fee, so they might be willing to do so if you live nearby and if they haven’t already committed to dumping it elsewhere.
- Step 3: Ratio. A good rule of thumb is 3 parts mulch to 1 part compost, but you can go a bit compost-heavy if you think your garden soil needs the extra nutrient boost.
- Step 4: The mixing process. Combine your compost and mulch in a large container or wheelbarrow. You’ll want to use a heavy-duty spading fork for this job since you need something sturdy to turn everything over and under.
- Step 5: The application process. Spread the mixture evenly across your garden beds, aiming for a depth of 3-4 inches.
- Step 6: Watering. Once applied, give the area a thorough watering to help settle the mix. As time goes on, I recommend using a moisture meter before watering your garden beds. You’ll find that the mulch might look dry even though the soil beneath it is very wet a few inches down. You don’t want to overwater your plants!
While freshly mixed compost and mulch will kickstart your garden’s health, regular maintenance is key. I recommend fertilizing every 1-2 weeks with Alaska fish emulsion to maintain vibrant soil health.
Now that I’ve covered the mixing method, let’s talk about the layering method, which I’ve grown particularly fond of.
Here’s what I do in my backyard garden:
- Acquire high-quality mulch: Whether it’s via a chip drop or a trip to the garden center, ensure you’ve got good-quality, organic mulch.
- Lay the compost foundation: Begin by spreading 2-3 inches of rich, mature compost across your garden beds.
- Add the mulch layer: Over the compost layer, add a 2-3 inch layer of your chosen mulch.
- Maintain the layers over time: As the layers break down, remove the top mulch layer, add fresh compost, and then reapply the mulch.
The beauty of the layering method lies in its simplicity and the distinct roles each component plays. Over time, the process becomes cyclical, with each layer feeding the soil and the next batch of plants.
To wrap up, the approach you choose, be it mixing or layering, hinges on your personal preferences and garden’s needs. Both have their merits. What’s crucial is understanding the nuances and adapting accordingly. Happy gardening!
Sources
1 Chalker-Scott, Linda. “Wood chip mulch: Landscape boon or bane?” Master Gardener. Summer 2007. https://s3.wp.wsu.edu/uploads/sites/403/2015/03/wood-chips.pdf
