Can You Compost Directly in the Soil? (Do it the RIGHT Way)
Ever find yourself peeling carrots or chopping up vegetables and wondering, “Can I just dig a hole in my garden and toss these scraps in?” If so, you’re not alone.
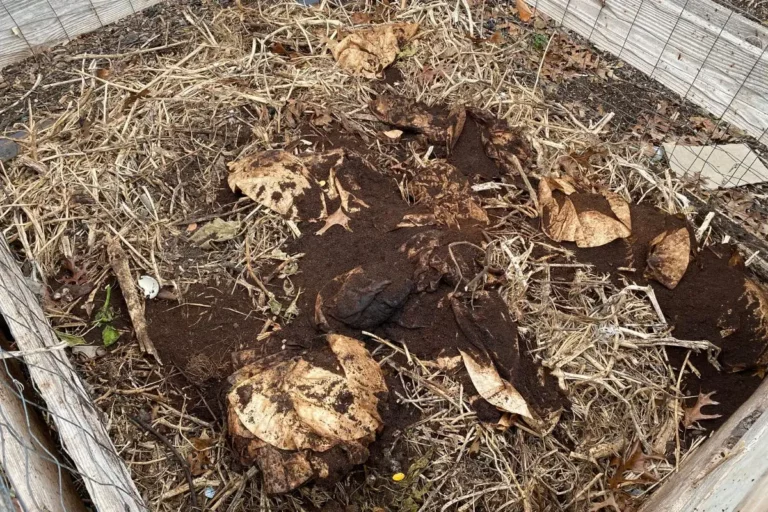
Kitchen scraps and all other compostable items can be composted directly in the soil. This method, called “direct composting” or “trench composting,” involves digging a hole or trench (or using special in-ground containers), burying compostable materials, and letting nature do its work.
When I first started gardening—long before I knew much of anything about composting—I wondered if I could simply bury kitchen scraps and forget about them.
To answer this question, here’s what I’ll cover in this article:
- Different ways to compost kitchen scraps and other materials.
- A step-by-step guide to direct composting, explaining the ins and outs of doing so effectively.
- Insights into burying food scraps directly in the garden.
- Recommendations when it comes to burying finished compost.
Long story short, I’ll walk you through the pros and cons of direct composting, tackle common questions, and look at what you can do with finished compost.
Can I Just Bury My Compost? Direct Composting Made Easy
Before we look at when, why, and how you might want to try your hand at direct composting, here’s a quick overview of several common composting methods:
- Direct Composting: As we’ll see below, this is a fairly simple method that involves burying organic waste in the ground. It’s perfect for those who don’t have the space for a compost pile.
- Traditional Composting: This requires a compost bin or pile and involves more complex layering of green and brown materials. It’s most suited for people who have more space and wish to compost a broader range of materials.
- Vermicomposting: This method uses earthworms to accelerate the composting process. It’s a good option for those who don’t have much property.
- Bokashi Composting: This is an anaerobic process (i.e. one that involves bacteria breaking down compostable materials). Kitchen waste is placed in a sealed container before it’s added to a compost pile or the soil. This method isn’t really my thing, but I thought I’d mention it in case you’d like to learn more.
With that being said, let’s cover direct composting in more detail since it’s a fun and easy way to get rid of your kitchen waste.
First, let’s chat about what types of kitchen waste you can use for direct composting, then I’ll share a few insights into what you should not direct compost
Not only does this eliminate the need for a compost pile, but it also provides nutrients to your plants and helps improve overall soil structure. So how do you go about it?
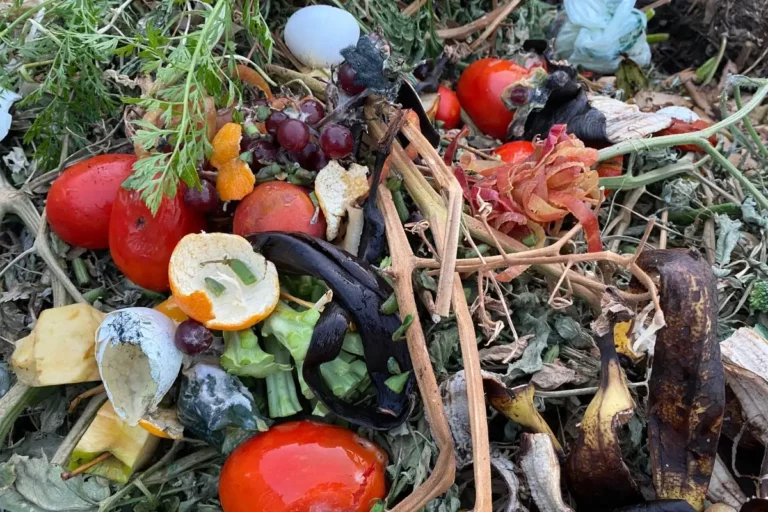
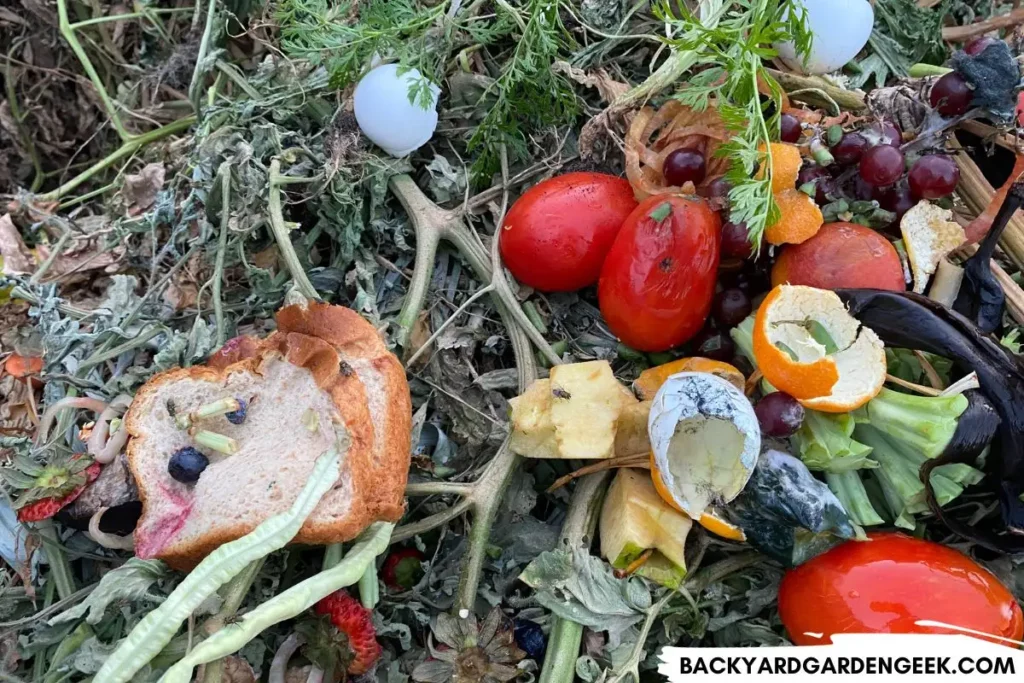
These kitchen scraps are perfect for direct composting since they’ll decompose quickly once you’ve buried them, and many of them will infuse nitrogen into the surrounding soil over time:
- Coffee grounds
- Corn cobs and husks (assuming you chop them up a bit first)
- Crushed eggshells
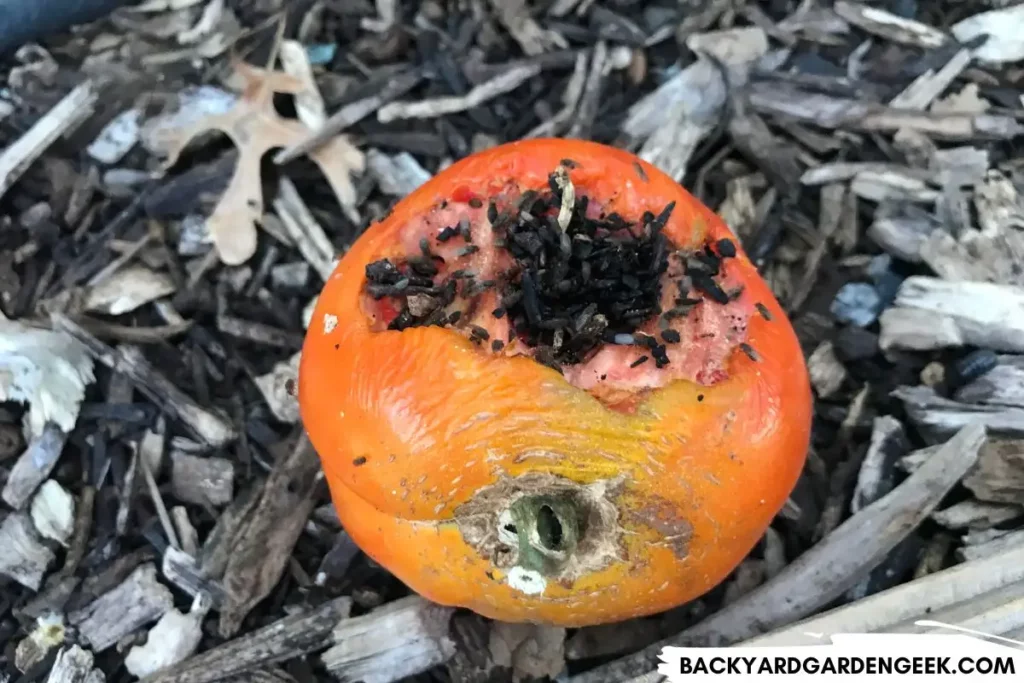
- Fruit and vegetable scraps (ideally chopped up as well)
- Nuts and nutshells (except for black walnuts)
- Plant leaves and flowers (preferably chopped up into smaller pieces)
- Tea bags (as long as they don’t have staples in them)
Here’s a list of materials that’ll compost just fine in a compost bin or pile but that I would never direct compost them since they’re either too bulky or take too long to decompose when buried in your garden:
- Coffee filters
- Cardboard shipping boxes (with tape and stickers removed)
- Lawn clippings
- Leaves
- Paper products
- Pet hair
- Pizza boxes (clean and without grease or cheese)
- Plant stalks, stems, and vines
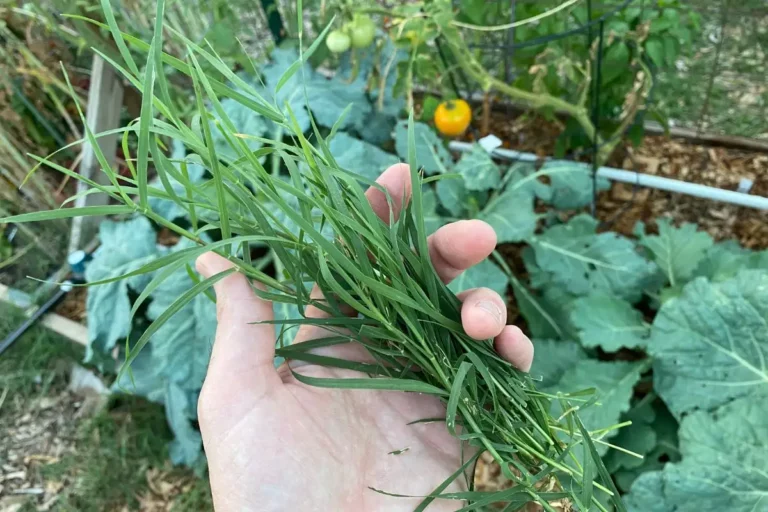
- Weeds
One quick note about weeds: Please be careful if you decide to compost them using any composting method. There are various weeds you should never compost since they can cause problems for you later on.
Now that you know what you can and can’t direct compost, let’s look at the different ways you can go about doing so.
There’s more than one right way to direct compost, so you’ll want to pick a method that works best for you and your garden:
Method 1: Digging Holes for Direct Composting
Let’s look at how the hole method works and why you might find it preferable over other techniques, like trench composting.
Size and Depth of the Hole
The size of the hole will largely depend on the volume of kitchen scraps you have.
- Depth: Aim for a depth of about 8-12 inches. This depth ensures that scraps are well below the surface, preventing pest attraction and helping the material decompose more efficiently. It also makes sure the scraps are below the main root zone of many plants.
- Width: Typically, a hole with a diameter of 10-12 inches will suffice for the scraps accumulated from daily kitchen activities. However, if you’ve been saving up for a few days, you might need a wider hole.
Where to Dig and Where Not to Dig
Here are the best kinds of holes for direct composting:
- Rotating Spots: You’ll want to move around, not always burying in the same spot. This ensures an even distribution of nutrients and prevents over-saturating one area.
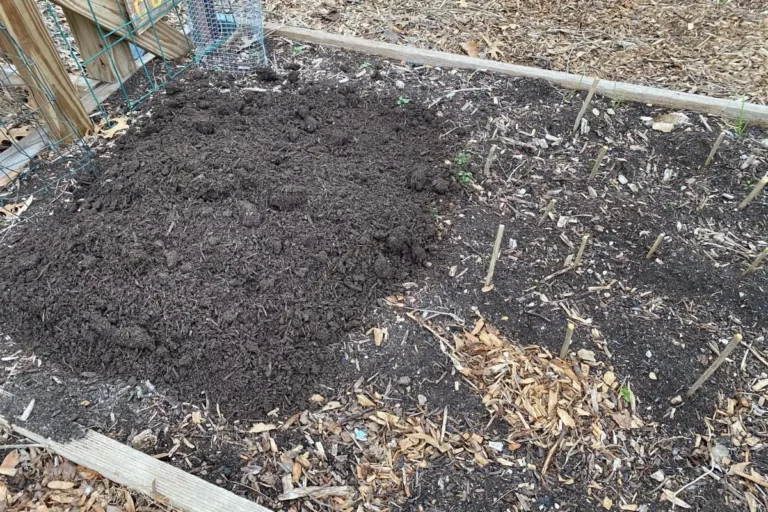
- Empty Garden Beds: If you’ve recently harvested or it’s an off-season, these areas are ideal for direct composting. You’ve already disturbed the soil by pulling up the old plants. Why not fill those holes with kitchen scraps and let them decompose during the off season?
- Near Perennials: Perennial plants will benefit from nutrient boosts. Just be sure you’re far enough away to avoid disturbing their established roots. Depending on the size and variety of the perennial, that could be anywhere from 2-6 feet.
Now let’s go over the areas where you should avoid digging holes:
- Near Seedlings and Young Plants: These have tender roots that can be easily disrupted. Please don’t ever dig around your newly planted seedlings or young plants!
- Close to Trees: Some trees have surface roots that you can easily damage. I’ve got a beautiful red oak tree in my front yard, and it’s roots go everywhere. I’ll never dig too deeply anywhere near that tree for fear of hacking into one of its roots.
- Areas with Drainage Issues: Compost needs good drainage to decompose properly. Also, if you’ve got a drainage problem, you need to tackle the problem itself. Don’t add more materials to that area since you could inadvertently make things worse.
Advantages Over Trench Method
Compared to the trench method of direct composting, the hole method has a few distinct advantages:
- Flexibility: The hole method allows for immediate composting whenever you have scraps. On the one hand, there’s no need to stockpile materials or wait until you have a large volume. On the other hand, if you own a nice kitchen compost container, you can wait until it’s full, then dig a hole that’s large enough for all of its contents.
- Less Labor Intensive: Digging a small hole is quicker and easier than digging a lengthy trench.
- Better for Smaller Gardens: If you’re working with limited space, it might not be feasible to allocate a section of your garden for a trench. The hole method works everywhere.
- Less Disruptive: While trenches might disrupt a larger section of soil, holes target specific areas, ensuring that the bulk of your garden’s ecosystem remains untouched.
- Even Nutrient Distribution: With holes scattered throughout the garden, you’re ensuring a more widespread distribution of nutrients. In contrast, trenches concentrate the compost in one area.
When it comes to direct composting, the hole method is particularly suited for gardeners seeking flexibility and minimal disruption. It’s a fairly efficient way to directly compost kitchen waste if you don’t have a compost bin or pile on your property.
Method 2: Digging Trenches for Trench Composting
If you’re keen on direct composting and you’ve got a decent amount of space in your garden, the trench composting method might work for you, especially if your household generates significant kitchen waste.
Let’s delve into the specifics of trench composting, how to make it work, and the reasons it might be preferable to the hole composting method for some gardeners.
Dimensions of a Good Trench
First, let’s start by talking about the dimensions of your trench. These will vary based on how much room you have and how many kitchen scraps you plan to compost, but here are some general guidelines:
- Depth: A proper composting trench should be about 12-18 inches deep. This depth ensures that the composting materials are sufficiently buried, preventing pests from accessing them and facilitating efficient decomposition.
- Width: The width can vary, but a general guideline would be 12-16 inches wide. A wider trench might be harder to fill up and cover effectively.
- Length: This depends on the amount of waste you anticipate and the space available. Many gardeners prefer trenches that are 3-5 feet long, but if you have the space and generate a lot of waste, you can go longer.
Where to Dig and Where to Avoid
Here are 2 of the best places to dig if you’re planning to do some trench composting:
- Between Rows: If you practice row planting, placing your trench between rows ensures that multiple plants benefit from the composting materials.
- Preparation for Next Season: If you plan your garden in rotations, you can dig a trench in an area that will be planted in the next season. This way, the compost will be ready to benefit the next set of plants.
You should always avoid digging compost trenches near plants, especially young seedlings or plants with surface roots.
You should also steer clear of areas with poor drainage or places in your garden where there’s frequent foot traffic since those aren’t ideal spots for direct composting anyway.
Advantages Over Hole Method
Assuming you’ve got plenty of space in your garden, there are a few advantages of trench composting over the hole method:
- Volume Efficiency: For those who generate a lot of kitchen waste, digging individual holes might become cumbersome. Trenches allow you to continuously add compost materials over days or even weeks.
- Benefits for Larger Areas: When placed between rows or in preparation for the next planting season, trenches can enrich a larger soil area, benefiting multiple plants.
- Less Frequent Digging: Once you have a trench ready, you won’t need to dig for a while. With the hole method, you’re digging a new hole fairly regularly.
- Helps with Crop Rotation**: For gardeners practicing crop rotation, trenches can be used strategically to prepare for the next planting cycle, ensuring each section of the garden gets nutrient enrichment over time.
- Natural Soil Aeration: The act of digging the trench can help aerate extremely compact soils—like the awful clay soil I’ve got in my backyard—and over time, this can enrich the soil and improve the overall soil structure.
Simply put, trench composting offers a more efficient solution for gardeners dealing with lots of kitchen waste. It requires more initial labor than the hole method, but it’s got quite a few benefits, particularly if you’re strategic and when and where you dig your compost trenches.
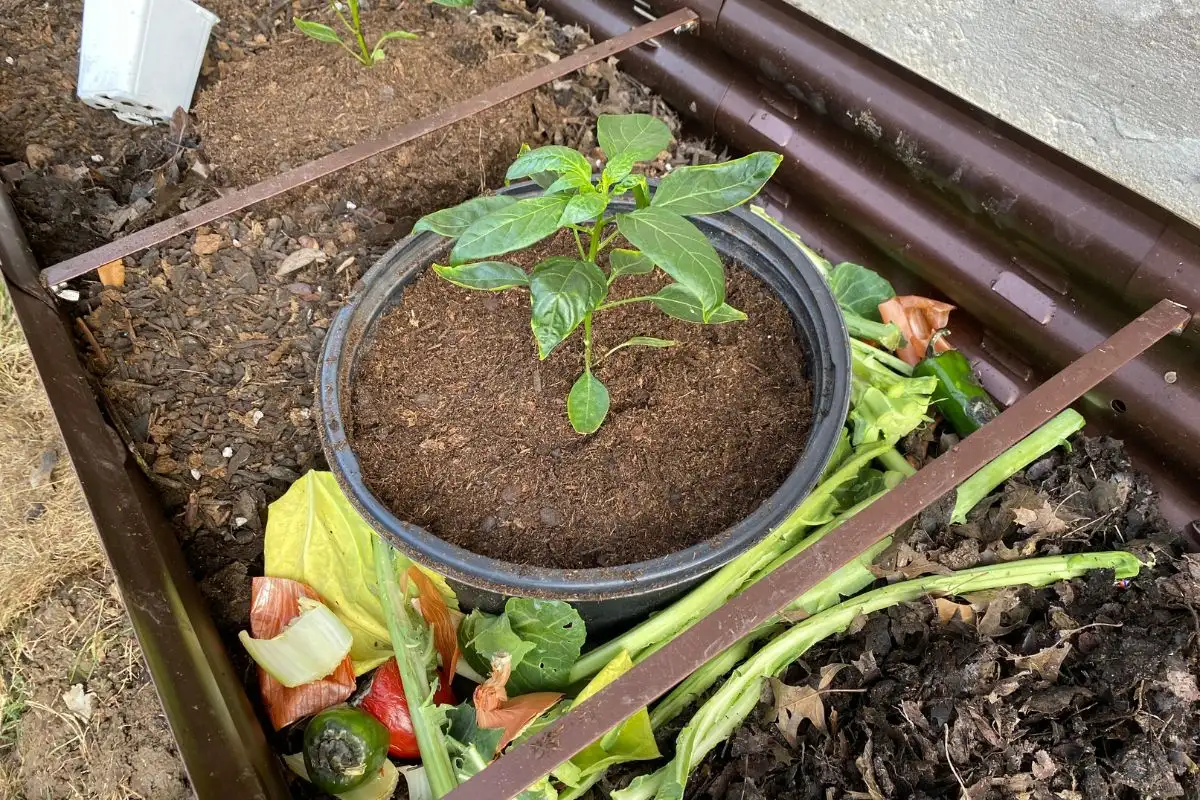
Method 3: In-Ground Compost Containers
As a variation on the hole method, you can purchase an in-ground container (or make your own), bury it in the soil, and fill it with compostable materials.
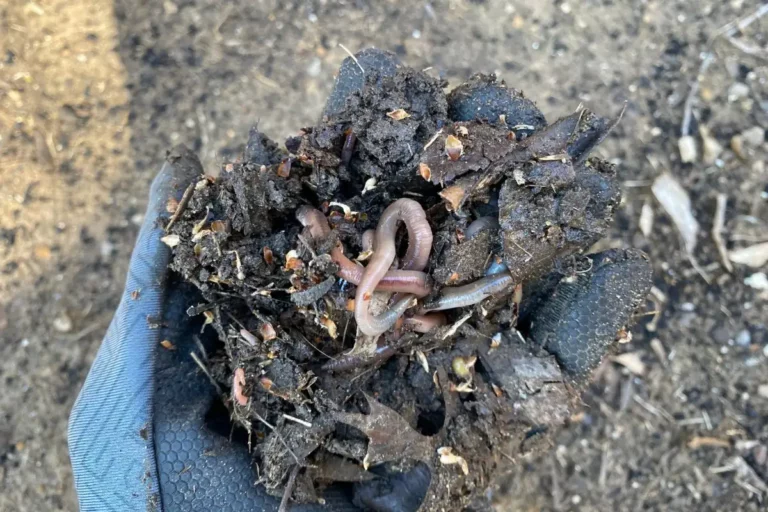
If done properly, earthworms will make their way into your in-ground container over time and begin helping with the decomposition process. When the time is right, you’ll simply remove the container and dig out all of the finished compost, returning the empty container to the hole to be filled up with scraps again.
I love this method since it’s so simple. Here’s how I do it in my backyard:
- Purchase a Bucket: If you want to practice this method in the easiest possible way, pick up an in-ground compost container, bury it in your garden, and let nature do its things!
- Make Your Own Bucket: You can also make your own bucket. Buy a paint bucket and drill lots of 1/2 inch, 1-inch, or 2-inch holes all around the bottoms and the sides. This will allow worms to find their way into your compost container.
- Dig Your Hole: The hole should accommodate the width of your bucket. Pack the dirt around the bucket once you’ve inserted it into the hole.
- Bury the Bucket: When it comes to depth, you don’t want to bury your bucket level with the soil surface. Make sure the rim of the bucks is 1-2 inches above the surface. That way, it’ll be easy for you to remove the lid whenever you need to do so.
- Cover the Bucket: You’ll need to make sure you’ve got a lid of some kind to keep critters out. Always cover the bucket except when adding scraps. I like to use paint buckets and cover them with a bucket seat instead of a lid. Whenever you need to do work in the yard, grab an empty bucket from the garage, take the seat off the in-ground composting bucket, and you’ve got a temporary work seat!
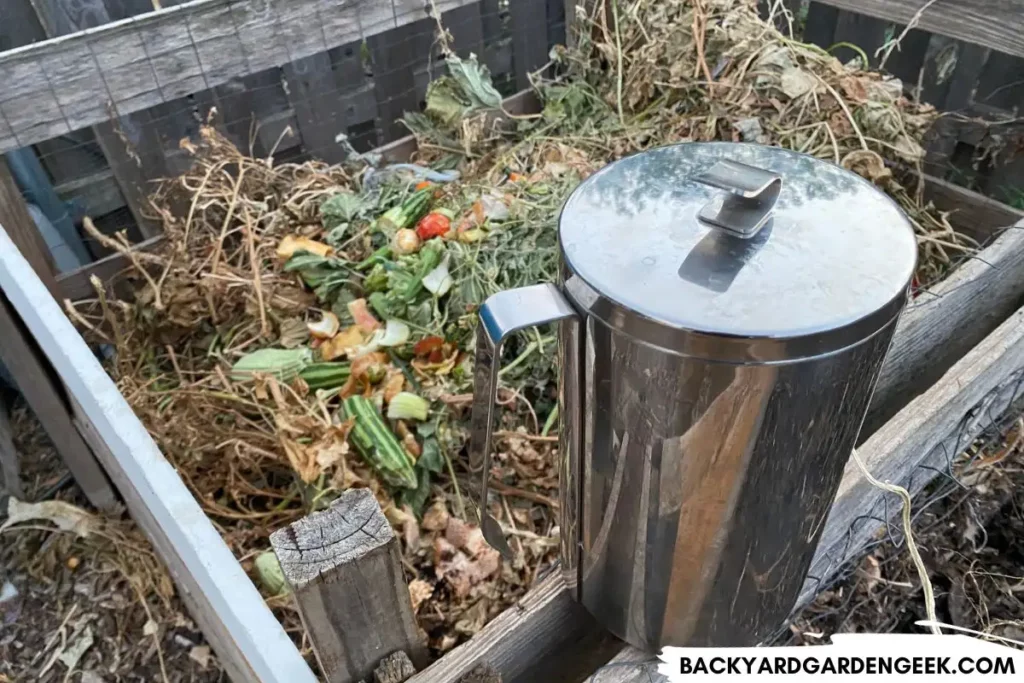
- Add Kitchen Scraps: Purchase a nice kitchen compost container to store your scraps. Whenever the container’s full, take it out and dump it into your compost bucket, then clean the container to get rid of any nasty smells and start the process all over again.
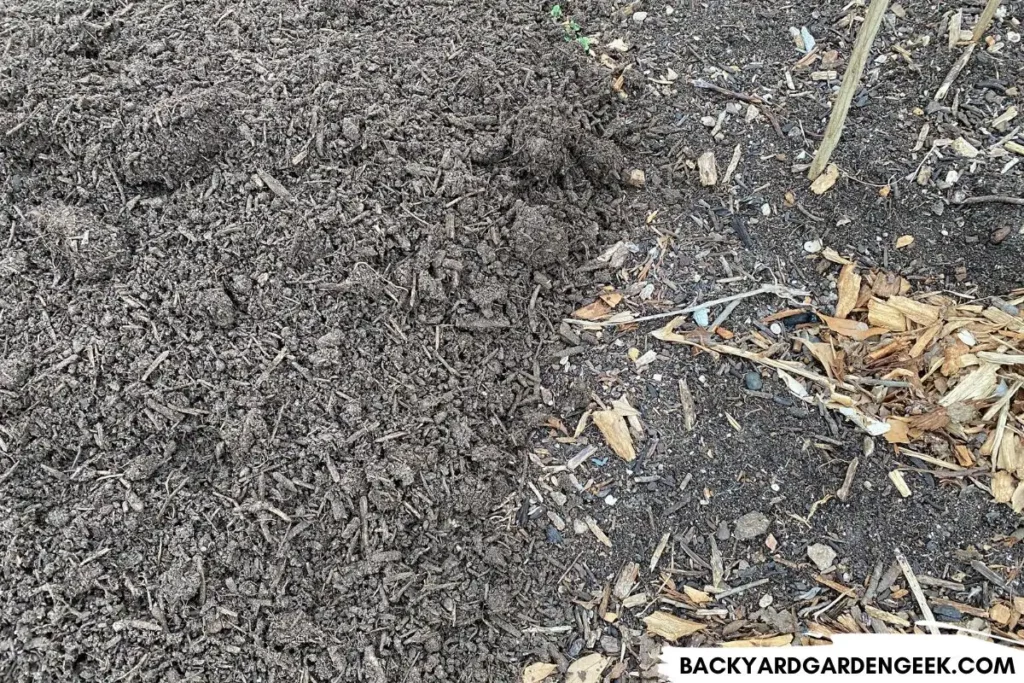
- Empty and Use: Once your kitchen scraps turn into finished compost, spread the rich soil amendment wherever your garden needs it most. Keep larger, slower-decomposing materials in your bucket and let them continue to decompose over time.
- Expand Your Efforts: To do more in-ground composting, purchase a new bucket (or build another one yourself), then repeat the steps above in another part of your garden.
The nice thing about in-ground compost containers is how simple they make composting.
Assuming you don’t need a large compost bin, this is a great way to create compost if you’ve got limited space or if you’re looking for the easiest way possible to turn your kitchen scraps into nutrient-rich soil amendments.
Final Thoughts
So there you have it! If you’d like to get rid of compostable materials, you don’t have to have a large compost bin or a huge pile of decaying matter in your backyard.
All you need is a little space in your garden for a hole, a trench, or an in-ground container.
This is especially true for those of us with small or small-ish properties. A compost bin is nice, but direct composting is certainly better than nothing.
If you’d like to learn more about how I do composting, take a look at these articles:
- 50 Plants You Should Never Compost (and Those You Should)
- Are Wood Chips Good for Vegetable Gardens?
- Do Raised Beds Need Yearly Compost? (Here’s What to Do)
- Filling Raised Beds with Just Compost: Should You Do It?
- Is Dawn Dish Soap Safe to Compost?
- Is Your Leftover Pizza Compost-Friendly?
- Should Compost Be Tilled In or Mixed with Soil?
- Should You Cover Your Compost Heap in Winter?
- What Goes at the Bottom of a Compost Pile?