50+ Cheap Nitrogen Sources for Your Compost Pile
Composting is kind of magical (seriously…here’s why).
You take something you can’t eat or don’t want, you toss it in a pile of other stuff you can’t eat or don’t want, then you wait several months. At the end of the process, you’ve got nutrient-rich material that your garden plants are going to love.
But crucial to this process is nitrogen, those molecular components that fuel the decomposition process and eventually get absorbed by your plants.
So what’s the best way to incorporate cheap nitrogen sources into your compost?
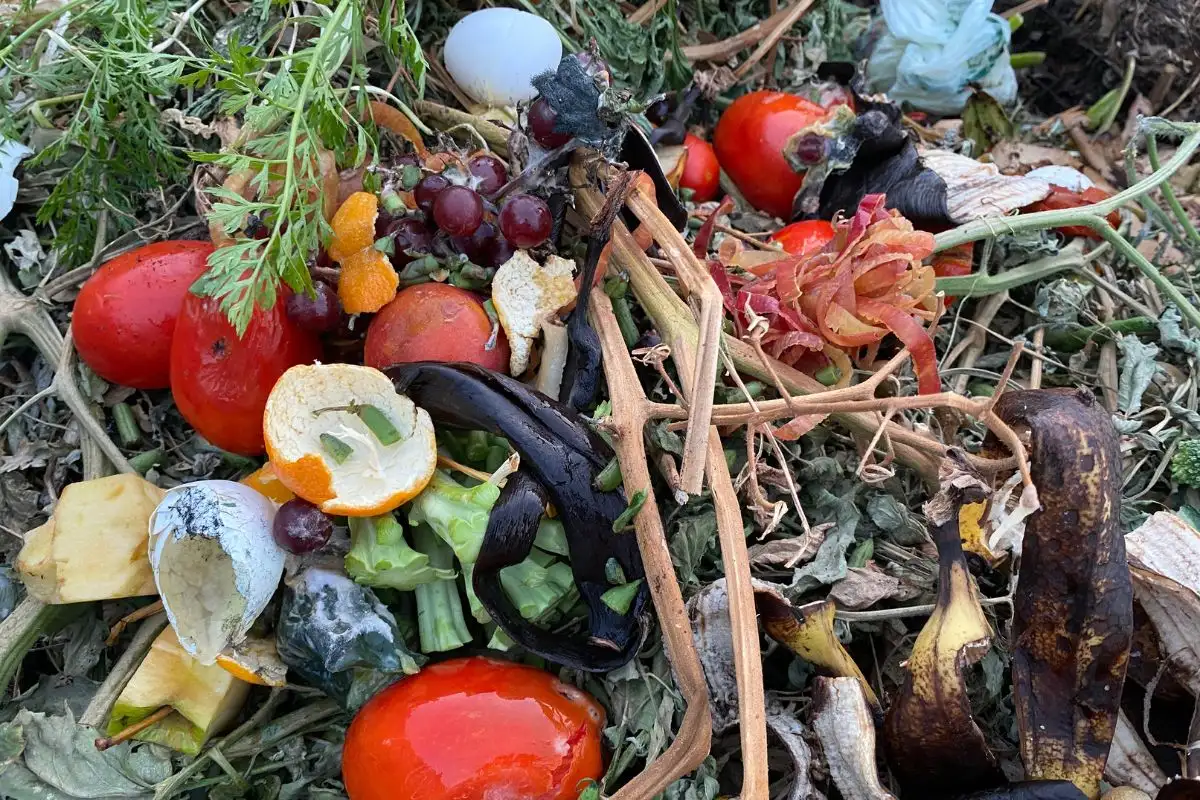
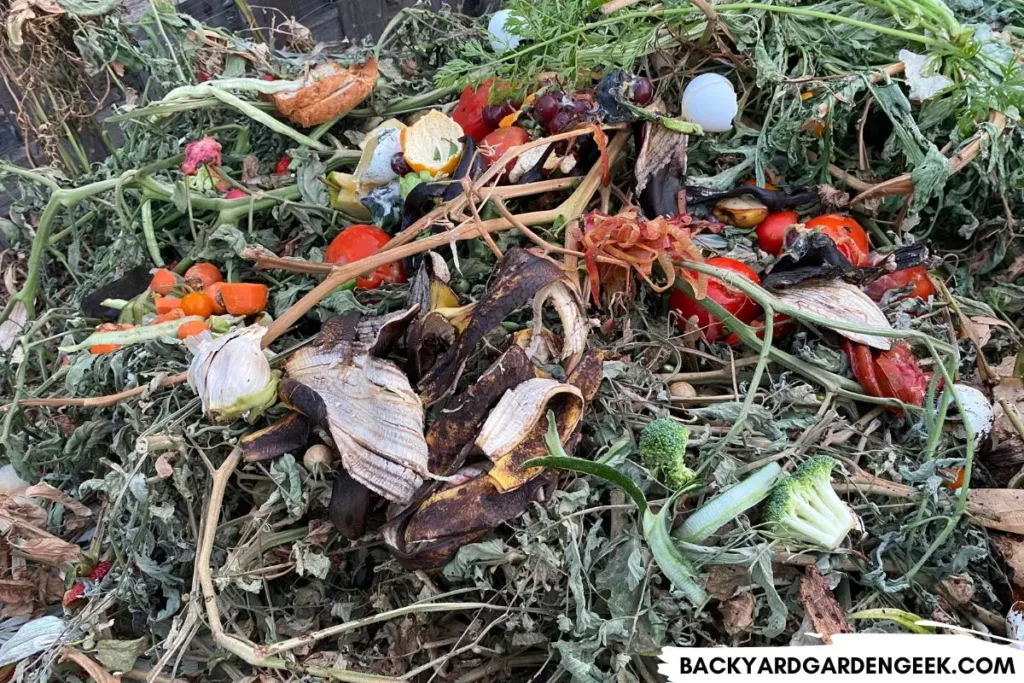
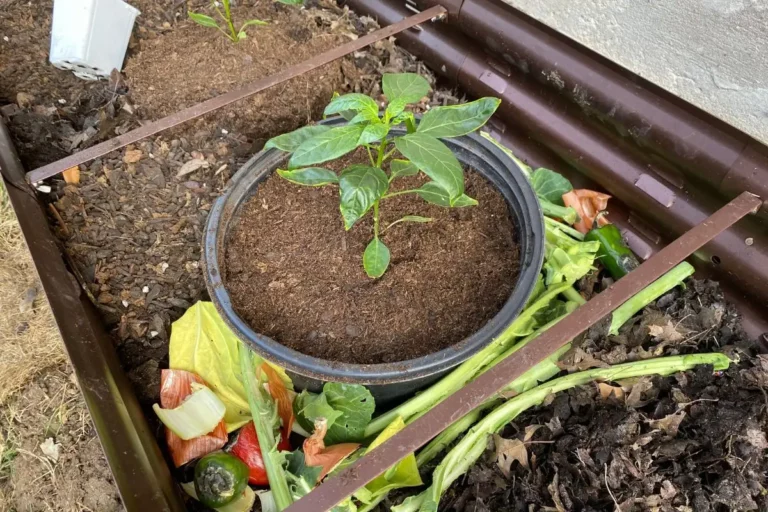
The cheapest nitrogen sources for composting are kitchen scraps (fruit and vegetable peels), grass clippings and yard trimmings, manure from herbivorous animals, used coffee grounds, and spent tea leaves and tea bags. Never compost any diseased or bug-infested garden plants.
To give you a good overview of what it takes to keep your compost nitrogen-rich on the cheap, here’s what I’ll cover in this article:
- The role of nitrogen in the composting process.
- A comprehensive list of inexpensive nitrogen sources.
- Several techniques for quickly adding nitrogen to your compost pile.
- A List of high-nitrogen kitchen scraps to supercharge composting.
Now that I’ve covered some basics, let’s look at various cost-effective ways that you can add nitrogen to your compost bin.
What Can I Add to My Compost Bin for Nitrogen?
Nitrogen is a critical element in composting since it fuels the growth of microorganisms responsible for breaking down organic matter.
These microorganisms, such as bacteria and fungi, require nitrogen to carry out their work. Without sufficient nitrogen, the composting process slows down, leading to a longer composting time and a less nutrient-rich end product.
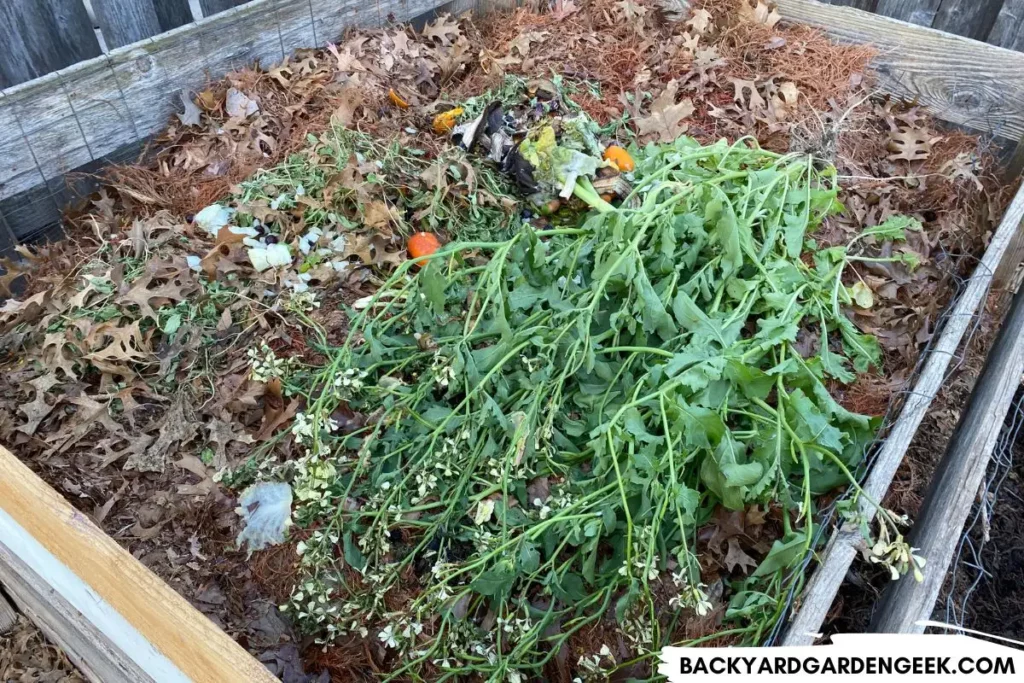
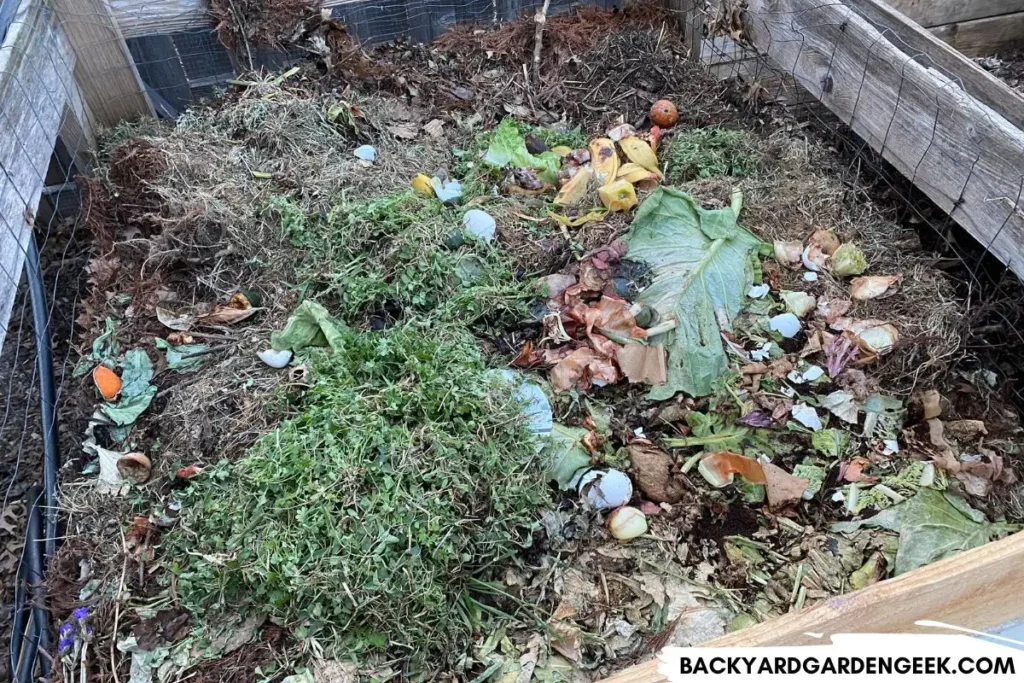
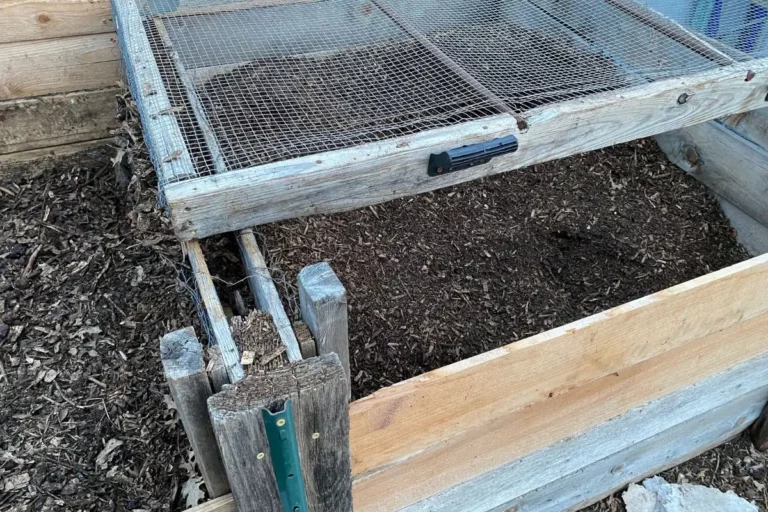
You’ve likely heard that compost materials are categorized as “green” or “brown” based on their nitrogen and carbon content.
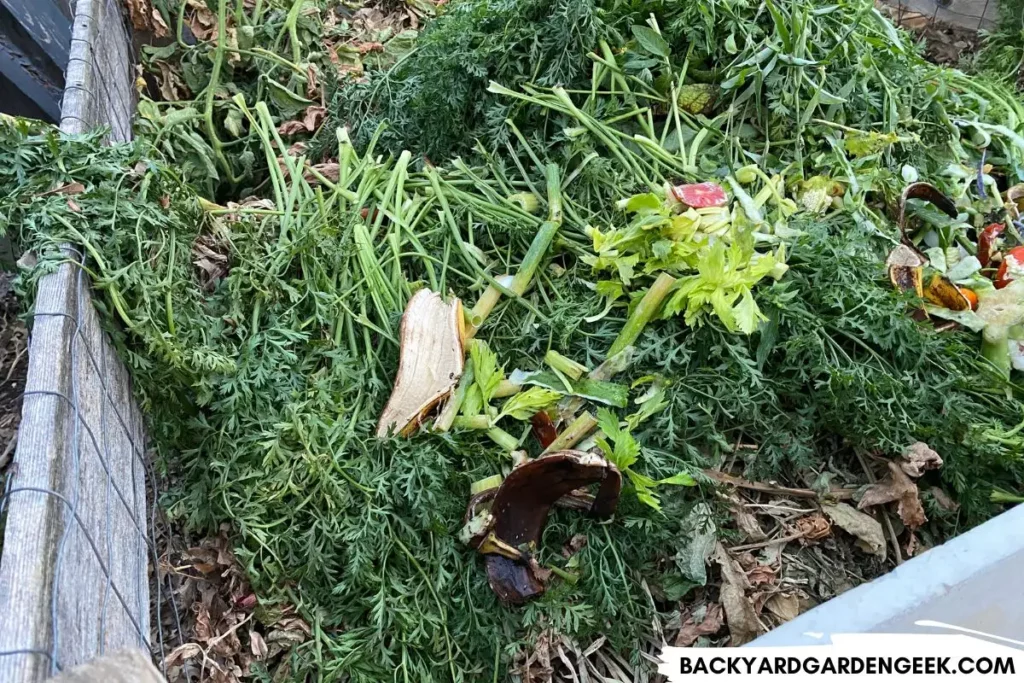
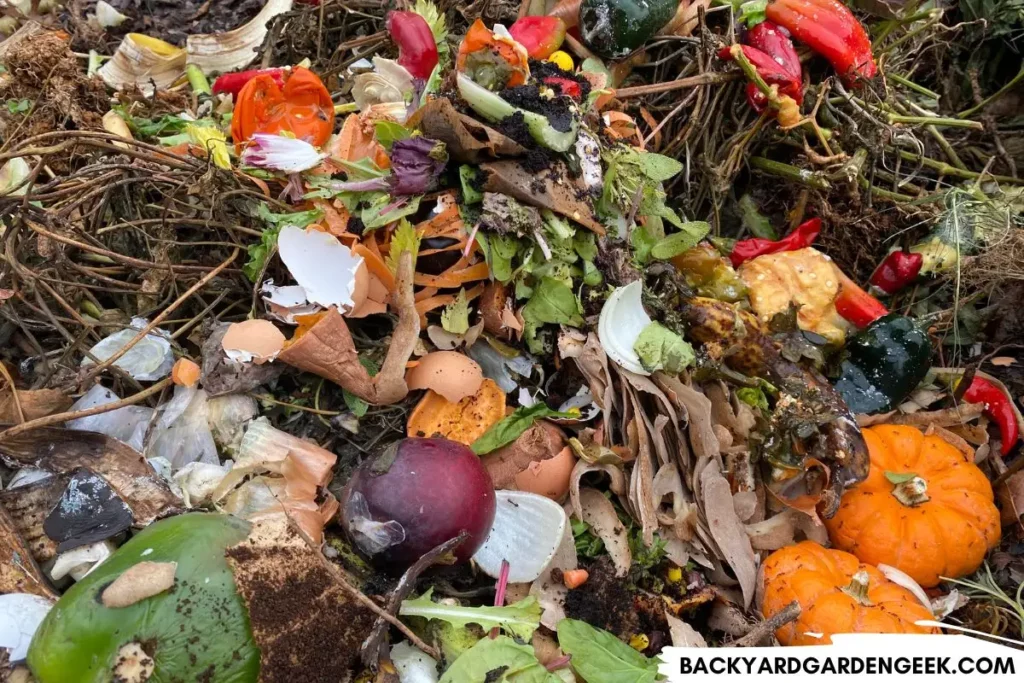
Green materials (which is what this article is all about!) are rich in nitrogen and include items like kitchen scraps, grass clippings, farm animal manure, and plant trimmings.
Brown materials, on the other hand, are carbon-rich things such as twigs and sticks, dry leaves, straw, and cardboard.
Ideally, your compost pile will contain a proper balance of both green and brown materials.
To ensure efficient composting, aim for a brown-to-green ratio of 30:1.
This means you’ll need to compost 30 parts brown materials for every 1 part green material by volume.
Green materials decompose relatively quickly, taking a few weeks to a few months to break down into nutrient-rich compost.
Once fully decomposed, the nitrogen molecules start becoming readily available. As you add the compost to your garden, the nitrogen in the compost will mix with the molecules in your garden soil, and your plants will eventually uptake the available nitrogen.
Here’s a list of items that’ll give your compost a nitrogen boost over time:
- Alfalfa (fresh or pellets)
- Allium plants (chives, garlic, leeks, onion, shallots)
- Asparagus cuttings
- Avocadoes (skins and pits)
- Bean plants (everything but the beans or pods)
- Brassica plants (broccoli, brussels sprouts, cabbage, cauliflower, collard greens, kale)
- Celery leaves
- Chard stems
- Corn (everything but the kernels!)
- Cucumbers (vines and leaves)
- Eggplant (as long as it’s not infested)
- Eggshells (rinsed and crushed)
- Fish waste (tomato plants love it!)
- Flowers (all kinds, as long as they’re not bug-infested or diseased)
- Fresh lawn clippings (unseeded, no rhizomatic grasses, preferably 100% dead)
- Fruit plants (stems, vines, cores, or skins)
- Hair (human or pet)
- Herbs (as long as they’re not diseased or infested)
- Houseplants (as long as they’re not infested)
- Leafy greens (as long as they’re not diseased or infested
- Leeks (roots and dark green leaves)
- Manure from herbivorous farm animals (cows, chickens, goats, horses, rabbits, sheep)
- Okra (stems and leaves)
- Peas (vines and pods)
- Pepper plants (stems, branches, leaves, seeds)
- Pumpkins (vines, leaves, and malformed fruit)
- Rhubarb leaves
- Root vegetables (beets, carrots, potatoes, radishes, sweet potatoes, turnips)
- Seaweed and kelp
- Soybean plants (everything but the beans!)
- Spent tea leaves and tea bags (remove staples if present)
- Squash (as long as it’s not diseased or infested)
- Tomato stems, branches, and leaves (these plants notoriously disease-prone, so compost with caution!)
- Used coffee grounds
- Weeds (without seeds and 100% dead)
- Zucchini stems and flowers (as long as the plant’s not diseased or infested)
Adding nitrogen-rich materials to your compost will improve its overall nutrient content, leading to a more nutrient-balanced end product that your plants will love!
But did you know that you can also mulch your garden beds with compost?
Instead of mixing your compost into the soil, shovel it around your plants so that there’s a 2-3 inch layer of compost on top of your garden soil.
Better yet, add the layer of compost, then top it off with 1-2 inches of mulch.
The layer of compost (or compost/mulch combo) will help retain water during the hot summer months, but it’ll also mix its nutrients into your native soil, giving a molecular boost to whatever plants you’ve got growing there.
If you cultivate a nitrogen-rich compost pile—and ensure that you’ve balanced the nitrogen materials with the proper ratio of carbon-rich materials—you can produce an amazingly rich and dirt-cheap (silly pun intended!) soil amendment that’ll give your garden plants a wonderful nitrogen boost.
What’s the Fastest Way to Add Nitrogen to Soil?
Now that I’ve shared a comprehensive list of “green” materials that you can add to your compost, let’s look at how quickly it takes various materials to break down.
Nitrogen-rich materials break down relatively quickly, accelerating the composting process. Here’s what that looks like in a well-maintained compost bin:
| Coffee Grounds | 3-4 months |
| Fruit Scraps | 2-4 weeks |
| Garden Plants: Tender Foliage | 4-6 weeks |
| Garden Plants: Hardy Foliage | 2-3 months |
| Garden Plants: Stems & Vines | 4-6 months |
| Garden Plants: Roots | 3-4 months |
| Grass Clippings | 1-3 months |
| Vegetable Scraps | 2-4 weeks |
| Weeds | 2-24 months* |
Just so you know, that last line about weeds isn’t a typo.
If you toss flimsy weeds into your compost bin, they might decompose quickly (2-4 months). But if you add hardy weeds to your compost or weeds that have gone to seed, you might be in for some trouble.
Hardier weeds can take quite some time to fully break down, and weed seeds can maintain their vitality for 1-2 years or more in compost (unless you’re hot composting).
Long story short, you need to be very careful before adding weeds to your compost bin or pile. For most people, I don’t recommend doing so at all unless you solarize them first.
(And even then, I don’t think it’s a good idea!)
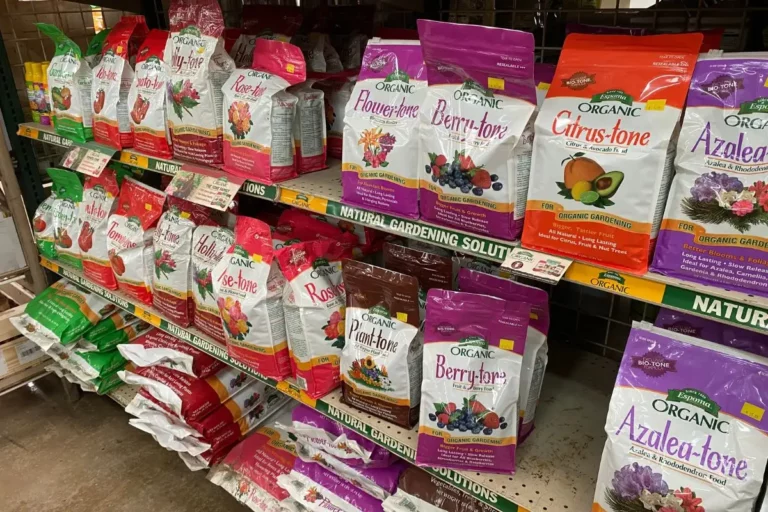
Beyond the materials I’ve listed above, there are a few additional ways to give your compost a nitrogen boost (if you think it needs it):
- Blood Meal
- Bone Meal
- Fish Emulsion
These amendments provide an immediate source of nitrogen to the composting microorganisms, stimulating their activity and speeding up decomposition.
However, you’ll want to consider the pros and cons of doing so:
| Pros | Cons |
|---|---|
| Fast-release nitrogen sources promote rapid decomposition, reducing composting time. | Excessive fast-release nitrogen additions may disrupt the composting process, causing an imbalance in the compost pile. |
| Adding quick-release nitrogen materials may help you maintain a more desirable brown-to-green ratio. | Some commercial nitrogen sources can be expensive, adding to the overall cost of composting. |
| Compost enriched with fast-release nitrogen sources results in a nutrient-dense soil amendment (assuming you’ve added the proper brown materials). |
Just so you know, most gardeners will never need to add nitrogen amendments to their compost bins. Simply pay some attention to your green-to-brown ratio, and your compost should have more than enough nitrogen.
However, I thought I’d mention these amendments in case you feel like your compost is far too carbon-rich.
Just note that these products aren’t cheap. Fish emulsion isn’t all that expensive, but blood meal and bone meal can be a bit costly.
For me, I’d rather add more nitrogen-rich materials to my compost than amend it with expensive substitutes (that I’d rather use in my garden).
And of course, you need to make sure you don’t overwhelm your compost with nitrogen-rich “greens” since that’ll likely result in compost that’s too wet and that possibly smells as well.
If you’ve accidentally overdone the greens in your compost, do this:
- Add more brown materials like shredded cardboard and newspaper (black and white print), dry leaves, or straw to balance your compost pile.
- Mix your compost pile thoroughly to distribute the excess nitrogen and encourage a more even decomposition process.
- Use a pitchfork to turn everything over and promote oxygen circulation, aiding in the breakdown of excess nitrogen.
By understanding the decomposition times of green materials, making informed choices for quick-release nitrogen boosts, and maintaining a balanced compost pile, you can transform otherwise worthless kitchen scraps and yard and garden waste into something that’ll benefit your plants and likely increase your future harvests.
Which Kitchen Scraps Are High in Nitrogen?
As I mentioned above, kitchen scraps are great for accelerating the composting process and creating nutrient-dense compost for your garden.
Here’s a list of specific kitchen scraps that you can compost:
- Artichoke leaves
- Avocado pits (chopped or crushed)
- Broccoli stalks and cauliflower leaves
- Coffee grounds and paper coffee filters
- Corn cobs (broken into smaller pieces)
- Eggshells (rinsed and crushed)
- Fruit peels and cores (apple peels, banana peels, citrus peels, etc.)
- Lettuce and salad greens (no dressing or oils)
- Melon rinds (cut into smaller pieces)
- Onion and garlic skins
- Pumpkin and squash waste
- Tea leaves and tea bags (without staples or synthetic materials)
- Tomato scraps (cores, seeds, overripe tomatoes)
- Vegetable and fruit pulp (from juicing)
- Vegetable scraps (carrot tops, potato peels, celery trimmings, etc.)
To make things easy, keep a kitchen compost container on your counter. That way, whenever you’ve got kitchen scraps, just add them to the container and dump the container into your compost pile whenever it’s full.
Here’s a quick overview of what I do to make the most of my kitchen scraps (while avoiding the bad stuff);
- Cut or Chop Scraps: To speed up decomposition, cut or chop large kitchen scraps into smaller pieces before adding them to your compost bin.
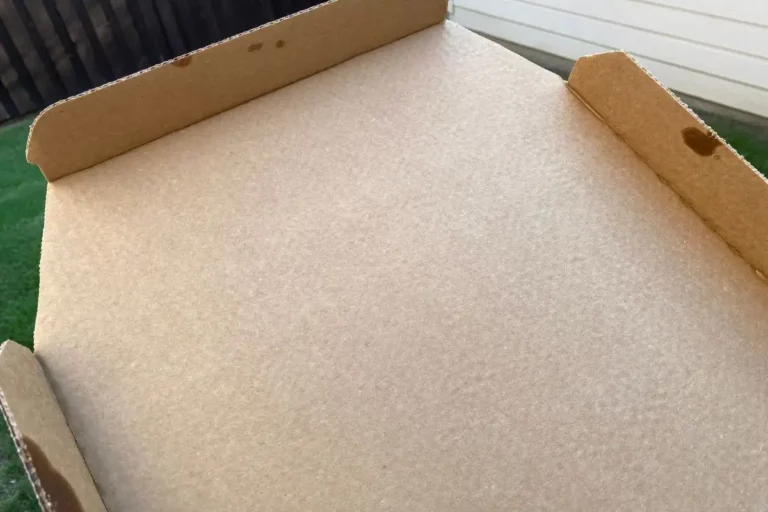
- Avoid Meat and Dairy: While kitchen scraps like vegetable and fruit peels are excellent nitrogen sources, avoid adding meat, dairy, and oily foods to prevent attracting pests and creating odor issues. For instance, pizza boxes compost well (when shredded). The same doesn’t apply to oily and greasy pizza boxes. Those should be tossed!
- Empty and Clean Kitchen Compost Container Reqularly: Empty your kitchen compost container regularly to prevent odors and fruit flies. Wash it every time you do. You won’t regret it!
- Layer Properly: For efficient composting, layer kitchen scraps with brown materials like dry leaves, straw, or shredded newspaper. The ideal ratio is approximately 30 parts carbon (browns) to 1 part nitrogen (greens), so be sure to have lots of browns on hand for whenever you need them. That’s one reason why I recommend using high-quality paper shredders to chop up cardboard into small pieces.
- Balance the Mix: Alternate layers of nitrogen-rich kitchen scraps with carbon-rich materials to maintain a balanced compost pile, encouraging the decomposition process.
- Keep Moisture Levels Right: Monitor the moisture content in the compost bin. Generally speaking, your compost should feel like a wrung-out sponge. If it’s too dry, add water; if it’s too wet, add more brown materials.
- Aerate Regularly: Turn or mix the compost pile regularly to introduce oxygen, aiding decomposition and preventing bad smells.
By properly collecting, layering, and managing kitchen scraps in your compost bin, you can create nutrient-rich compost that’ll help you grow better, healthier plants this year…and in the years to come!
More Compost-Related Articles
If you like learning more about composting, you might enjoy these related posts:
- 50 Plants You Should Never Compost (and Those You Should)
- Composting Pizza Boxes: A Simple, Step-by-Step Guide
- Do Raised Beds Need Yearly Compost? (Here’s What to Do)
- Don’t Compost These Weeds (30+ Plants to Avoid)
- Filling Raised Beds with Just Compost: Should You Do It?
- Is Your Leftover Pizza Compost-Friendly?
- Should I Put Cardboard at the Bottom of My Compost Bin?

At what point do you stop adding kitchen scraps? I’ve been adding for three weeks – was thinking of going until 5 weeks? Thank you!
Hi Michelle, great question. In an ideal world, you’d add 30 parts brown materials (leaves, twigs, wood chips, etc.) to 1 part green materials (i.e. kitchen scraps). But I NEVER measure out such things in perfect quantities since I’m in too much of a rush to do so. 🙂 I basically add kitchen scraps all the time–since I hate seeing good scraps go into the landfill–and I’ll save fall leaves or grass clippings and cover the kitchen scraps in those whenever I dump them. Is this technically the best way to compost? No, it’s not super scientific. But I’ve never had a problem with this. Just be sure to keep adding browns if you keep adding greens. Otherwise, put those kitchen scraps to good use! I hope this helps a bit. If you’d like to join the email list or our Facebook group, I share more gardening tips in those places. Best wishes this year!