Putting Worms in Your Compost: Should You Do It?
Worms play a crucial role in the composting process, transforming organic waste into rich, fertile soil.
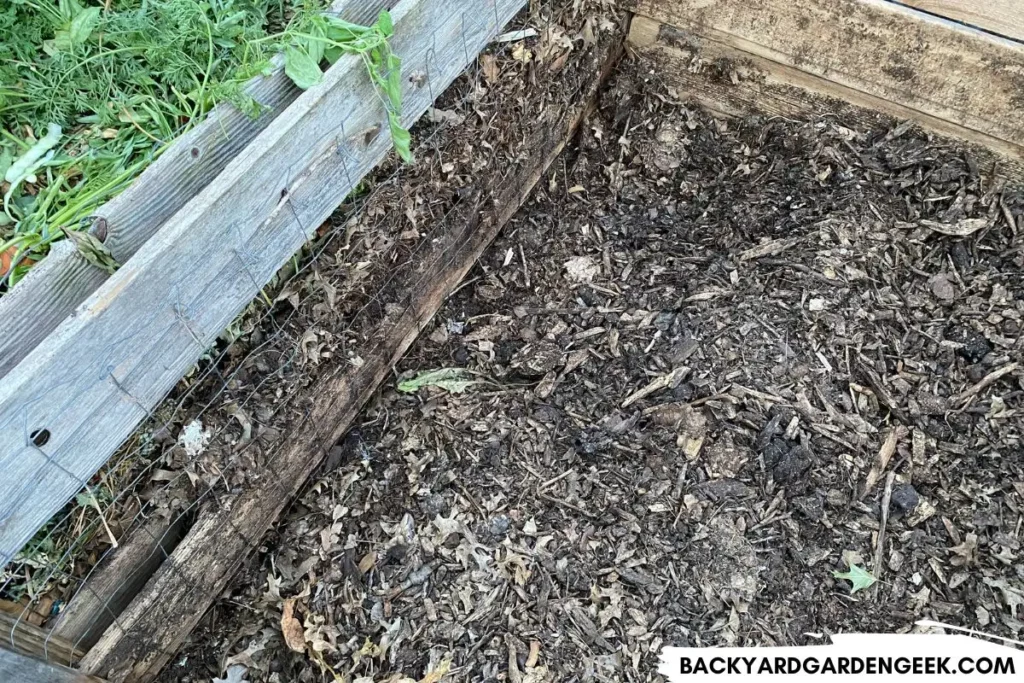
When I transplant seedlings into my garden or remove old plants, I enjoy seeing little earthworms crawling around. They’re a sign that my soil is a happy place for them to live and work. Fortunately, I’ve never had to add worms to my garden since I have so many of them crawling around underneath the soil.
But what about your compost bin? Should you ever add worms to it?
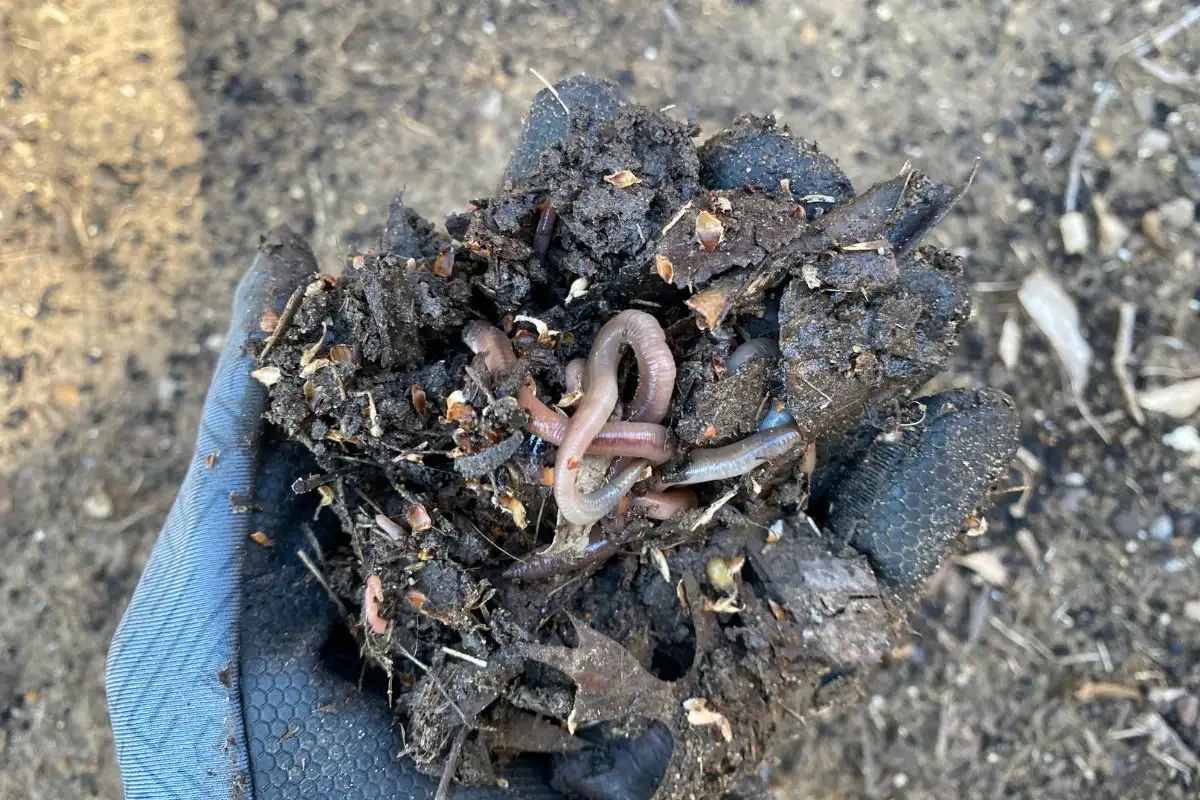
When added to compost, worms feed on decaying plant matter, speeding up decomposition and enriching the compost’s nutrient makeup. Be sure to add worms to compost when it’s 55-80°F outside (12.8-26.7°C) so they’ll get to work immediately and thrive in their new environment.
If you’re interested in cultivating a healthy worm population in your compost pile or bin, you’ll find these helpful topics below:
- Reasons why you should consider adding worms to your compost heap and step-by-step instructions for doing so.
- Things to keep in mind if adding worms to compost bins versus compost tumblers.
- Tips for keeping worms alive once you’ve added them to your compost.
Now that I’ve shared an overview of what’s to come, let’s get into the details because there’s nothing better than cultivating amazing compost in your backyard…and worms can be a big help if you know what you’re doing!
Before we get going, you can sometimes find local worm-selling retailers, but if you don’t have any local sellers, I recommend checking out the products sold by Uncle Jim’s Worm Farm or Brothers Worm Farm here in Texas.
Adding Worms to Compost: A Step-by-Step Guide
If you’re considering adding worms to your compost, let’s start with a few basic realities:
- You likely don’t need to add worms to compost if your compost a) sits atop the native soil and b) seems to be decomposing properly.
- Adding worms to your compost will never hurt your compost. It will only help it. Even if the worms eventually migrate out of your compost and into your native soil, they’re doing great work both in and around your compost heap.
- Adding worms at the wrong time of year can be a waste of time and money. If it’s too hot outside, the worms will die shortly after you add them to your compost. If it’s too cold outside, the worms might die as well, or they might head straight for your native soil.
Worms can always be added to cool compost piles, but you’ll want to choose the right varieties.
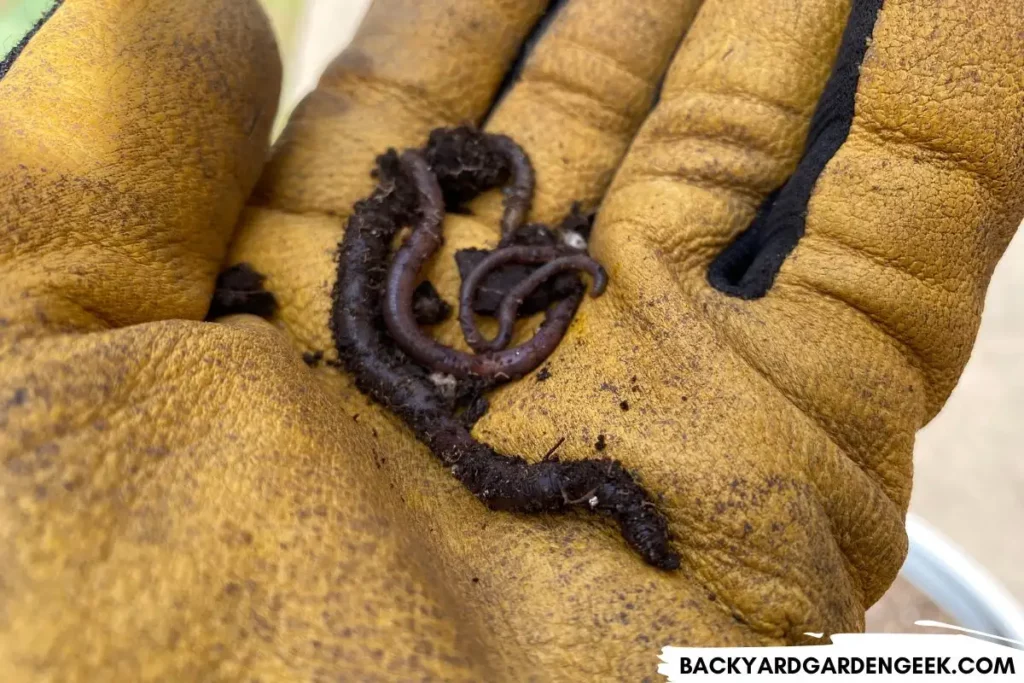
Red Wigglers are best, but you can also add European Nightcrawlers. Indian Blue will do the trick as well, but they’re sometimes a little harder to come by.
Whatever you choose, these varieties are hardy, adaptable, and voracious eaters, making them ideal for composting.
(If you want to know the difference between Red Wigglers and Indian Blue worms, check out this helpful YouTube video.)
However, if your compost pile sits atop your soil and is kept properly moist, you might not need to add worms since they might show up on their own.
But let’s say you want to supercharge your compost by adding worms. Here’s the process of setting up a worm-friendly compost pile:
- Whenever possible, select an area of bare ground. Compost tumblers are okay if you’ve got no other options, but bare ground is always best.
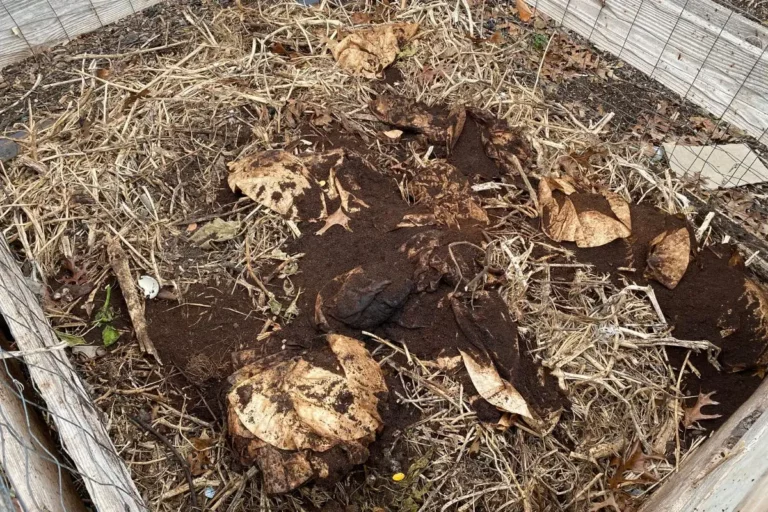
- Lay down thick layers of cardboard to smother native grasses and weeds. You can even use old pizza boxes (as long as they’re clean!).
- For best results, I recommend using wood for the compost frame and chicken wire for the supportive sides. You can use concrete blocks, but chicken wire or other kinds of wire fencing allows for more aeration.
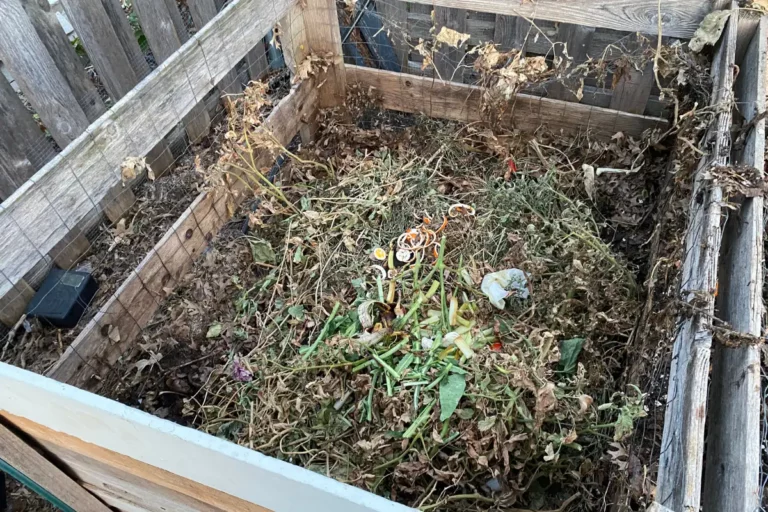
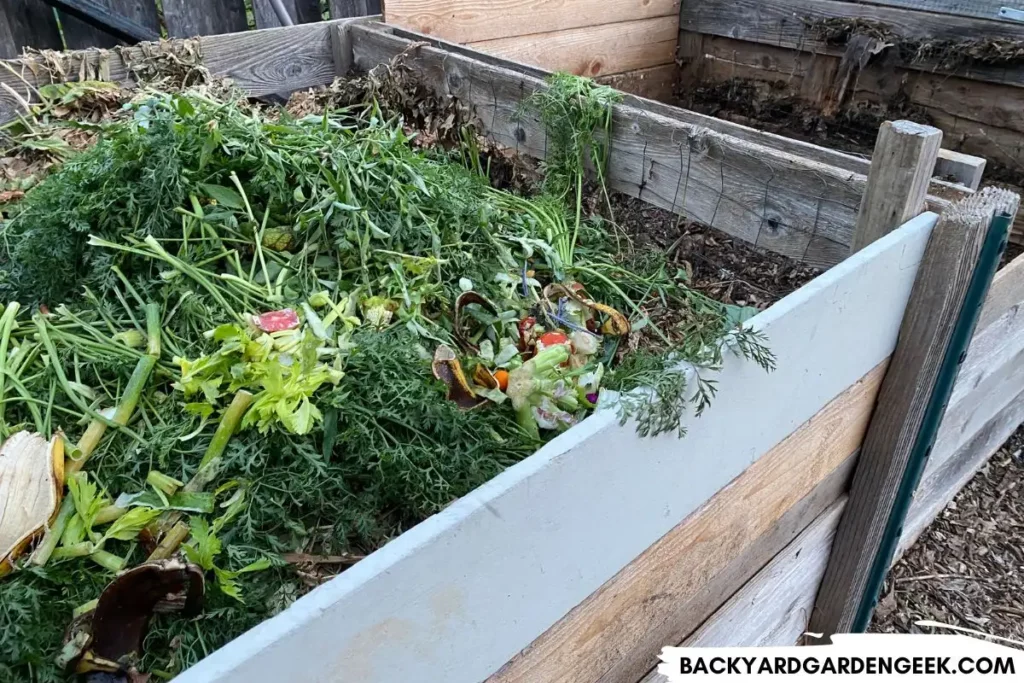
- Layer in your compost materials, starting with small sticks and vines and adding farm animal manure and some soil from your garden (to introduce beneficial microbes).
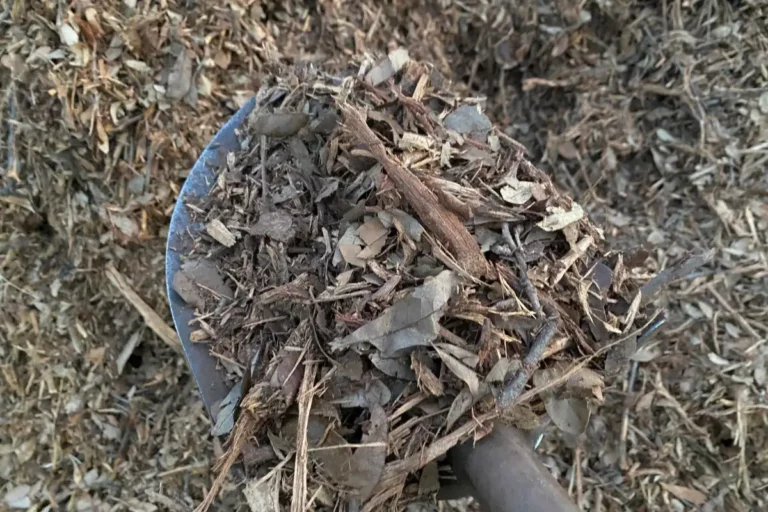
- Remember that successful composting requires the right balance of carbon-rich “brown” materials (such as dry leaves, straw, and cardboard) and nitrogen-rich “green” materials (like kitchen scraps, grass clippings, and coffee grounds). Ideally, you’ll want to maintain a ratio of 4:1 or 3:1, which means 3-4 parts “browns” to 1 part “greens.”
- If done correctly, the cardboard base will break down in 6-8 months, and worms might then migrate from your native soil into your compost pile.
This process is 100% free and doesn’t require the addition of any worms.
At this point, if you see any worms in your compost, you don’t need to add more since they’re migrating in from your native soil. But if you don’t see them, you might consider adding some of your own.
Once you’ve decided to add worms to your compost, here’s how you do it:
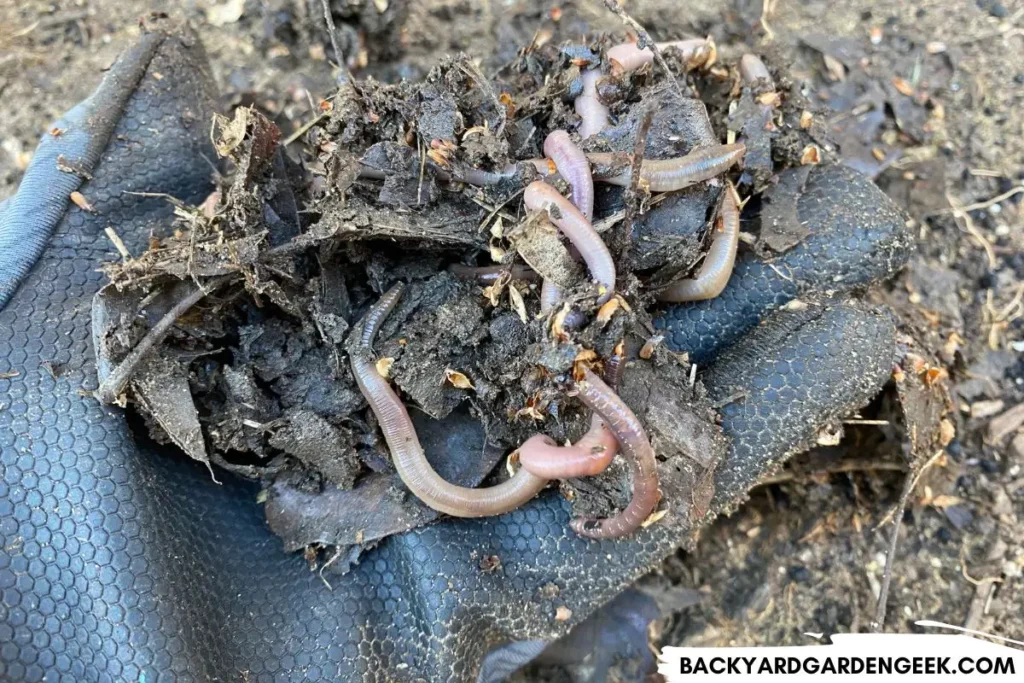
- Purchase Worms: Buy composting worms from a reliable supplier. The worms you buy should be compost-friendly, which is why I highly recommend Red Wigglers.
- Prepare the Pile: Ensure your compost pile is ready for the worms. It should be moist but not soaking, and have a good mix of green and brown materials—not too warm outside nor too cold. That’s the temperature rrangethat worms love most.
- Add the Worms: Scatter the worms over the top of the compost pile. They’ll burrow down and start doing their job within a few minutes.
- Maintain Your Compost: Keep the pile moist and turn it every 1-2 months to maintain aeration. Avoid adding massive amounts of acidic materials all at once. Adding some is fine, but if you add a ton, the worms won’t like that.
By following these guidelines, you can create a thriving environment for your worms and speed up the composting process.
Adding Worms to Compost Bins and Tumblers
Adding worms to your compost bin or tumbler works best if you know the advantages and disadvantages beforehand, so let’s look at both options to help you make an informed decision.
Adding Worms to Compost Bins
If you have a compost bin with an open bottom, worms will naturally migrate into the compost over time. You can speed up this process by adding worms, but it’s essential to consider the composting conditions.
Worms thrive in cool composting conditions. They’ll happily eat their way through kitchen scraps, breaking down organic matter into rich, fertile compost.
If you introduce worms into a cool compost bin, they’ll help accelerate the composting process.
But hot composting is a different story. The temperatures in hot compost bins can soar up to 160°F (71.1°C), which is too hot for worms to survive. If you add worms to a hot compost bin, they’ll die pretty quickly.
Here’s a quick summary of the advantages and disadvantages of adding worms to a compost bin:
Advantages
- Accelerates composting process in cool compost bins.
- Worm castings enrich the compost, leaving behind valuable nutrients.
- Worms help break down organic material into smaller particles, improving compost texture.
Disadvantages
- Worms can migrate out of your compost bin and into your native soil. There’s no guarantee that they’ll remain in your bin once you’ve added them!
- Worms will always migrate out of your compost bin when the weather turns cold outside.
- If your compost is too hot, the worms may not survive very long in such conditions.
Compost bins are very different than compost tumblers, so let’s take a moment to discuss what can happen when you add worms to the materials in your tumbler.
Adding Worms to Compost Tumblers
Unlike compost bins or piles, compost tumblers are fully enclosed composting systems, so worms can’t naturally migrate into the compost. Adding worms to a compost tumbler is feasible, but that’s not something I normally recommend doing.
Generally speaking, worms can survive in a cool compost tumbler, assuming the conditions inside are suitable. But without access to native soil, they’re not going to thrive as they would in compost that’s sitting atop soil.
If the temperature inside the tumbler increases or decreases too much, the worms will die. And if you’re not consistently filling the bin with materials that are readily processed by worms, they’ll die as well.
In other words, compost tumblers aren’t the best environment for worms because these little helpers are trapped inside. They’ve got nowhere to go, so if you don’t maintain just the right conditions in the tumbler, they’re not going to do very well in there.
Also, compost tumblers can get quite hot, making them unsuitable for worms.
As the tumbler absorbs external heat—and as the decomposition process takes place—the heat can’t escape the tumbler as easily as it would an outdoor compost bin, so temperatures inside the tumbler can easily exceed external temperatures.
Simply put, I think it’s a waste of time and worms to add them to a compost tumbler. Add as many as you want to your compost bin or pile, but I wouldn’t put those little wigglers in a tumbler.
I’ve noted above how worms can’t thrive if your compost is too hot or cold, but let’s take a quick, closer look at exactly what you can do to give your worms the best chance of survival when adding them to compost.
How Do You Keep Worms Alive in Compost?
Here’s how to maintain a worm-friendly composting environment, whether you’re using a compost pile, bin, or tumbler.
First, worms prefer stable, cool temperatures.
They can tolerate temperatures ranging from 40-80°F (4.4-26.7°C), but the sweet spot for worm activity is 55-77°F (12.8-23.9°C).
Remember, worms are fragile little creatures, so exposure to extreme temperatures will harm or kill them. If your compost pile or bin consistently reaches temperatures at or above 95°F (35°C), it’s likely too hot for your worm population.
Second, humidity is crucial for worm growth and development. They breathe through their skin, so they need a moist environment to wiggle through.
However, too much water can drown them. This is why you should aim for balance, keeping your compost damp like a wrung-out sponge.
Third, consider the composition of your compost. Worms eat decomposing organic matter, so maintaining a mix of green and brown materials is crucial to worm help and compost decomposition.
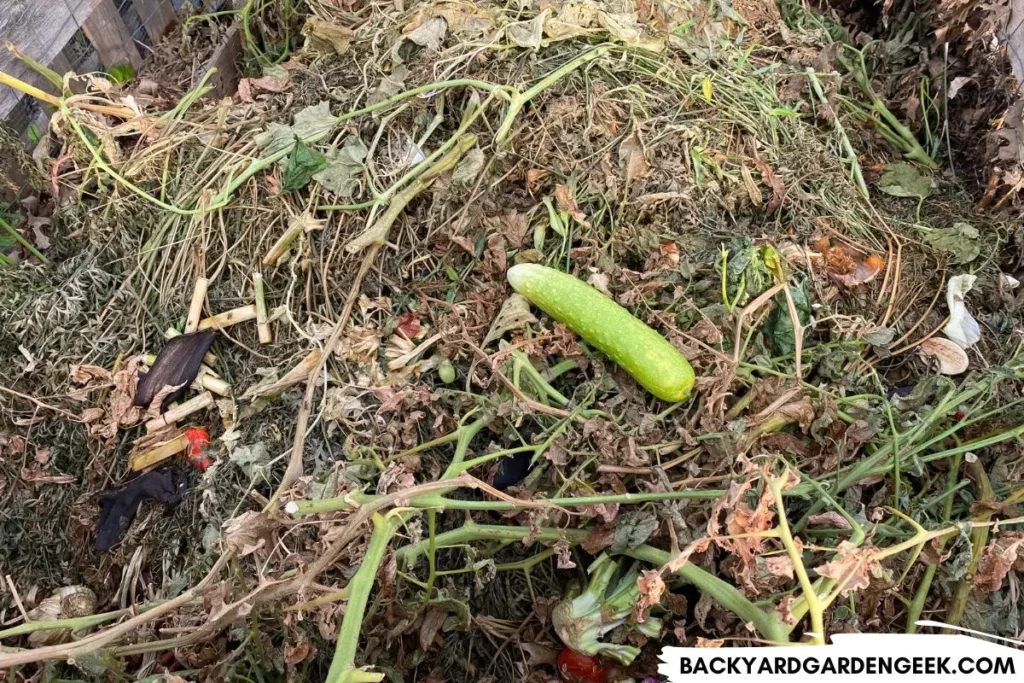
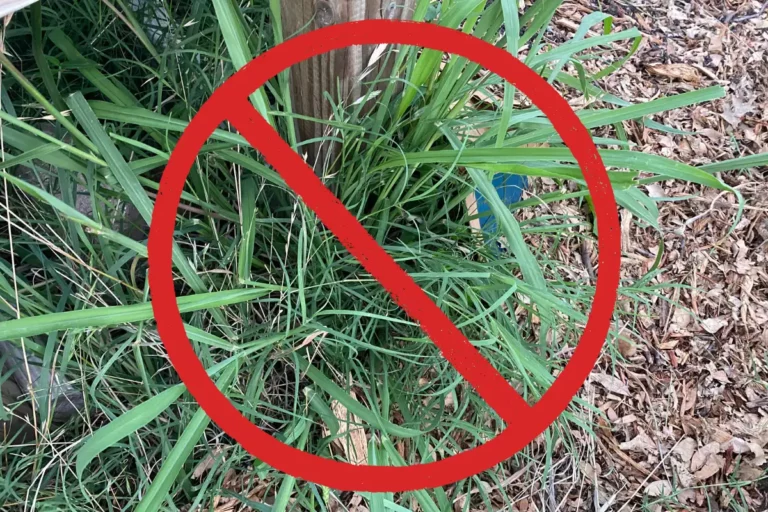
This is one reason why you’ll want to avoid adding anything that could create problems in your compost—such as meat, dairy products, oily foods, or massive amounts of citrus.
If you follow the steps noted above, you’ll create a worm-friendly compost environment where these little garden helpers can flourish, accelerating the decomposition process and enriching your compost with valuable nutrients.
Further Information
Compost is one of the cheapest, easiest ways to improve your garden, so if you’d like to continue reading, I recommend these related articles:
- 50 Plants You Should Never Compost (and Those You Should)
- Do Raised Beds Need Yearly Compost? (Here’s What to Do)
- Don’t Compost These Weeds (30+ Plants to Avoid)
- Filling Raised Beds with Just Compost: Should You Do It?
- Is Dawn Dish Soap Safe to Compost?
- Is Your Leftover Pizza Compost-Friendly?
- Should You Cover Your Compost Heap in Winter?
- What Goes at the Bottom of a Compost Pile?