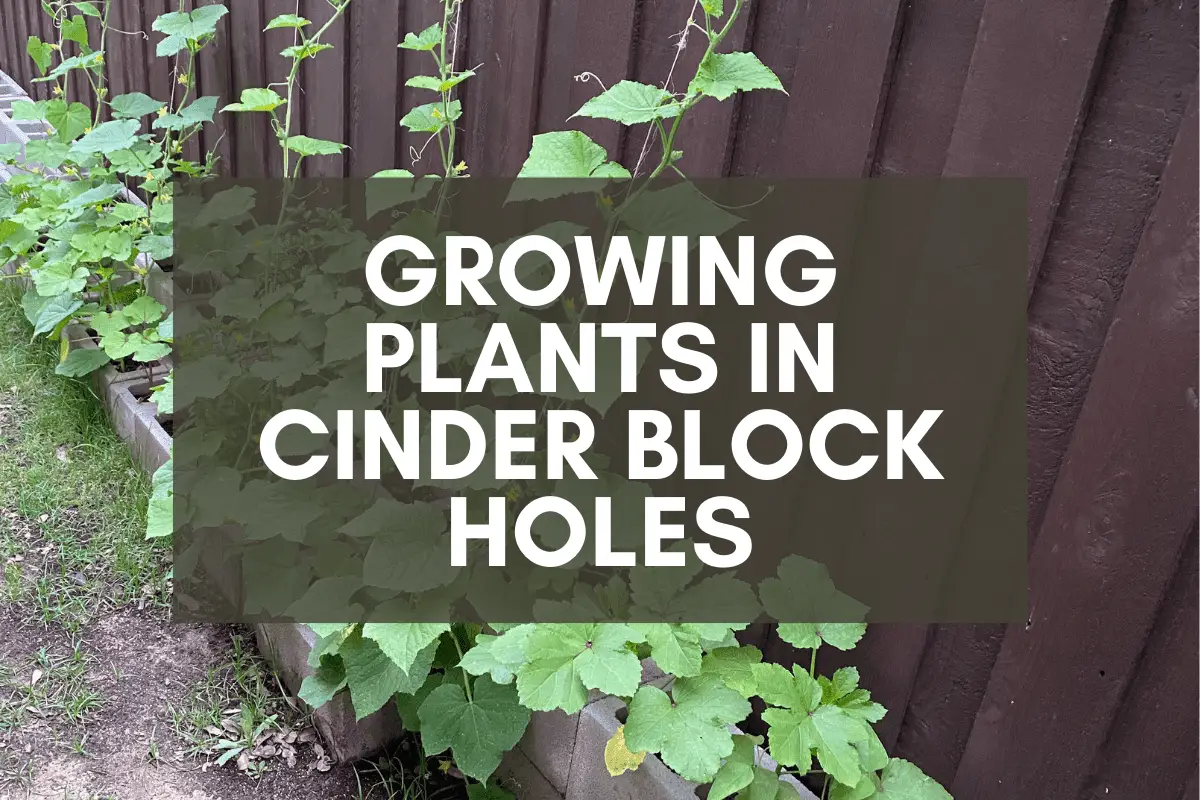
Growing Plants in Cinder Block Holes: A Step-by-Step Guide
I recently built my first cinder block garden bed, and ever since then, I’ve been a big fan of using cinder blocks in lieu of wood or metal for raised garden beds. They’re inexpensive, they’re long-lasting, and they’re safe for home gardens.
But have you ever looked at cinder blocks in your local home improvement store and wondered, “Can I grow plants in cinder block holes?”
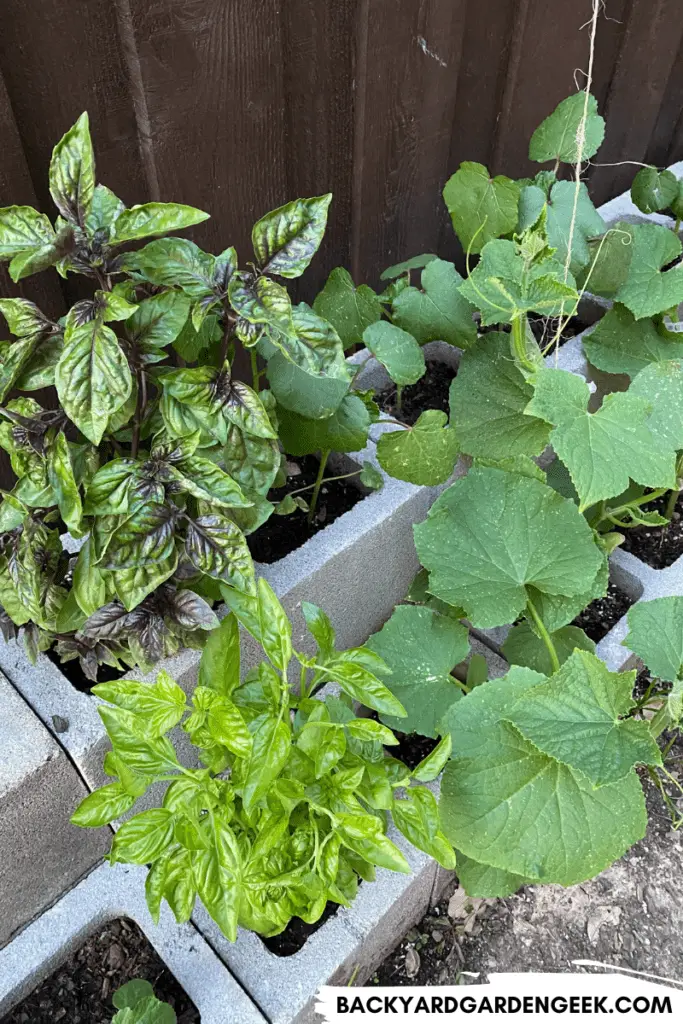
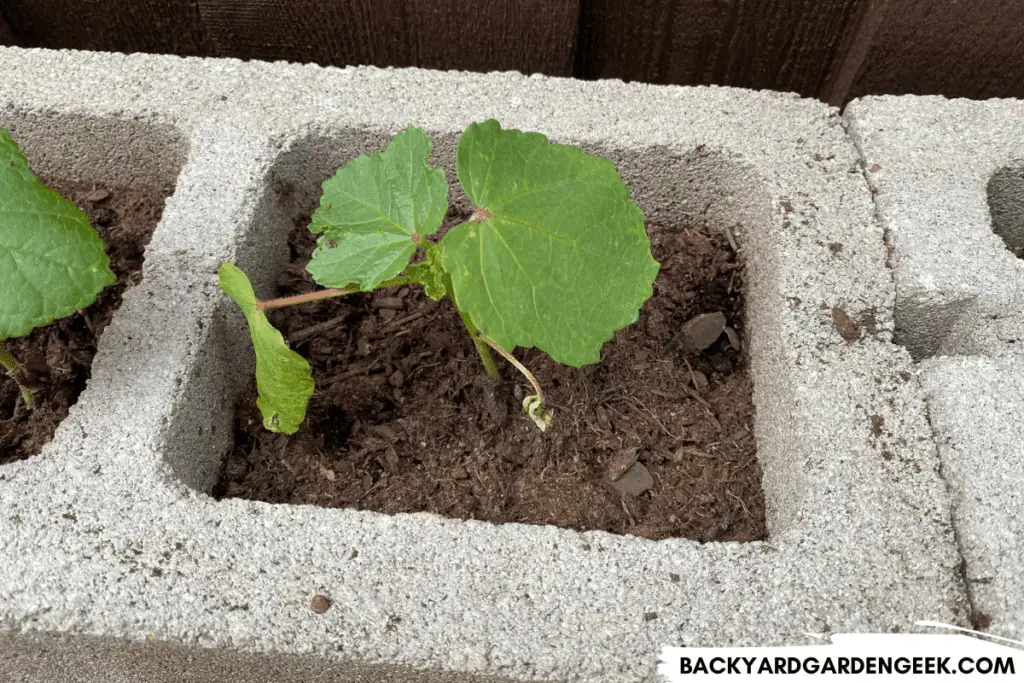
Cinder block holes might seem small, but they’re large enough for a variety of plants to grow and thrive. Beans, beets, carrots, garlic, onions, okra, peas, radishes, strawberries, turnips, most lettuce varieties, various herbs, and all kinds of flowers grow well in cinder block holes.
As you’ve already noticed, I use the term “cinder blocks” throughout this article because that’s what I’ve always called them. But what I’m referring to are the modern versions of cinder blocks that often go by the name “concrete blocks” because they don’t contain coal ash (unlike blocks that were produced throughout much of the 20th century). These newer blocks are made of cement, water, and finely ground sand or stone, which is why I’m comfortable using them in my garden.
If you’d like to know exactly why I prefer cinder blocks to other building materials, check out my article on the many reasons why cinder blocks are good for raised garden beds.
But if you’ve already made the decision to build a cinder block garden bed and are looking for advice about what to do with the cinder block holes, you’ve come to the right place!
Just follow these directions, and within a few short months, you’ll be harvesting vegetables from each of your cinder block holes.
1. Know Your Measurements
It’s important to understand how much soil it’ll take to fill each cinder block hole for two reasons.
First, you need to know how much soil to purchase since cinder block holes require more soil than you might think, especially if you’ve designed a cinder block raised bed that’s large or deep (or both). Second, knowing the growing space of each cinder block hole will provide important clues about the kinds of plants that’ll grow well in these holes.
In most standard size cinder blocks–which are typically 8x8x16 inches or 8x8x8 inches–the cinder block hole is 5.5 inches long, 5.5 inches wide, and 8 inches deep. This means that each hole is approximately 242 cubic inches. In terms of surface area, the area of each cinder block hole opening is approximately 30.25 square inches.
As I’ve noted in my article about plants that grow well in cinder block holes, the popular square foot gardening method works when you create 12×12 inch grids in your garden bed, then determine how many plants can fit into each grid. Some plants take up the entire 12×12 inch grid–such as tomatoes, peppers, eggplant, broccoli, and cabbage. But many other plant varieties take up less space, meaning you can plant anywhere from 4-9 plants per 12×12 inch grid.
What’s nice about cinder block holes is that each side is 5.5. inches, which means that, in terms of surface area, a single cinder block hole is nearly ¼ the size of a 12×12 inch grid.
In other words, you can use the square foot gardening method to determine whether your plants will grow well in cinder block holes. If 4 or more plants can be grown in a single 12×12 inch grid, then you should be able to grow a single plant of that variety in a cinder block hole.
2. Pay Attention to the Sun
One of the biggest mistakes you can make when designing a cinder block raised garden bed is not paying enough attention to the sun.
On the one hand, if you live in a warmer climate and choose an area of your property that’s exposed to full sun throughout the day, you’re going to need to water your plants more often, especially those in cinder block holes, since cinder blocks will absorb heat from the sun. On the other hand, if you choose a part of your property that gets too much shade throughout the day, your veggies won’t develop fully, and you’ll be left with a bed full of stunted plants.
When it comes to cinder block garden beds, the perfect location is one that receives 6-8 hours of sunlight per day. This will provide enough sun for sun-loving plants while also ensuring that your cinder blocks aren’t absorbing 10+ hours of sunlight per day.
If your bed is going to be exposed to full sunlight all day long, consider painting the outside of your cinder blocks with a white acrylic paint. Not only will this improve the overall look of your garden (for those who are interested in aesthetics), but more importantly, it will reflect some of the heat from the sun.
One word of caution: I wouldn’t paint any part of the cinder block that comes in direct contact with your soil, only the exterior walls.
3. Choose Your Plants
Here’s what I love about cinder block raised beds: Depending on the size of the bed you’ve built, you might have anywhere from 10 to 36 cinder block holes to grow plants in.
Here’s how many cinder block holes you’ll have if you build an 8-foot-long, 8-inch-tall bed using 8x8x16 and 8x8x8 cinder blocks:
| Dimensions | # of 8x8x16 | # of 8x8x8 | # of Holes |
|---|---|---|---|
| 24 in. x 96 in. | 12 | 2 | 26 |
| 32 in. x 96 in. | 14 | 0 | 28 |
| 40 in. x 96 in. | 14 | 2 | 30 |
| 48 in. x 96 in. | 16 | 0 | 32 |
| 56 in. x 96 in. | 16 | 2 | 34 |
| 64 in. x 96 in. | 18 | 0 | 36 |
I’ve seen some people cover their cinder block holes with 8x2x16 inch concrete caps, and while I agree that this can increase the overall aesthetics of the garden bed, I don’t understand why people would want to reduce the number of plants that can be grown in the bed while simultaneously spending more money to build the bed. Personally, I’m looking to maximize my growing area, so each cinder block hole equals another plant in my garden.
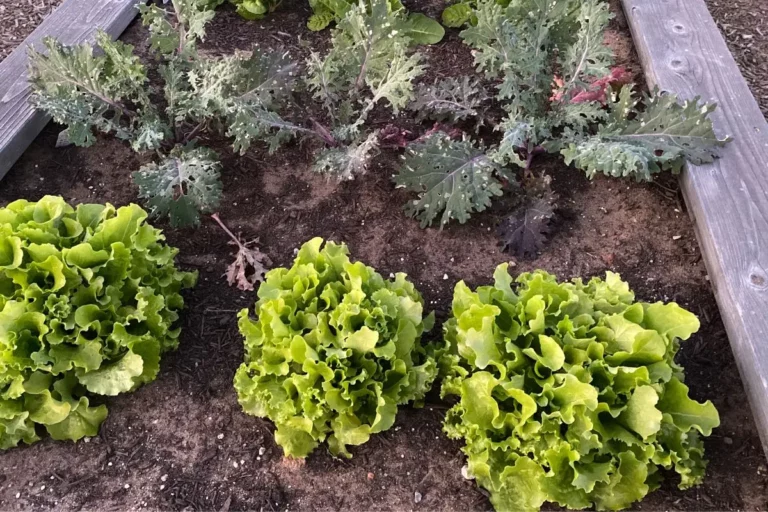
When it comes to selecting plants, I’ve created an extensive list of plants that grow well in cinder block holes. Some varieties, like lettuce and herbs, won’t surprise anyone. But others, such as okra and sunflowers, probably will.
The key with growing plants in cinder block holes is to choose varieties that grow well in constricted spaces. Climbing plants are great, but you’ll need to install a support system (like a net, trellis, or cattle panel) or grow climbing plants in cinder block holes that are adjacent to sturdy varieties such as okra and sunflowers, which will allow the climbing plant–whether it’s a bean, pea, or malabar spinach vine–to grow up the stalk of the sturdier plant.
Whatever plants you choose, be sure to plant taller-growing varieties in the north-facing cinder block holes. If you plant them in the south-facing cinder block holes, they’ll eventually shade out the other plants in your bed.
4. Lay a Proper Weed Barrier
Before you build your cinder block bed, be sure to put down a weed barrier of some kind so that native grasses don’t overtake your raised bed. It’s impossible to stop weeds 100% of the time, but a good barrier will go a long way to helping you keep your soil weed free.
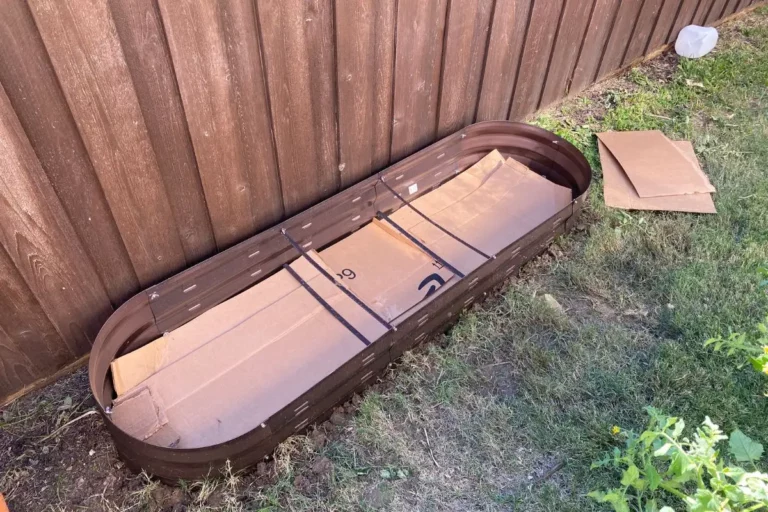
I think that good weed barrier fabrics are a great option for those who want to make it as hard as possible for native weeds or small critters to sneak into your garden bed from below. But for cinder block beds, I do not recommend weed fabric. Instead, I recommend putting down a thick layer of cardboard boxes (once all tape and glue have been removed).
Here’s why: Your plants, especially the varieties you’re planning to plant in the cinder block holes, will benefit by growing through the top level of soil into the native soil below your bed.
Of course, if you’re planning to build a cinder block raised bed that’s 3 or 4 cinder blocks high, go ahead and put down a weed barrier fabric since most plants won’t send roots that far down into the soil anyway. But if you’re looking to build a cinder block bed that’s only 8 or 16 inches tall, consider using cardboard instead of weed fabric. The cardboard will kill the native grass, but it’ll also decompose over time, allowing plants to send their roots further down into the soil.
For plants that are grown in the tight confines of a cinder block hole, access to your native soil, even if it’s relatively poor native soil, will give your plant additional room to seek out the nutrients it needs to thrive.
5. Save Money with Hügelkultur
The word hügelkultur might sound a bit weird, but it’s a relatively straightforward concept.
Instead of filling your entire raised garden bed with soil–which can get pretty expensive depending on the size of your bed–you can instead fill the bottom half of your bed with yard debris such as leaves, sticks, branches, twigs, mulch, or other yard clippings.
Simply put, you can fill your bed with just about anything as long as it’s something that will decompose in the next year or so.
I did this recently with a raised metal garden bed that I placed in a corner of my yard that’s oddly sloped. I didn’t feel comfortable using cinder blocks in this particular location because of the steep slope of the yard–and I didn’t feel like digging out several cubic feet of soil to level everything properly–but I tried hügelkultur for the first time in a raised bed, and it was a huge success. I filled at least half the bed with bush trimmings and wood chips, then covered the trimmings and wood chips in about 6 inches of soil.
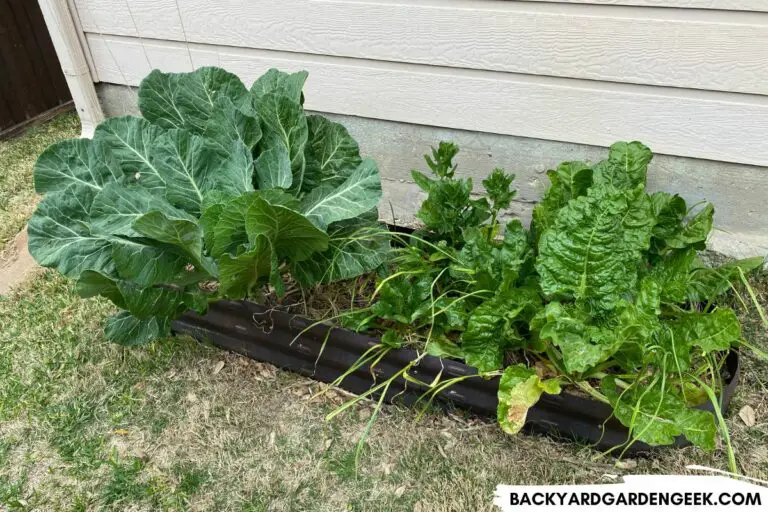
I watered the bed several times to make sure everything had settled in as well as possible and then filled the bed with numerous plant varieties: green beans, swiss chard, collards, bok choy, and garlic. I wasn’t sure if my experiment was going to work, but within a month or two, I realized that it was a resounding success. The plants were all thriving.
Whether you’re planning to build an 8-inch-tall bed or hoping to stack cinder blocks to create a bed that’s 16 inches, 24 inches, or even 32 inches tall, I recommend filling at least part of your bed with whatever yard debris you’ve got around your property.
But here’s an important tip: Do not fill your bed to the top with soil. You need to leave at least 2-3 inches of space for mulching (more if you experience very hot summers where you live), which I’ll explain in more detail further down in this article.
6. Amend Your Soil
Whether or not the bottom of your garden bed has a layer of debris in it, you’ll want to pay particular attention to the soil that you fill your cinder block beds with, especially the soil that goes into each cinder block hole.
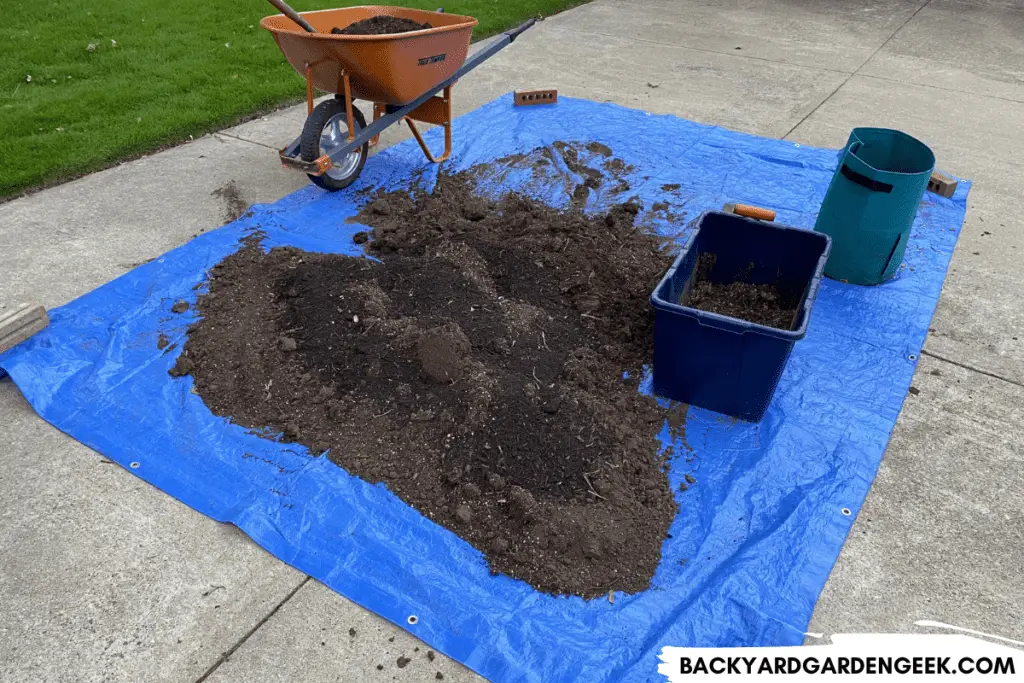
For cinder block raised garden beds–and especially for cinder block holes–I recommend using soil that’s been amended. You can buy bags of soil at your local home improvement store, but be sure to amend that soil by adding the following ingredients and mixing everything with a shovel or a sturdy garden fork (which is what I use):
- Compost
- Sphagnum Peat Moss
- Vermiculite
Here’s the formula I prefer when it comes to soil amendments: I combine 2 parts soil + 1 part compost + 1 part peat moss + 1 part vermiculite. The vermiculite is crucial since it’ll help your soil retain moisture, which is especially important when growing plants in cinder block holes
If you’re using native soil that’s overly dense, you might consider adding perlite to the mix as well. Perlite is a volcanic glass that’s been heated to insanely hot temperatures, which causes the glass to rapidly expand to the point where it becomes light and airy. It’s an incredibly lightweight material and safe to the touch, which is why it’s found in most bagged soil sold at home improvement stores.
If you’ve got dense soil, use the formula listed above but add 1 part perlite as well and mix thoroughly. You’ll notice an immediate difference in your soil, as I discovered last year when I amended some old leftover soil for my new cinder block raised bed.
7. Leave Room for Mulch
One of the only downsides to growing plants in a cinder block raised bed is the tendency for the cinder blocks to absorb heat and potentially dry out the soil. You can mitigate this problem by mulching deeply throughout the main garden bed and in each cinder block hole.
Mulching the main bed is relatively easy. Assuming you left 2-3 inches of space in your bed, like I advised above, you’ll have plenty of room to lay mulch in your bed without it overflowing into your yard.
When it comes to each cinder block hole, make sure there’s 1-2 inches in each for some mulch. You’ve got to be careful as you add mulch so that you don’t damage your plants, but I’ve found that it’s fairly easy to carefully drop mulch into each cinder block hole.
8. Create a Watering Schedule
I recommend creating a schedule for watering both your main bed and your cinder block holes, which will help you remember when to do so so that you’re not over- or under-watering your plants.
With cinder block holes, this is particularly important. During the hot summer months, the soil in these holes will dry out faster than the soil in the main bed, even if properly mulched.
If you’d like to automate this process, you can set up a drip line that runs around the perimeter of your bed. But I do it the old-fashioned way: At regular intervals each week, I give the cinder block holes an extra watering so that the soil in them retains its moisture and the plants don’t experience heat stress.
Because here’s what happens if you’ve got dry soil and heat-stressed plants: Spider mites will undoubtedly arrive in your garden. They’ll seek out numerous plant varieties, and they’ll spread from plant to plant within a few short weeks.
You can plant trap crops such as marigolds in cinder block holes to contain such pests–and you can also intersperse resistant plant varieties among those that tend to attract such bugs–but the best defense against spider mites and other garden intruders is to ensure that your plants are healthy and thriving.
Regular, consistent watering is key to this process, especially for plants that are growing in cinder block holes. This is why I recommend a watering schedule. You can even use a calendar or phone app to ensure you don’t miss any scheduled waterings.
9. Track Plant Performance
If you’ve built a cinder block raised garden bed, you’re going to be gardening in it for a very long time since cinder blocks can last anywhere from 50-100 years before they decay.
I’ve created a list of plants that grow well in cinder block holes, but I’d encourage you to track your plants’ performance to see if you’ve got any varieties that grow surprisingly well (or not well at all).
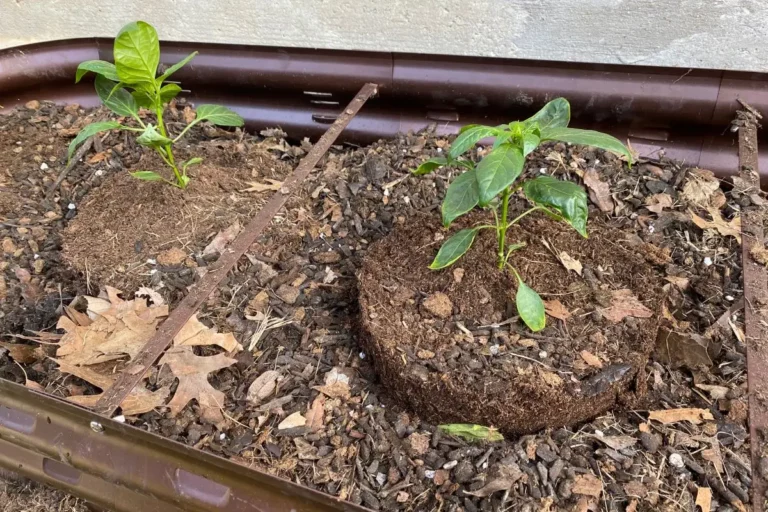
I’d also encourage you to experiment: You could try growing cucumber plants in a few cinder block holes. Or you could try a small cayenne or jalapeno pepper plant to see how it turns out. Had I not experimented with okra and sunflowers, I would never have thought to plant them in cinder block holes, but to my great surprise, they’ve far outperformed my expectations.
Simply put, if you keep track of what grows well in cinder block holes, as well as what doesn’t, you’ll not only have fun experimenting with different plants. You’ll also increase the size of your harvest year after year.

Your articles about building raised gardens have been extremely helpful to me. I have a small-ish area that I’ve never known what to do with and your articles have inspired me to build them up with concrete blocks and/or other raising materials. Thanks for making this so easy to understand and so comprehensive.
Thanks, Jessica! Glad the articles could help. Concrete blocks are great. I’ve also bought a few Vego garden beds recently, and although they’re pricey, they’ve been fabulous these past few years. Good luck!