Are Wood Chips Good for Vegetable Gardens?
Last year, my neighbor had a truckload of wood chips delivered to his property by a local arborist, and he told me I could carry away as much as I wanted to use in my backyard garden and around my property.
I was excited (because who doesn’t love free mulch!), but this also made me wonder whether wood chips would be a good addition to my garden. How much did I need? What should I do with them? How much would they help my plants?
Fast forward 6 months, and the results were in!
Locally sourced wood chips are enormously beneficial for vegetable gardeners because they help suppress weeds, minimize watering, and regulate soil temperature. Over time, they break down and add both carbon and nitrogen to the soil, enhancing overall plant health and productivity.
In this article, I’ll cover the following important topics:
- The benefits of using wood chips as mulch in and around your garden.
- An experiment with wood chips that resulted in better plant growth.
- A few quick tips about getting free mulch from local tree trimmers.
Of course, I’ll share more of my own personal experience with wood chips, both in my backyard garden and at the community garden where I volunteer.
If you’ve got a vegetable garden that could benefit from some free wood chips, keep reading!
Should I Put Wood Chips in My Vegetable Garden?
I’m relatively new to gardening with wood chips—since I’ve only been using them for the past 5 or so years—but they play a crucial role in several different ways.
- Wood chips smother weed seeds. By laying down a 2-3 inch layer of wood chips, you create a physical barrier that prevents weed seeds from germinating and growing. This keeps your garden tidy and ensures your vegetable plants aren’t competing for nutrients with pesky weeds.
- Wood chips keep soil pathogens at bay, providing a barrier between the soil and the lowest foliage on your plants. They act as a buffer zone between your vegetables and the soil, reducing the chance of soil-borne diseases splashing onto your plants during watering or rainfall.
- Watering your garden becomes much easier with wood chips. They help distribute water more evenly throughout your garden and reduce the rate at which water evaporates from the soil, ensuring that your plants stay hydrated longer.
- Wood chips easily absorb and retain moisture. They soak up water like a sponge and release it slowly back into the soil. This property is especially useful during hot, dry periods when water becomes a scarce resource.
- On scorching summer days, wood chips keep your soil cooler. They shield your soil from the harsh rays of the sun, providing a cooler, more consistent environment for your plants’ roots.
Now that I’ve covered the benefits of using wood chips, you’re probably wondering: “Okay, where can I get some?”
Here’s the best part: There’s a fantastic resource called getchipdrop.com, a website that connects local tree trimmers with people who want free wood chips.
Here’s how it works:
- Sign up for a free account on the website. This won’t take long at all.
- Fill in your details and specify where you want the wood chips dropped.
- Wait for your turn. Depending on your location and the demand, this could take a few weeks or more.
- When your time comes, a truck will deliver a load of free wood chips to your property.
However, like most things in life, using getchipdrop.com has its pros and cons. Let’s take a look at each:
Pros
- You’ll get a huge load of wood chips.
- In fact, you’ll have so much you can probably share with your neighbors and friends.
- The wood chips will be locally sourced and undyed.
- The load of chips will contain both brown materials (branches, bark, wood) and green materials (leaves) for a nice mix of carbon and nitrogen.
- You’ll pay nothing for the entire haul.
- Everything will be delivered to your property.
Cons
- You might have to wait quite some time before someone drops any wood chips at your property.
- If you live in rural areas or areas with few trees (and thus few tree trimmers), you might not be able to get a chip drop.
- You won’t be notified ahead of time that they’re dropping off wood chips that day, so there’s an element of surprise to the delivery.
- You’ll get several cubic yards of wood chips, which might be way too much if you’ve got a small yard or garden.
- Every delivery is different. Some deliveries might even include pieces of tree stumps that you’ll need to use or get rid of.
- On very rare occasions, you might get a chip drop that contains unwanted bugs or ants (whatever pests that were in the tree when it was cut down and chipped up). I don’t know anyone who’s had this happen to them, but I saw someone mention it in a local Facebook group, so it’s theoretically possible.
I share these cons because they’re possibilities. But over the past few years, my neighbors and I have gotten 2 chip drops and have had a great experience both times.
Now that I’ve given a quick overview, let me share some insights I gleaned from an experiment I did last year.
Here’s how the experiment went down:
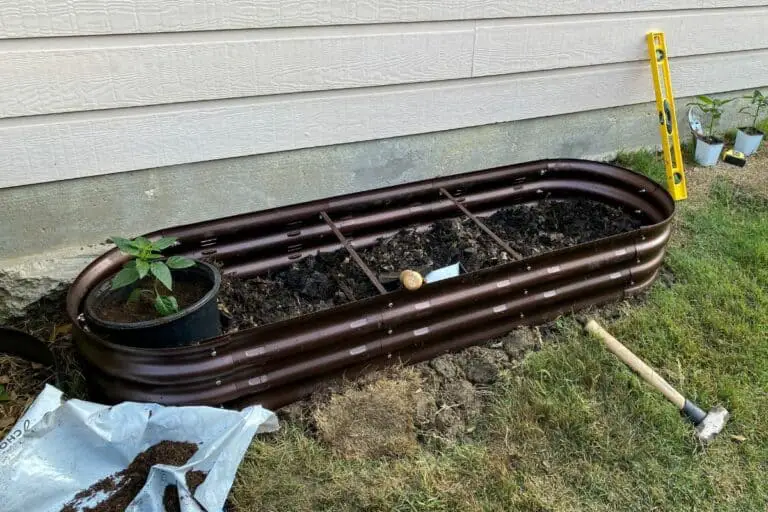
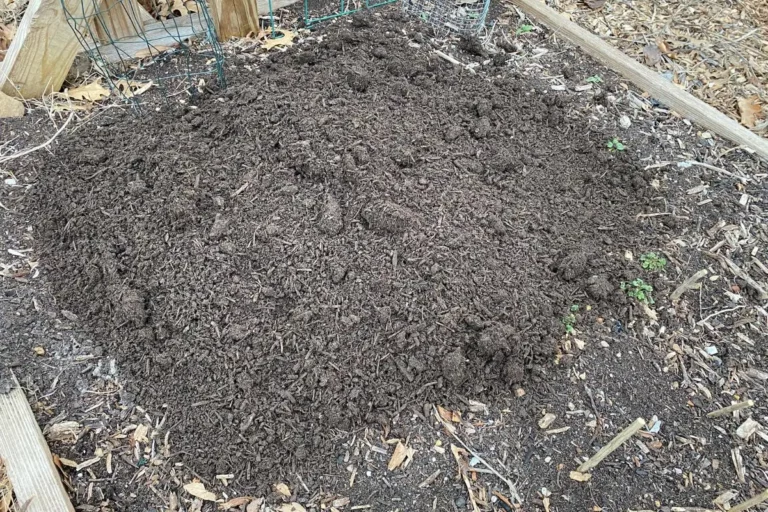
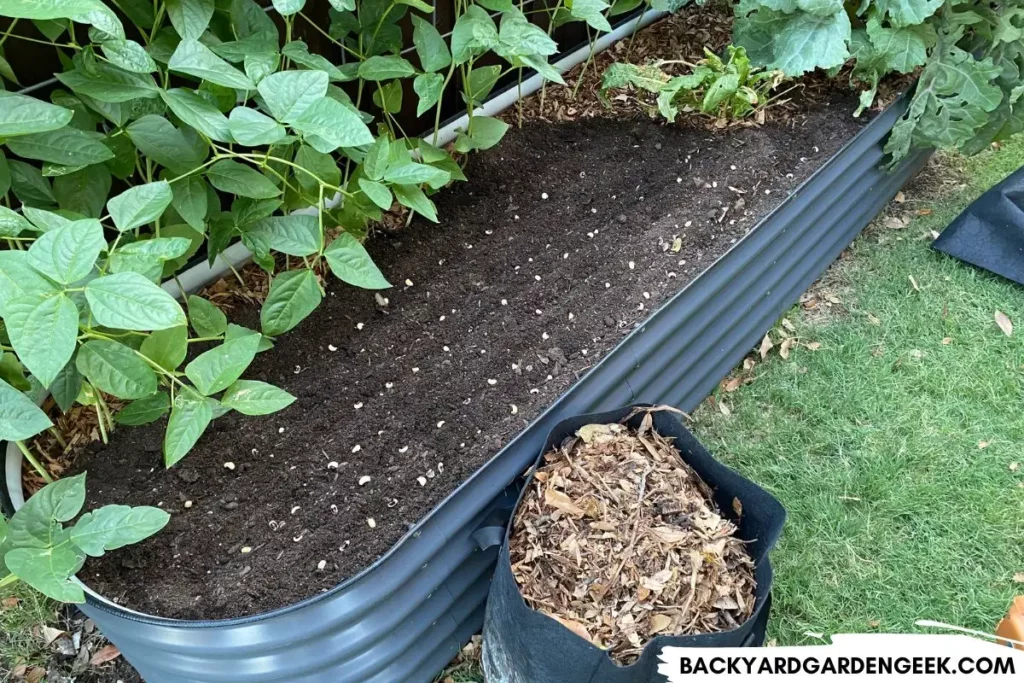
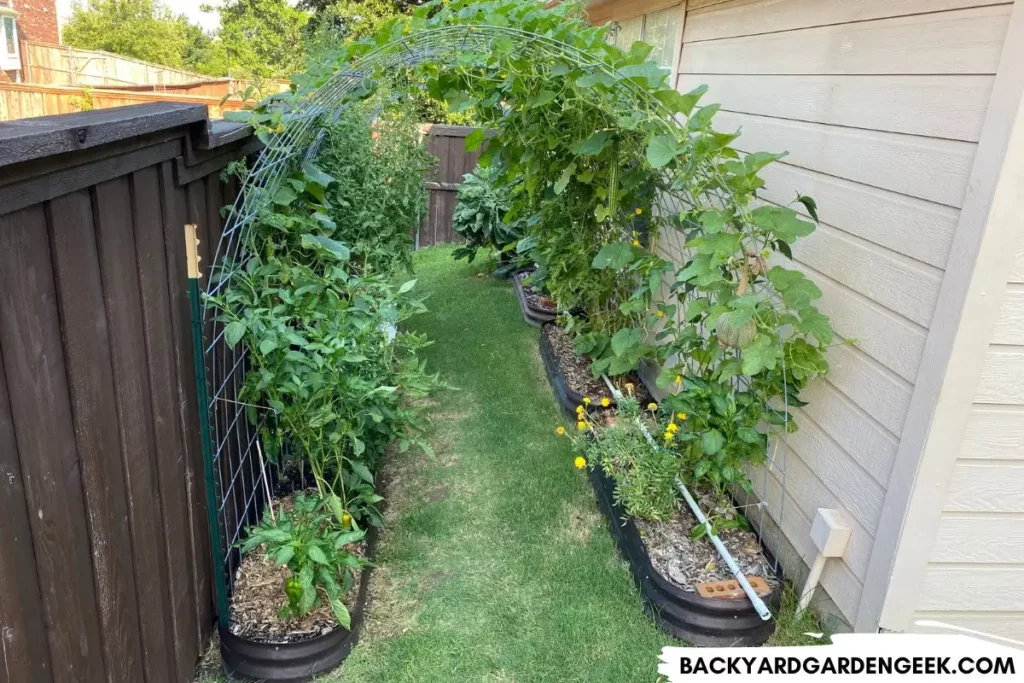
Step 1: I installed several new raised garden beds behind my garage, in a previously worthless little strip of property that was mostly just clay soil and Bermuda grass.
(If you want to see photos of my space, check out my article on growing vegetables in raised beds or the one I wrote about installing raised beds on sloping ground.)
Step 2: I planted indeterminate tomato plants in both raised beds.
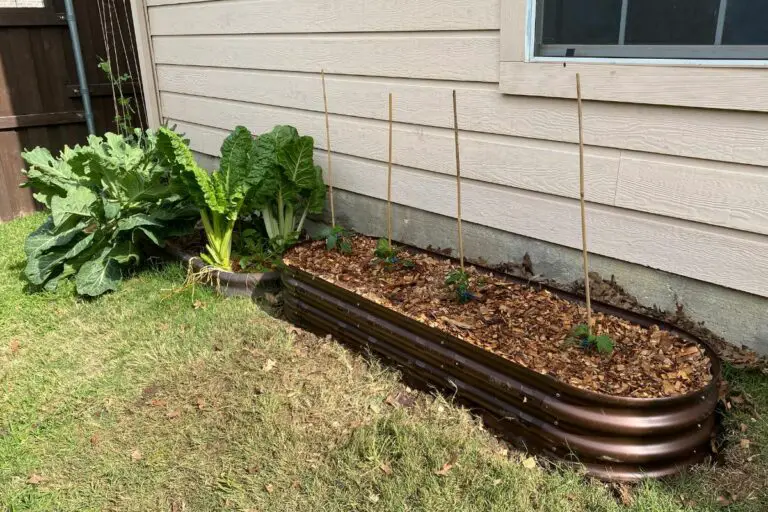
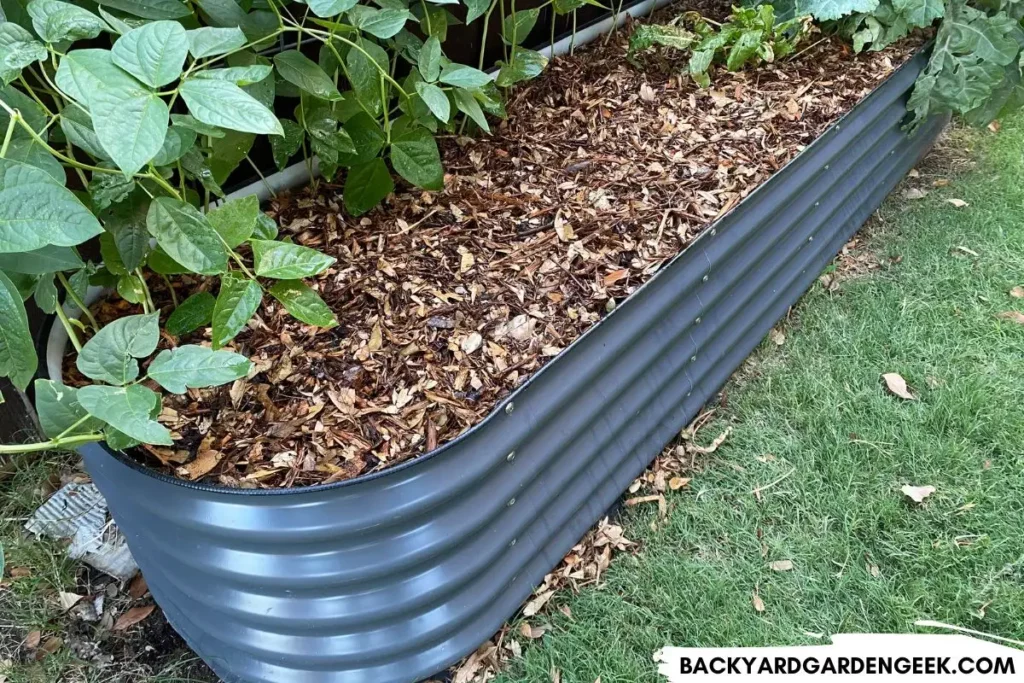
Step 3: In one raised bed, I left the soil bare. In the other raised bed, I put down a layer of 2-3 inches of wood chips. I used the same soil in each bed, and I watered and fertilized my plants exactly the same.
Two months later, the tomato plants in the bed that I had mulched heavily were around 25% larger than the tomato plants in the un-mulched bed. By the end of last season, they had produced way more tomatoes as well!
(If you’d like to learn more about gardening with raised beds, I recommend reading an article I wrote recently about the pros and cons of raised beds.)
So here’s the takeaway: Always mulch heavily around your garden plants.
To recap, a thick layer of wood chips will do the following for your garden beds:
- smother weed seeds
- keep soil pathogens away from plant foliage
- make watering easier
- absorb and retain moisture
- keep your soil cooler on hot summer days.
For these reasons, wood chips make an incredible addition to your gardening routine. Whenever I plant new seeds or seedlings, I move aside the wood chips, put the seeds or plants in the soil, then cover them back up with wood chips.
Over time, the wood chips protect the plant while also slowly decomposing into carbon- and nitrogen-rich materials that your plants will love!
How Do I Get Wood Chips for Free?
You might now be wondering, “Thanks for the info, John, but is getchipdrop.com the only way to get wood chips?”
Generally speaking, there are 2 ways to get free wood chips delivered to your property:
First, as I noted above, you can use the getchipdrop.com website to request a delivery.
You see, local tree trimmers have to pay to haul their chopped-up trees off to the local landfill. The getchipdrop.com website directs them to your property instead.
You get free wood chips. They get a free place to dump their wood chips. It’s a win-win!
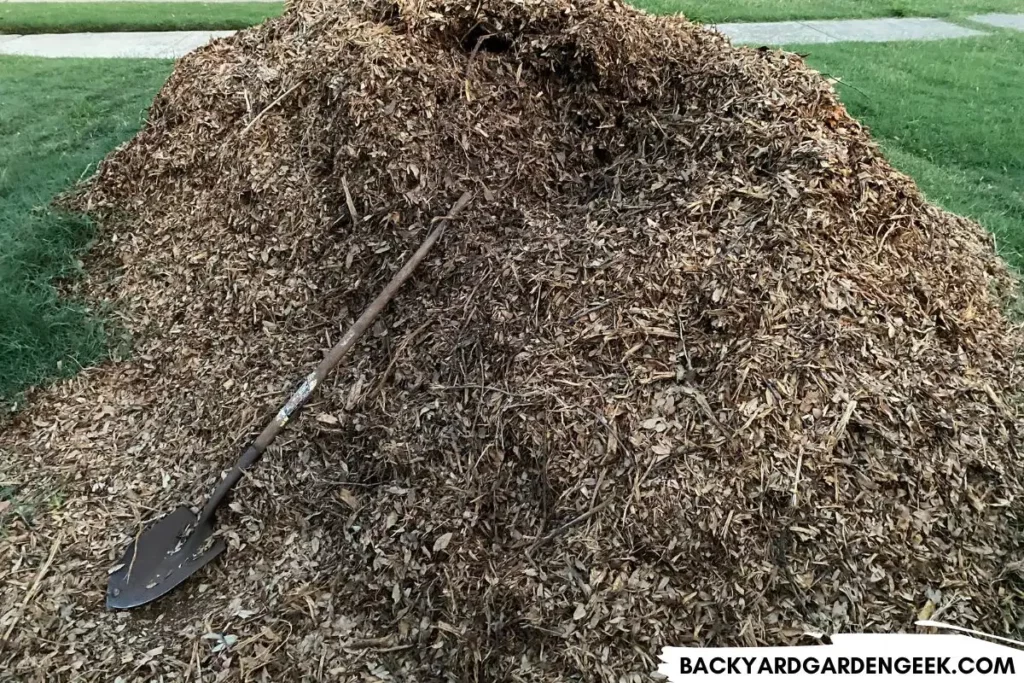
You might have to wait a few weeks (or possibly even longer) depending on where you live, but when your time comes, a truck will pull up and drop a large truckload of wood chips on your property.
Unless you’ve got lots of garden beds you’d like to mulch, I highly recommend splitting a chip drop with your neighbor.
My neighbor and I did that last year, and I hauled away 20 wheelbarrows full of wood chips (about 40% of the pile).
I mulched my entire property with those chips…all of the beds around my house plus every one of my backyard garden beds!

Second, if you see tree trimmers working anywhere near your property, you might be able to score a quick haul by pulling up and asking them if they’d be willing to drop their wood chips at your house.
Assuming they haven’t already committed to dropping off their wood chips elsewhere, they’ll likely be happy to avoid a landfill fee, and you might get your hands on an immediate wood chip delivery—a win-win scenario for both you and the tree trimmers!
Should I Use Wood Chips in My Raised Garden Beds?
If you’ve got any leftover wood chips after you’ve thoroughly mulched around all of your plants—and if you’re planning to install or build any new raised garden beds—you can save a lot of money by filling the bottom half of your raised beds with wood chips.
Check out my article on the best materials to put in the bottom of raised beds to learn more about the raised beds I use on my property and how I fill them when installing new raised beds for the first time (plus more photos!).
And this is where wood chips come in handy. When you’re filling a new raised bed for the first time, do not fill it completely with soil…unless you feel like spending money you don’t need to spend.
Here’s what I do instead. Think of the vertical space in your new raised bed and divide it into 4 layers: the bottom 25%, the lower middle 25%, the upper middle 25%, and the top 25%.
Layer 1: The Bottom 25%
If I’ve got wood chips on hand, I’ll literally fill the entire bottom 25% of my new raised bed with them.
I’ll even toss in small logs, branches, leaves, and pine needles (basically anything that’ll decompose over the course of 12-18 months).
In fact, I once chopped up an entire Christmas tree and filled the bottom half of a new raised bed with it.
During the first year, I grew lots of shallow-rooted plants in that bed, and they did amazing!
Layer 2: The Lower Middle 25%
For this layer, I’ll sometimes fill it with wood chips as well if the raised bed is a deeper one (15-20 inches or so).
There’s a myth out there that wood chips will suck the nitrogen out of your soil, thus keeping your plants from thriving.
But please understand that this is, at most, a very temporary phenomenon.
Most wood chips you get from an arborist or tree trimmer are fairly small pieces of wood. They might absorb some nitrogen in the soil temporarily, but as they decompose, they’ll release that nitrogen back into the soil, along with carbon-rich materials as well.
If you’re willing to let the bottom layers of your raised bed decompose while gardening in the top layers, your plants will be just fine.
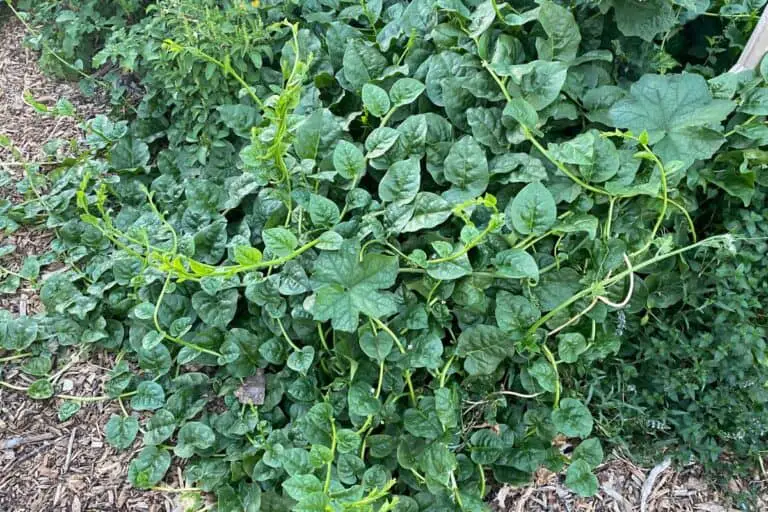
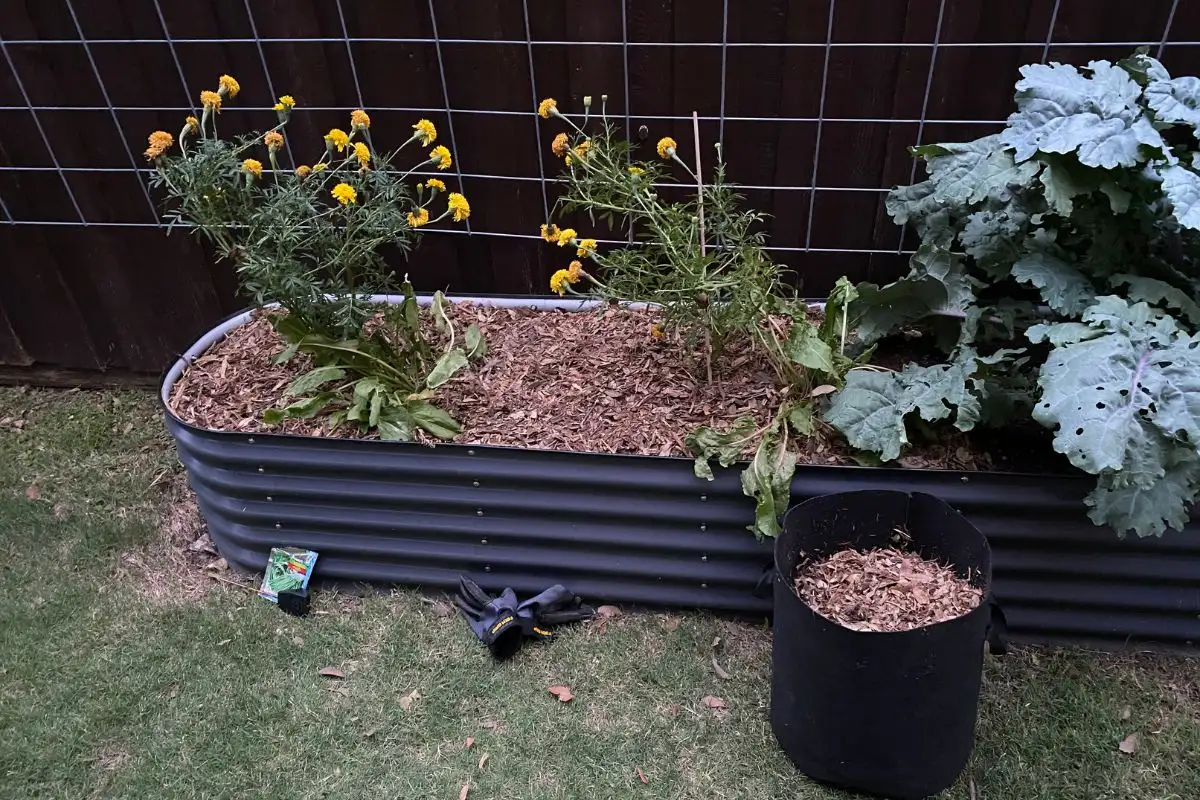
In my raised bed that’s partially filled with chopped-up Christmas tree, I’ve grown kale, yardlong beans, onions, beets, sorrel, and marigolds—just a few months after installing the bed!
If I can grow that many plants in a raised bed that’s mostly filled with Christmas tree pieces, you can certainly do something similar on your property.
And if you’ve got enough space, this is also a great layer to add coffee grounds, dead grass clippings, kitchen scraps, and old soil. All of it will decompose over 4-6 months, turning into great soil!
Layer 3: The Upper Middle 25%
Now that the lower layers of your raised bed are filled with wood chips and all kinds of other biodegradable materials that’ll be transformed into quality soil down the road, let’s focus on the upper middle layer.
In this layer, I typically only fill my bed with compost and soil. That’s because, in most raised beds that are 15-20 inches deep, plant roots will easily reach down into this level. I want to make sure they can get all the nutrients they need.
Just mix compost and garden soil and pour it all in your raised bed. Your plants will be very happy that you gave them plenty of soil to grow in!
Layer 4: The Top 25%
This is kind of a no-brainer, but the top 25% of any raised bed should always be nothing but good soil, whether you’ve bought it at a nearby garden center or home improvement store, picked up a bulk truckload from a local supplier, or amended and repurposed soil that’s already on your property.
You’ll be planting your seeds and seedlings directly in this soil, so make sure you amend it well.
I purchased bulk soil from a retailer here in North Texas last year, and as an experiment, I didn’t amend it and simply added it to some new raised beds.
Sure enough, the plants that grew there did poorly, likely due to very low nitrogen levels in the soil.
My goal this year is to heavily amend the soil so that future plants will do much better than this year’s plants did!
One final suggestion: After you’ve filled all layers of your raised beds, leave 4-5 inches of space on top. That way, you can will that space with 2-3 inches of leftover wood chips without overfilling your raised bed.
Be sure to save some wood chips for this purpose because mulched plants will do much better during the summer monts than un-mulched plants.
More Information
If you’d like to read more about how I prepare my raised beds and grow lots of veggies in them, check out these related articles:
- 9 Easy Steps to Build Raised Garden Beds on Your Grass Lawn
- 9 Tips to Ensure Proper Drainage in Raised Garden Beds
- 32 Must-Try Vegetables for Your Raised Garden Beds
- 40 Cheap and Easy Ways to Fill Your Raised Garden Beds
- Can You Put Bark or Mulch in the Bottom of a Raised Bed?
- Do Raised Beds Need Yearly Compost? (Here’s What to Do)
- Full Sun or Partial Shade: What’s Best for Raised Beds?
- How Deep Should Raised Garden Beds Be for Tomatoes?