9 Ways to Spread Diatomaceous Earth in Your Garden
Diatomaceous earth (DE) is an incredible organic way to kill off many common garden pests.
Made from the fossilized remains of tiny aquatic organisms known as diatoms, it’s an organic, chemical-free product, but to use it effectively, you need to know the best way to spread it around your garden.
The most effective way to apply diatomaceous earth is to use a high-quality bulb duster, making use of helpful attachments like expansion nozzles and nylon extensions to reach all infested areas. Be sure to wear protective gear, use food-grade DE, and apply the product in calm, dry conditions.
In this article, I’ll share insights gleaned from my own personal experiences using DE, and I’ll cover these important topics:
- The best ways to spread diatomaceous earth: I’ll cover the best tools for the job, the perfect conditions for applying DE, and how to properly target infested areas.
- Alternative methods for applying DE: Here, I’ll mention some other practical (and not-so-practical) ways to spread DE. I’ll also cover the wet application method, when to use it, and why I’m not such a fan of it.
- The possibility of spreading DE with your hands: In this section, I’ll share some thoughts on whether or not this is a good idea plus the precautions you should take if you decide to go this route.
By the end of this article, you’ll know enough to spread DE like a seasoned pro, providing your garden with the best possible defense against unwelcome bugs.
The Best Way to Apply DE and Tips on How to Spread It
There are numerous ways to apply diatomaceous earth (DE), each with its pros and cons and some that are more popular than others.
Here’s a list of all the application methods I could come up with (plus some commentary about each of them):
- Bulb Duster (My personal favorite!)
- Turkey Baster (Definitely not as good as a bulb duster, but it’ll work if you’re in a pinch.)
- Flour Sifter (it’ll work, but why would you use it when you can buy a cheap bulb duster?)
- Large Spoon (Only useful for very small applications.)
- Salt Shaker (Same as above.)
- Paint Brush (I don’t recommend this, but it’ll work.)
- Homemade Shaker (Like a salt shaker, this is only good for tiny applications.)
- Puffer Bottle (Just buy a bulb duster. It’s easier!)
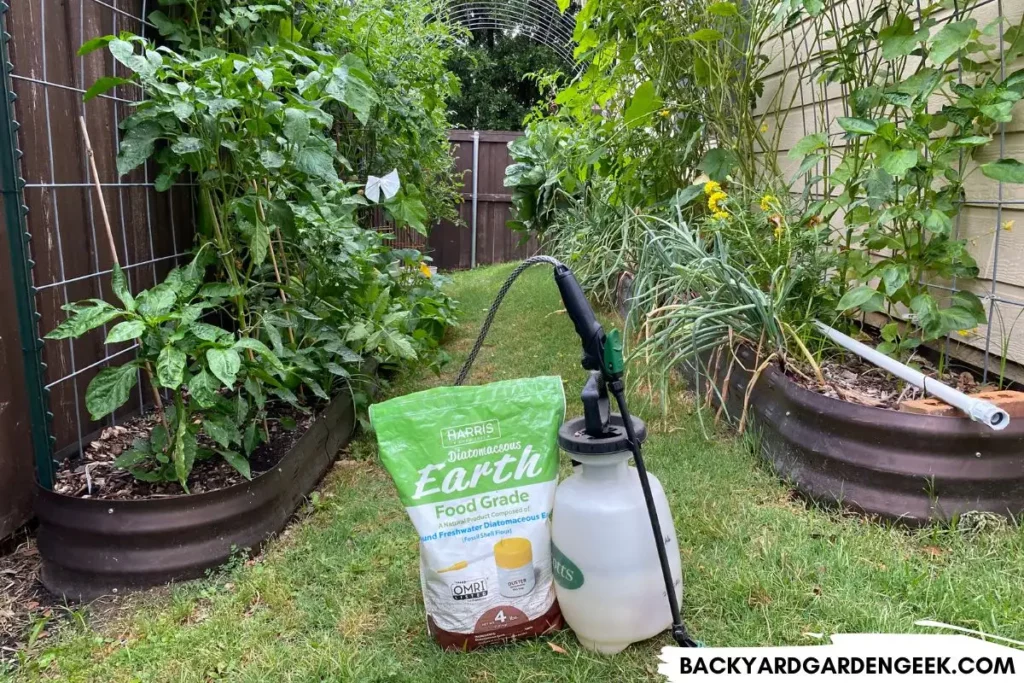
- Garden Sprayer (Use only if you’re interested in the wet application method.)
As you can already tell, I think that bulb dusters are by far the best in terms of their effectiveness and ease of use.
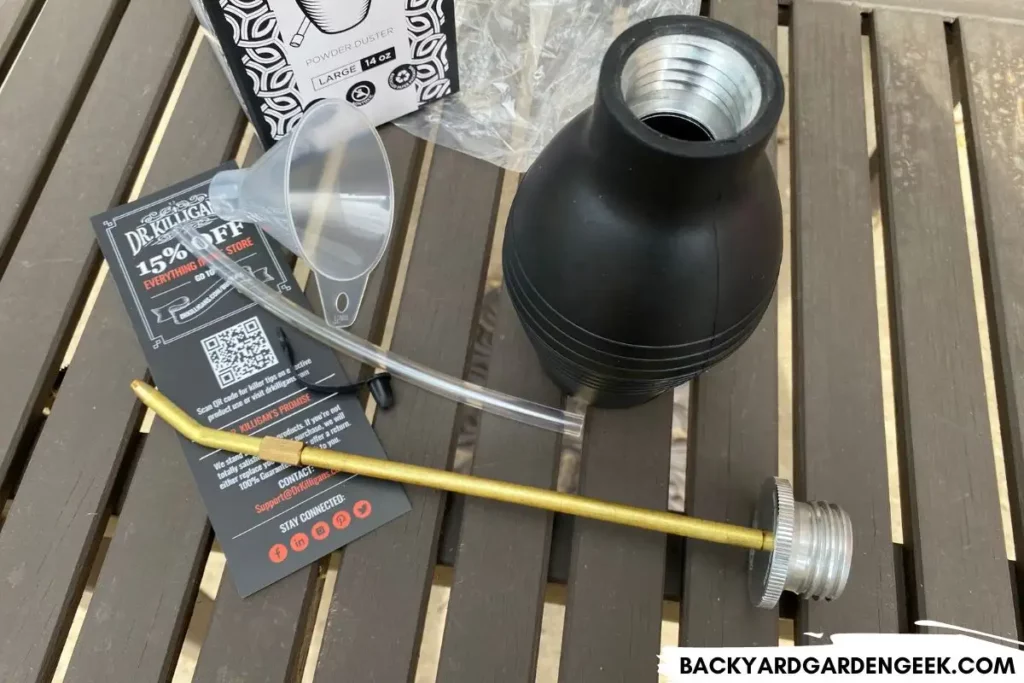
Here’s why: A high-quality bulb duster, like the ones sold by Dr. Killigan’s, offers the perfect blend of control, reach, and simplicity. You can accurately deliver DE to specific areas, and even hard-to-reach places, thanks to the handy extender and nylon nozzles. And the high-quality bulb dusters offer even more control than the cheap plastic ones.
For me, these bulb dusters can’t be beaten!
Once you have one, just follow these simple steps to spread your DE like a pro:
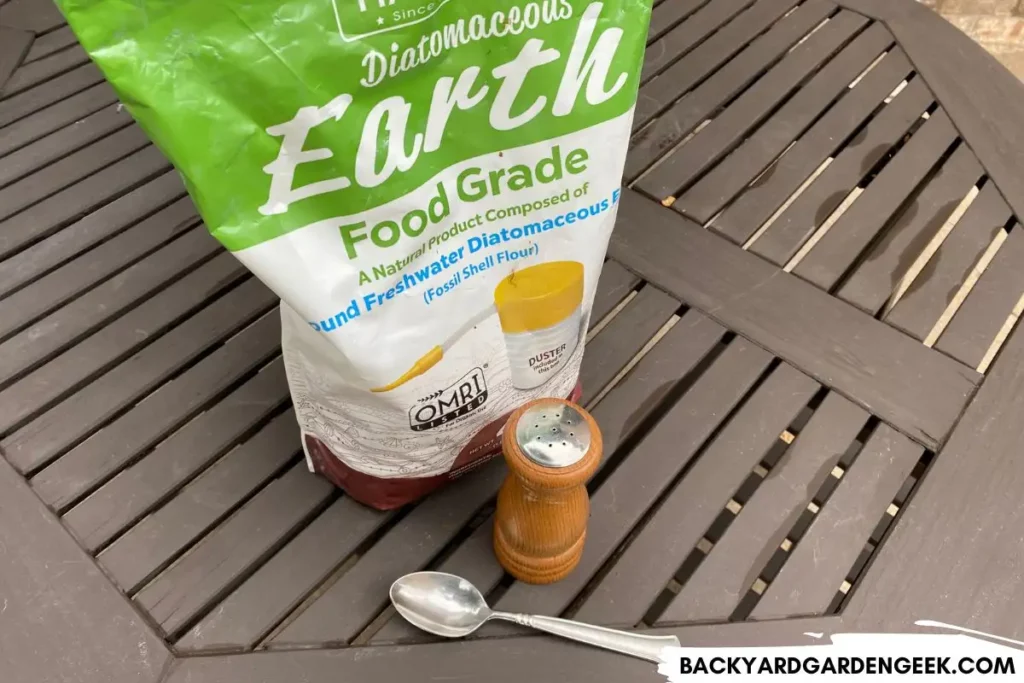
Step 1: Select Your DE
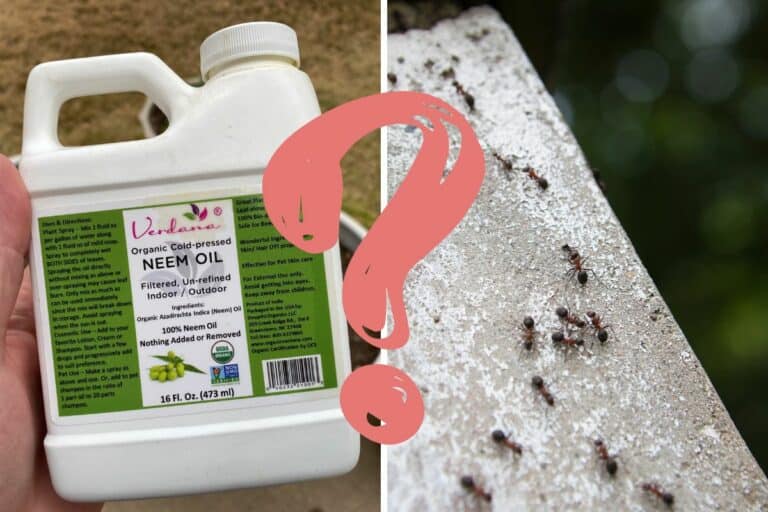
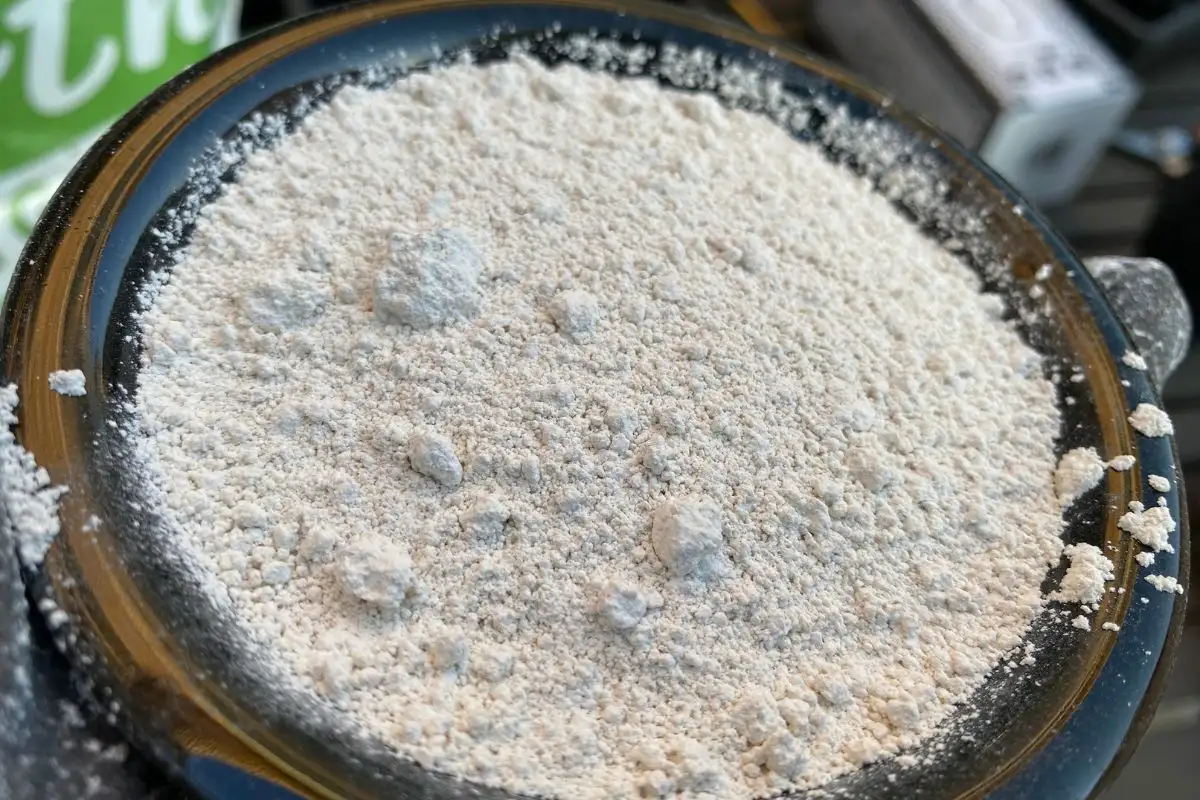
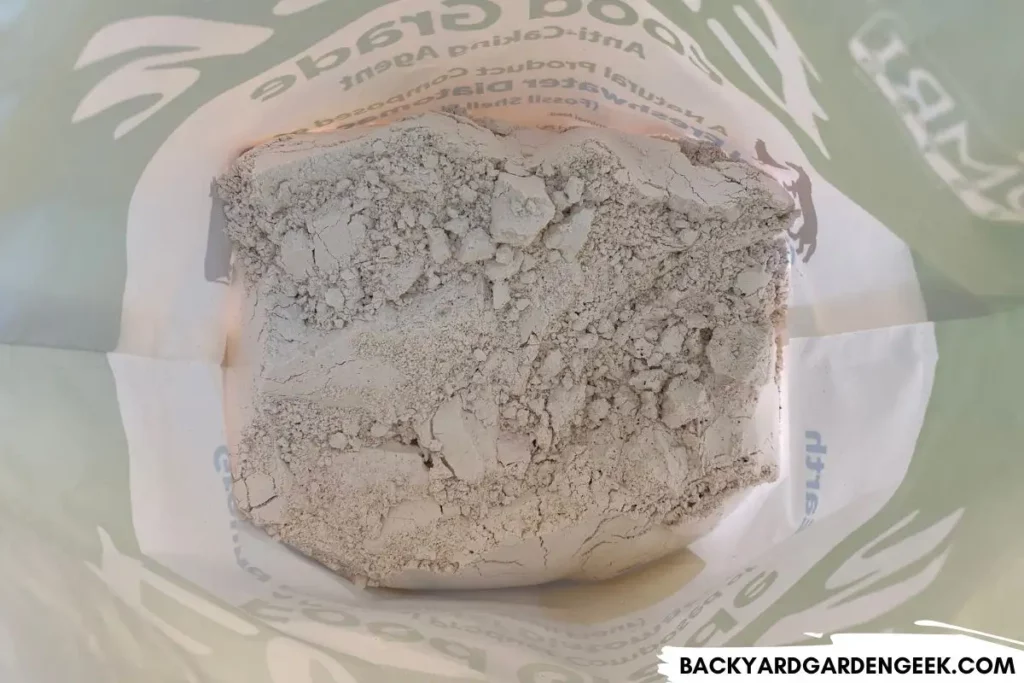
To begin with, you’ll want to ensure that you’re using “food-grade” diatomaceous earth. This type is safe for use around kids and pets but deadly to those pesky bugs you’re trying to rid your garden of.
Please avoid any DE products that aren’t labeled “food-grade” because those are typically used for pool cleanings and other industrial uses, and you certainly don’t want to spread that kind of product around your garden.
Step 2: Check the Forecast
Timing is critical when applying DE since it’s a powder that can easily be blown away by wind or washed away by rain.
Ideally, you want to choose a calm, dry day to apply your DE. This maximizes its effectiveness and reduces waste. It also keeps the DE on your plants instead of blowing up into the air and in your face.
I wasn’t paying attention once, and I started applying DE on a windy day. Sure enough, that first puff blew right into the air and into my face. I closed my eyes quickly and ran in the opposite direction, so I thankfully didn’t get any in my eyes or inhale it.
The good news? I learned a valuable lesson that day. Please don’t repeat my mistake!
Step 3: Spot-Check for Beneficial Bugs
Unlike many chemical insecticides, diatomaceous earth is a “non-selective” product, meaning it doesn’t discriminate between beneficial bugs and garden pests.
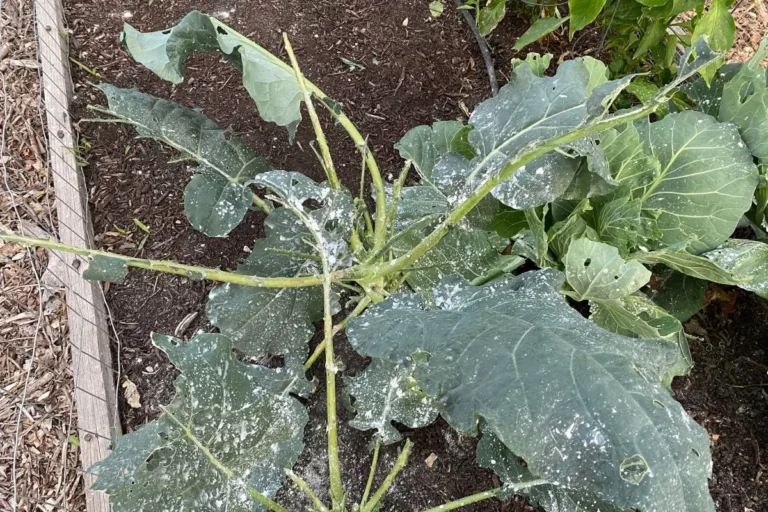
It’ll harm bees and butterflies, lacewings, and ladybugs just like it does more destructive pests such as aphids, armyworms and caterpillars, cucumber beetles, and spider mites, to name a few.
Before you apply, do a quick check spot-check for any helpful insects because you don’t want to unintentionally harm your garden’s friendly bug population.
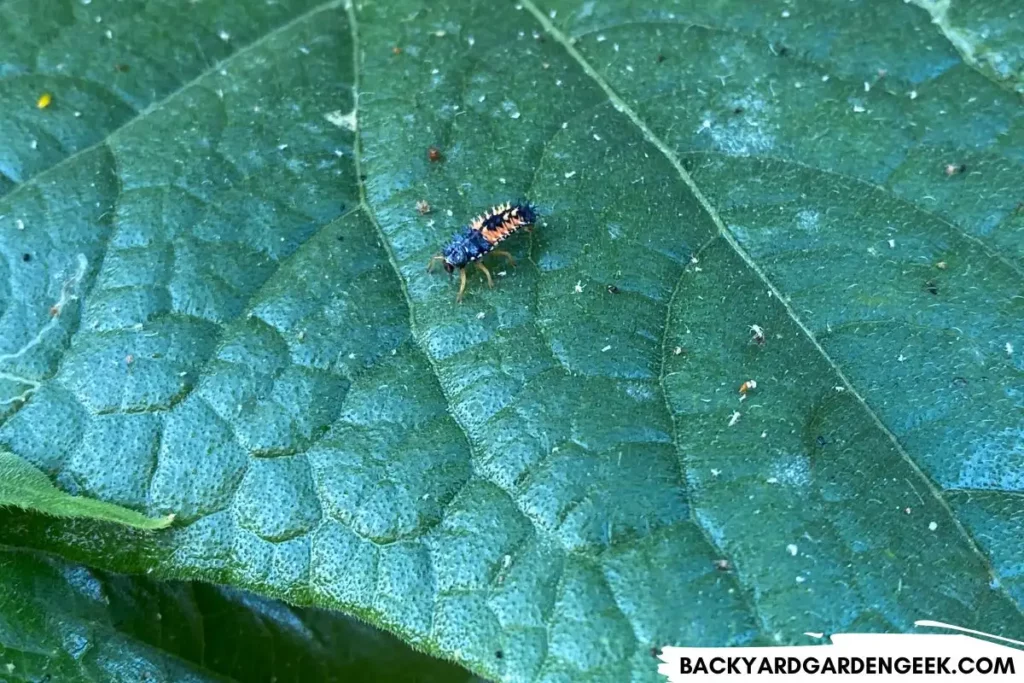
If you see any good bugs around, you might want to either postpone applying DE or keep it safely away from any areas you’ve seen them.
Step 4: Suit Up
Generally speaking, DE is safe to use around your garden since it won’t harm your family or your furry friends, but it’ll irritate your eyes and lungs if you’re not careful or if you inhale it.
For this reason, you’ll want to wear a mask and gloves when applying DE, especially if there’s a slight wind outside. You might consider goggles too if you live in a windy region.
Step 5: Load Your Bulb Duster
Load your bulb duster with DE but don’t overfill it unless you feel like dealing with a nasty mess.
If you fill the bottle about 3/4 of the way, you’ll get the best possible control, and you won’t have to refill it for quite some time (unless you’ve got a large garden!).
My favorite thing about Dr. Killigan’s bulb dusters is the little metallic ball that comes pre-packed with them. If your DE ever happens to clump up, you can shake the bulb duster, and that little metallic ball will break up any clumps.
Step 6: Target Infested Areas
Now that you’ve got your protective gear on and you’ve filled your bulb duster, gently squeeze the bulb to release the DE. The harder and faster you squeeze, the more DE will come out of the duster, so experiment a bit to figure out what works best for you.
Do your best to spread the DE on the pests themselves and the areas where they frequently appear. The underside of leaves, for example, is a favorite hangout for aphids, caterpillars, and spider mites.
Step 7: Reapply As Necessary
Rain washes DE away, so if it rains, you’ll need to reapply once everything dries out. This is why you need to check your forecast before applying.
A few years back, I went outside on a sunny day and applied DE to some plants that showed signs of aphids and cucumber beetles. Unfortunately, the clouds rolled in later that day, and the storm that followed washed most of my DE away.
Assuming you don’t have any rain, you might want to reapply every 5-7 days if the infestation continues.
Step 8: Integrate Other Methods If Needed
If your infestation persists, I’d also consider adding 2 other natural pest management methods: soapy water and neem oil sprays. These will complement your DE application and help you control some of the nastier bugs you might find in your garden.
Long story short, if you follow the 8 simple steps I’ve mentioned above, you’ll be well on your way to applying diatomaceous earth like a pro and getting rid of unwanted pests.
One final thing: Don’t worry too much about over-applying DE in your garden. Of course, you don’t want to coat your entire plants in DE unless you’re absolutely desperate, but I’ve seen nothing to suggest that DE can harm your plants, assuming you’re thoughtful when it comes to the application method.
If you want to read more about this topic, take a look at these articles:
- Best Way to Apply Diatomaceous Earth to Plants: 11 Pro Tips
- Can Diatomaceous Earth Harm Plants? What Scientists Say
- Can You Put Too Much Diatomaceous Earth on Plants?
- 5 Reasons to Mix Diatomaceous Earth with Soil
- Using Diatomaceous Earth as a Fertilizer: Will DE Help?
Now that I’ve shared the details about bulb dusters and my personal application method, I’d like to share some thoughts on the less-effective alternative methods I mentioned above.
8 Less Effective DE Application Methods
Bulb dusters are definitely my pick for spreading diatomaceous earth, but if you’re in a pinch, you’ve got several other options that can help you spread DE around your garden.
Let’s take a look at some of these alternatives and understand why they fall short of a bulb duster:
| Turkey Baster | You can use a turkey baster as a makeshift DE applicator, especially for indoor plants, since it offers some degree of control, and you can reach tight spots with more ease. However, turkey basters lack the precision of a bulb duster, making it difficult to evenly distribute DE. They’re also less effective for larger gardens. |
| Flour Sifter | A flour sifter can distribute DE quickly. It’s okay if you need to cover a big area in a short time and don’t care much about accuracy. However, the sifter lacks the precision of a bulb duster, making it hard to target specific bugs or areas. Additionally, wind can easily blow the DE away, resulting in waste and potential inhalation. Simply put, don’t use this if you don’t have to! |
| Large Spoon | A large spoon might be handy for small infestations since it’ll allow you to apply DE somewhat selectively. However, using a spoon won’t be very effective. Plus, it’s hard to control the amount of DE you’re applying, leading to potential waste. |
| Salt Shaker | If you’ve got an extra cheap salt shaker, you can use that for tiny DE applications, like potted indoor plants. But for anything larger, a salt shaker just won’t cut it. |
| Paint Brush | If you’re dealing with small, delicate plants, you can use a paint brush to apply de carefully. Simply dip the brush in DE and gently dust it onto the plant’s leaves and stems. However, this is labor-intensive and time-consuming, so I don’t do it. |
| Homemade Shaker | If you’d rather create a homemade shaker, take an empty jar, poke holes in the lid, fill it with DE, and then shake it onto the desired areas. This is an inexpensive method that repurposes materials you likely already have in your house. However, it’s not a precise method, so I prefer the ease of bulb dusters. |
| Puffer Bottle | A puffer bottle works similarly to a bulb duster, but instead of a bulb that you squeeze, it has a top that you puff. But putter bottles aren’t a great replacement for bulb dusters, so just buy the latter! |
| Garden Sprayer | For those otherwise impossible-to-reach places, you might consider the wet application method (see below for more details). I’m not really a fan, but it’s an option, so I feel the need to mention it. More on that below. |
None of these methods are as effective as using a nice bulb duster, but they can still get the job done if a bulb duster isn’t within reach.
Just remember, DE’s effectiveness relies not just on the tool you’re using, but also on how you’re applying it, so I’d like to share some information about 2 specific application methods: the wet application method and hand applications.
Can You Spread Diatomaceous Earth with Water?
Most of the approaches I discussed above work only when using dry diatomaceous earth. But there’s another method you can use on very specific occasions: the wet application method.
To do so, you fill a garden sprayer with water, mix DE with it, then spray it onto plants and other infested areas. Once the water evaporates, the DE is left behind to do its job.
The only possible advantages to this method are that it can help you reach tricky areas and minimize the dust from dry DE applications.
However, using DE with water comes with its own set of drawbacks. First, DE loses its effectiveness when wet. It only starts working again once the water has completely evaporated. That means you’ll need to wait for DE to dry before it starts combating pests.
Second, because you’ve mixed the DE with water, then sprayed your plants with it, you’re not getting the same kind of coverage that you would have gotten had you used a dry application.
Finally, any rain or watering will wash the remaining DE away, requiring reapplication.
Overall, the wet application method should be your last resort, used only when the infestation is in hard-to-reach areas.
Can You Spread Diatomaceous Earth with Your Hands?
Let’s say you don’t have any of these tools on hand, but you’d like to spread some diatomaceous earth on your plants. Can you spread DE with your hands?
You can technically spread diatomaceous earth with your hands, but there are several significant drawbacks to doing so:
- Applying DE with your hands is a slow and tedious process. If you’re dealing with a small infestation or a couple of indoor plants, it might be feasible. But for a larger garden, you’d be setting yourself up for lots of dusty, dirty work.
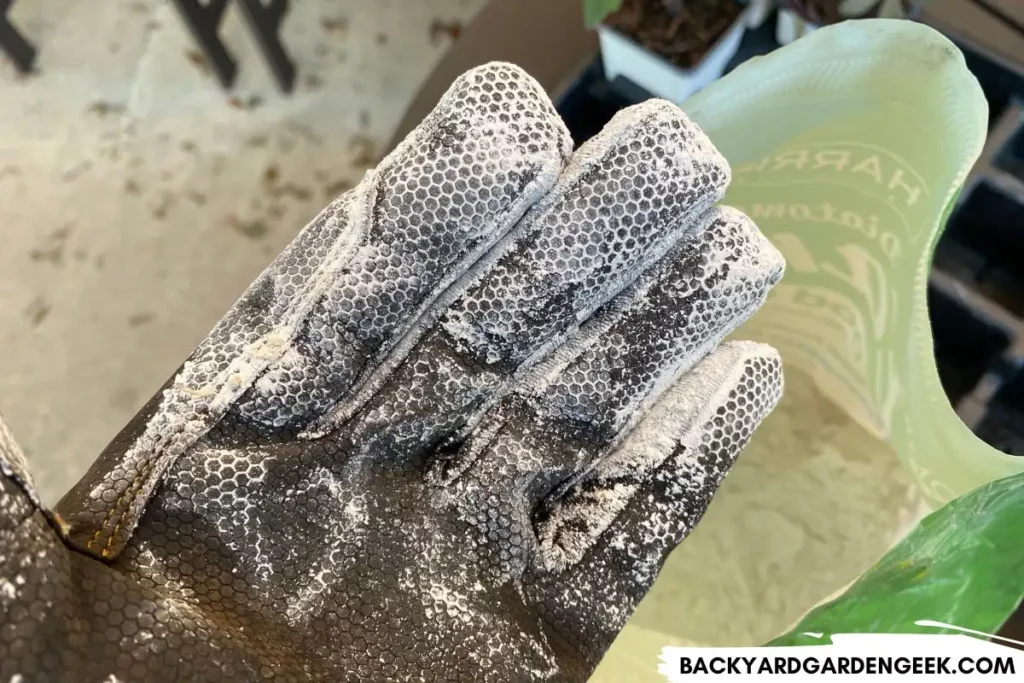
- If you’re spreading DE manually, the wind could blow the DE right out of your hands and into your eyes or nose if you’re not careful. DE isn’t toxic, but you don’t want to inhale it or get it in your eyes. If you’re considering a manual application, remember to wear protective gear, including gloves, a mask, and safety goggles.
- Applying DE evenly with your hands can be challenging since you might end up with clumps of DE in some spots and barely any in others. Inconsistent applications could result in some pests surviving and the infestation continuing.
- DE is very dusty and can get all over your clothes and shoes if you apply it manually. If you don’t mind getting a little dirty, this might not be a big deal. But keep in mind, you’ll need to wash your clothes afterward to ensure you’re not tracking DE into your home.
- If you’re applying DE with your hands, they should be completely dry. Better yet, put on a good pair of gloves so you don’t get your hands covered in DE powder. Even slight moisture on your hands can make DE clumpy and less effective, so take care that you don’t touch DE if your hands or gloves are in any way wet.
Can spread DE with your hands? Yes, you can, but it’s far from the ideal method.
As I noted earlier, the best way to spread DE is with a bulb duster, which offers the perfect balance of control, efficiency, and safety.
Applying DE with a garden sprayer or spreading it with your hands should be a last resort when no other tools are available.
Regardless of what tools you use to apply diatomaceous earth, follow my steps above, and you’ll be one step closer to managing your pests. Your garden, and your hands, will thank you!
Further Reading
If you’d like to learn more about managing pests in your garden, check out these related articles: