Using Topsoil in Raised Garden Beds: Can You Do It?
Topsoil is one of those easy-to-find materials that you can pick up in home improvement stores and garden centers.
What’s more, it’s cheap. Really cheap.
If you’re thinking about building or installing raised beds, this begs the question: Can you fill raised garden beds with topsoil to save money?
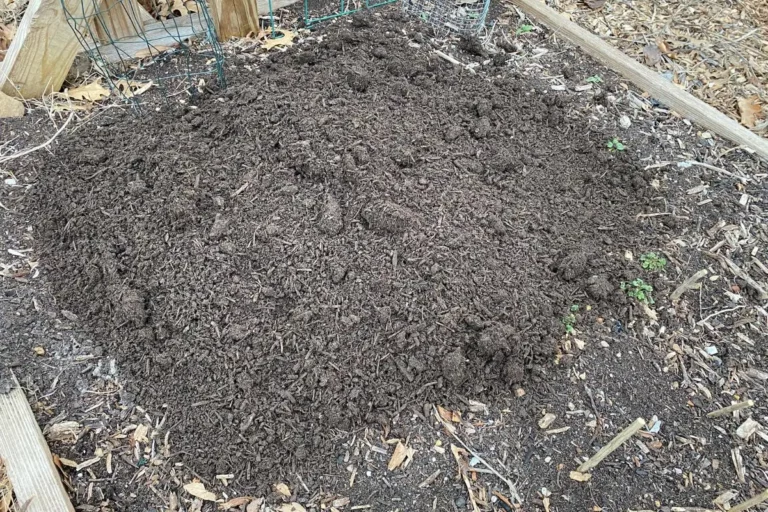
Topsoil can be added to raised beds in moderation, but it often lacks the nutrients plants need to do well. Amending topsoil with compost, vermiculite, perlite, and organic fertilizers will help plants thrive in raised beds, but soil should be tested to understand its pH and NPK levels.
When you go to your local garden center or home improvement store, you’re going to find lots of options when it comes to filling your raised beds, so I’d like to make things simpler by covering these topics in this article:
- products to consider when you go to the store and the upsides and downsides to each of them.
- reasons to fill raised beds with topsoil and mistakes to avoid.
- ways to amend topsoil to make it better for raised garden beds.
- tips for layering raised beds to ensure topsoil mixes with other nutrient-rich materials.
- why and where to get highly accurate soil tests.
Topsoil is generally pretty deficient in nitrogen, so if you fill up your raised beds with unamended topsoil, you can certainly grow plants in the beds, but those plants likely won’t grow as well as you’d like them to.
Every plant needs nitrogen, but some plants need more of it than others. This is why a soil test is key once you’ve amended your topsoil, added it to your beds, and let things settle for a few weeks.
Now that I’ve given you a general overview, let’s look at some things you’ll need to know when it comes to adding topsoil to raised beds and testing your pH levels.
Can I Fill a Raised Bed with Just Topsoil?
You can technically fill your raised bed with just about anything, topsoil included, but what’ll happen if you fill it with topsoil? Will you be able to grow plants in it?
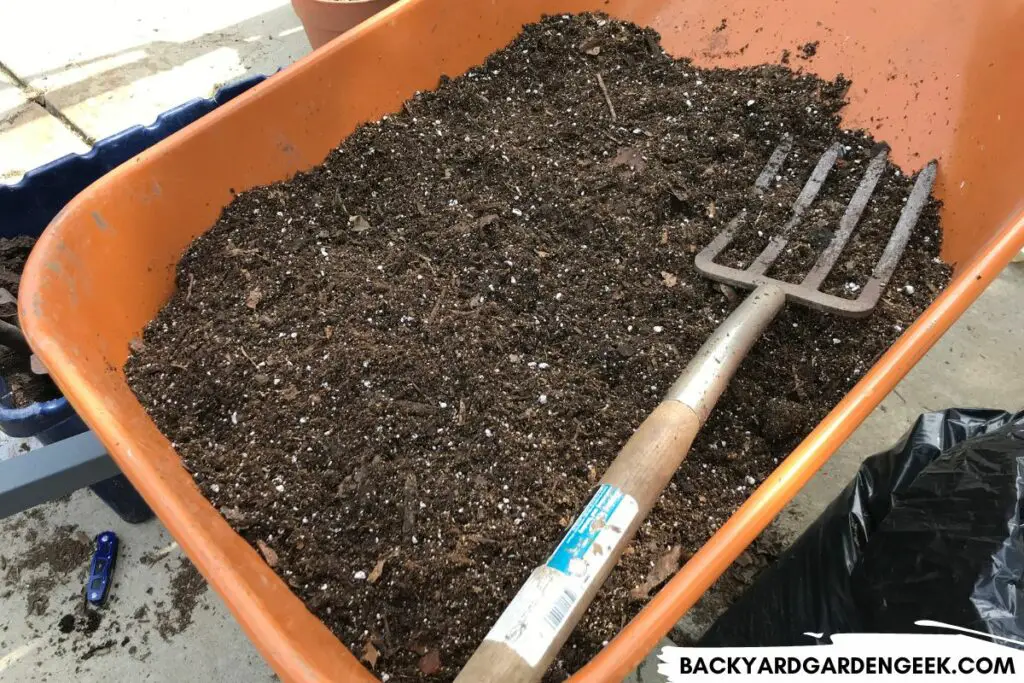
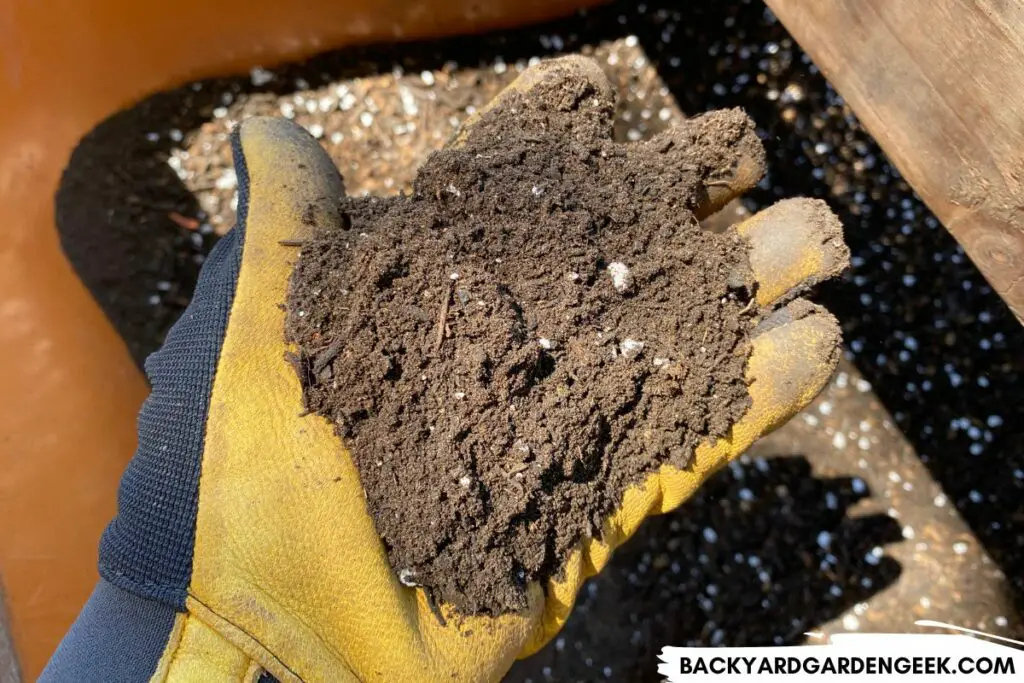
Raised beds can be partially filled with topsoil so long as the soil has been heavily amended or the bed has been filled with other nutrient-rich materials, from compost and kitchen scraps to leaves, grass clippings, and wood chips.
In my experience, I’ve found that you should never fill raised beds with nothing but topsoil. That’s a recipe for poor plant growth.
If you’ve already done so, don’t worry. You can fix it over time by adding compost, perlite, vermiculite, and mulching everything really well.
And if you’ve installed your raised beds on top of your lawn, earthworms and other microorganisms will eventually migrate into the soil and help things out, provided you haven’t blocked their way by putting landscape cloth underneath the raised beds.
What’s more, if you know what to look for, you can fill your raised beds with all kinds of cheap, biodegradable materials before topping them off with soil.
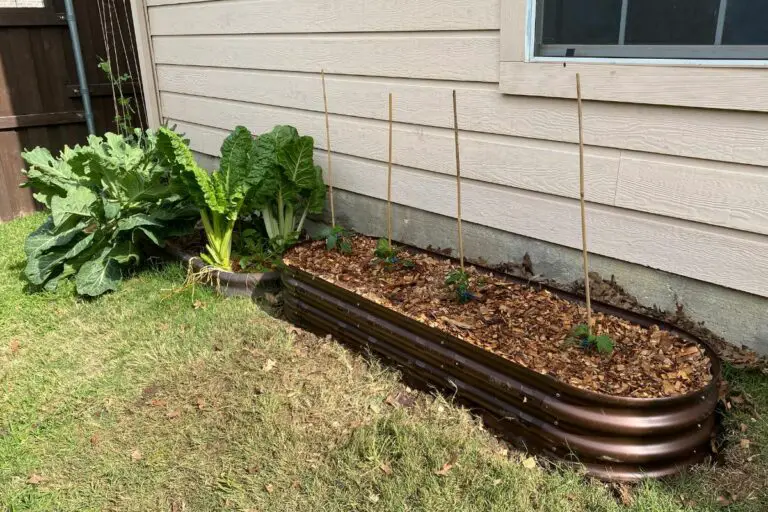
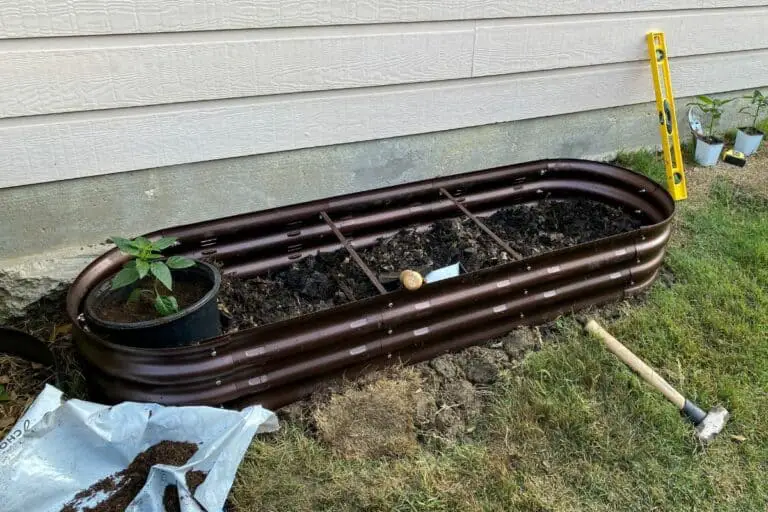
I installed a new raised bed last year a few weeks after Christmas, and I filled half of it with a large Christmas tree that my neighbor had put on the curb for trash pickup, then filled the remainder with kitchen scraps, some topsoil, and compost.
But before I share details about what I do with newly installed raised beds, know this: If you go to the store to buy your soil, you’re going to see a few different products:
- Topsoil
- Lawn Soil
- Garden Soil
- Potting Mix
- Seed Starter Soil
- Compost
- Manure
The downside to some of these products is that you’ll end up spending lots of money to buy enough bags to fill large raised beds.
The upside is that, with proper attention to what you’re doing, you can create raised beds that you can begin growing plants in immediately.
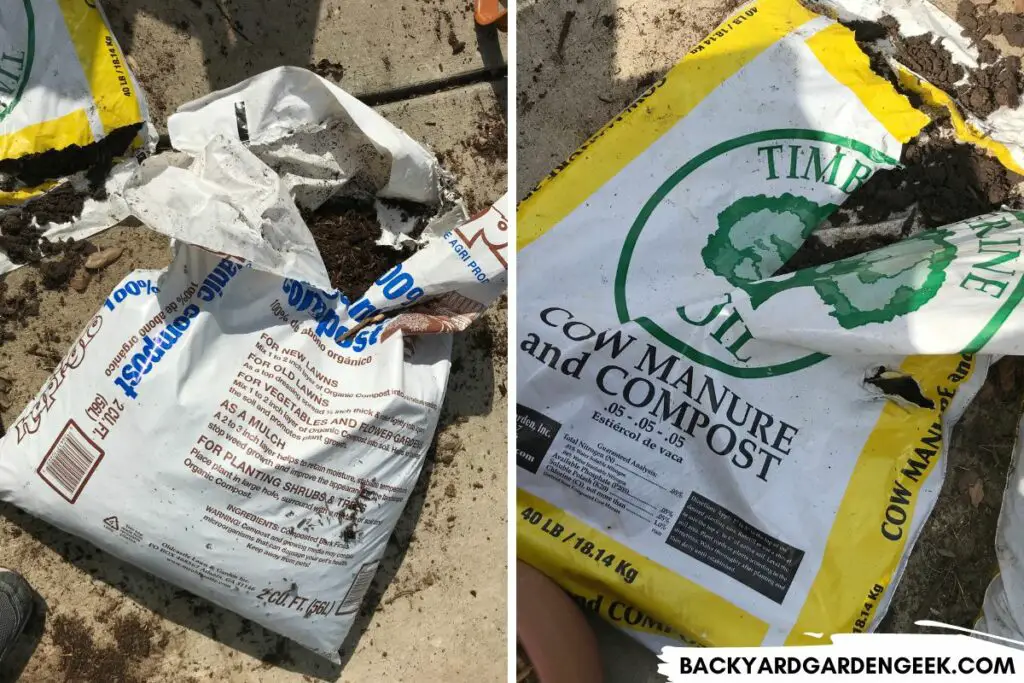
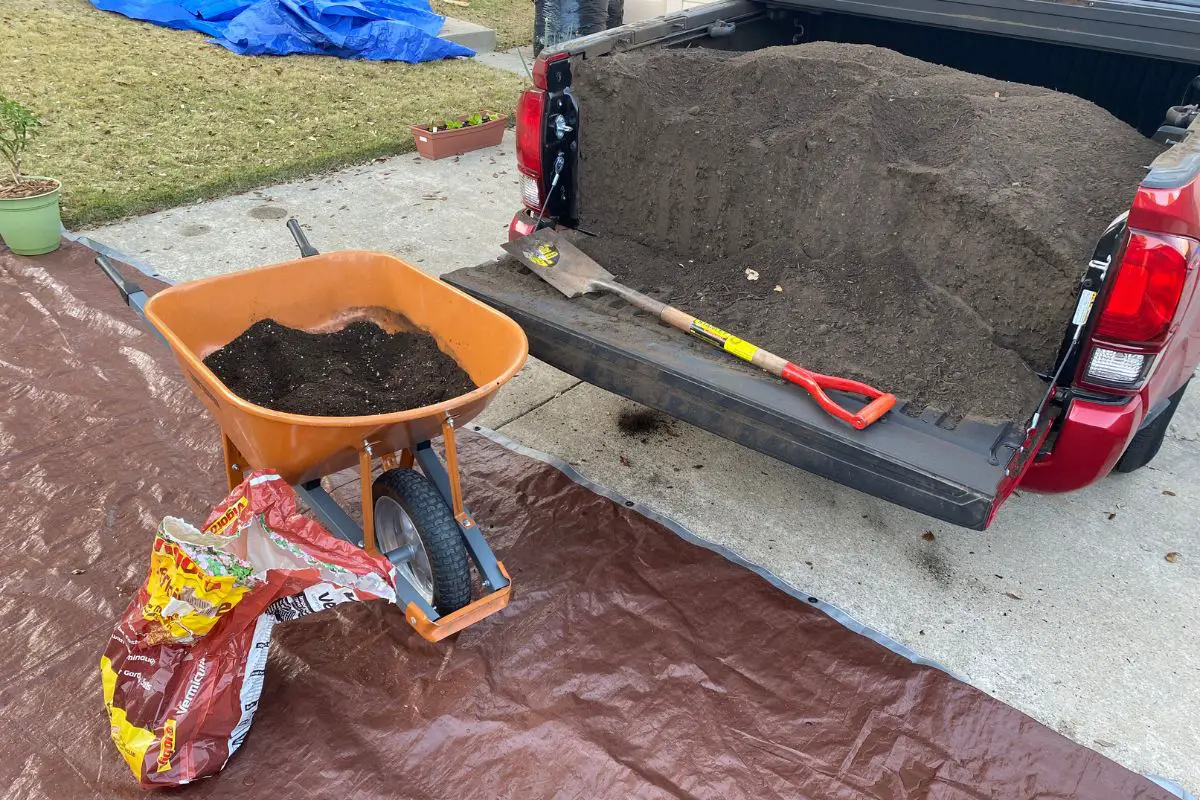
Before I share my thoughts on each of these options, here’s a pro tip: You’ll save a lot of money if you can buy your soil in bulk.
You’ll need a truck (preferably) or a trailer, but if you can find a local operation with a good reputation, you’ll save lots of cash by buying soil by the square yard instead of by the bag.
But I’d like to emphasize the phrase “good reputation.” Don’t buy any random soil. Check around like I did and find a local place that sells quality soil.
Once you’ve found a reputable place to buy soil in bulk, please note that even the best bulk soil is likely still going to need to be amended to some degree, but I’ve shared some of my tips below to help you out as you go through that process.
Now that I’ve covered bulk purchases, here’s what I think about each of the bagged products you can get your hands on:
| Topsoil | Topsoil is typically the cheapest of these products and also the least nutrient-friendly. Use it sparingly. |
| Lawn Soil | Lawn soil isn’t all that different from topsoil, but it’ll often have some fertilizer mixed in that can give plants a short-term boost. A soil test will help you understand what NPK fertilizer is best. |
| Garden Soil | This is usually more expensive than topsoil or lawn soil. It’s specifically designed for gardens, so it’ll be more nutrient-rich than other soils. You can plant directly in garden soil. |
| Potting Mix | Like garden soil, potting mix is good for immediate planting, but it’ll often have more peat or perlite, which gives it that soft look and feel. Don’t put this in raised beds. It’s too expensive for that. |
| Seed Starting Soil | As the name implies, this soil works great for seeds. It’s often expensive, so don’t add it to raised beds since that would be a big waste of money. |
| Compost | I won’t fill my raised beds entirely with bagged compost, but I’ll usually amend my soil with it. Bagged compost has lots of nutrients in it. Homemade compost is even better. |
| Manure | Manure from farmyard animals (alpaca, chicken, cow, goat, horse, llama, sheep) is a great soil additive, typically rich in nitrogen, potassium, and phosphorus. |
If you fill a raised bed entirely with topsoil or lawn soil, your plants are going to suffer since the soil will be deficient in the micronutrients that plants need to grow well, especially nitrogen.
You might also have problems with proper drainage, which is what happened to me once when I didn’t properly amend my soil before adding it to a raised bed and a dozen or so grow bags.
But there are several ways to get around this problem if you’re willing to amend the topsoil or mix it well with other compostable materials, so let’s take a look at how I do so.
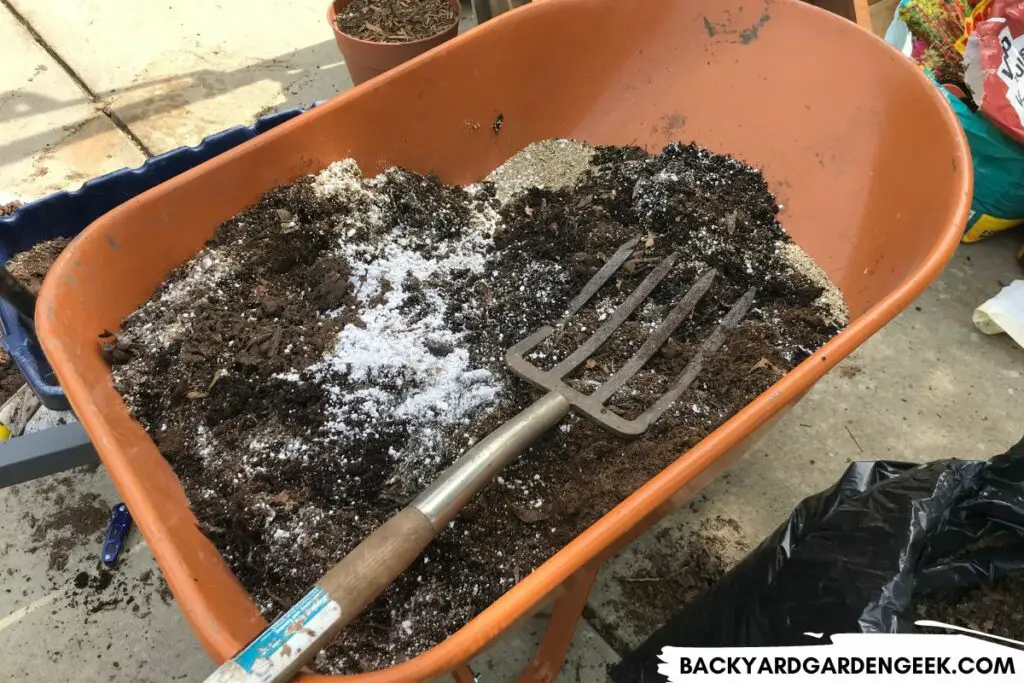
What Do You Mix with Topsoil for a Raised Bed?
What I’ve done over the years is to take a balanced approach when it comes to using topsoil in the garden.
Early on, I followed the formula for Mel’s Mix, which is 1/3 compost, 1/3 vermiculite, and 1/3 peat. It’s a tried and true formula, so if you’re looking for consistency, this is a good place to start.
Overall, it’ll produce great, well-draining soil, but I’ve eliminated peat from my gardening since peat bogs, once drained, are effectively destroyed. That’s not good!
With this in mind, I’ve created my own mixes over the past few years that have included topsoil and old soil from my garden and my patio containers.
Here are a few formulas that I’ve experimented with:
- 1 part topsoil, 1 part compost, 1/2 part vermiculite, 1/2 part perlite, 1/2 part manure, plus a weekly dose of fish emulsion.
- 1 part garden soil, 1 part compost, 1 part vermiculite, 1/2 part manure, 1/8 part fertilizer.
- 1 part topsoil, 1 part garden soil, 2 parts compost, 1 part vermiculite, 1 part perlite, 1 part manure, plus a weekly dose of fish emulsion.
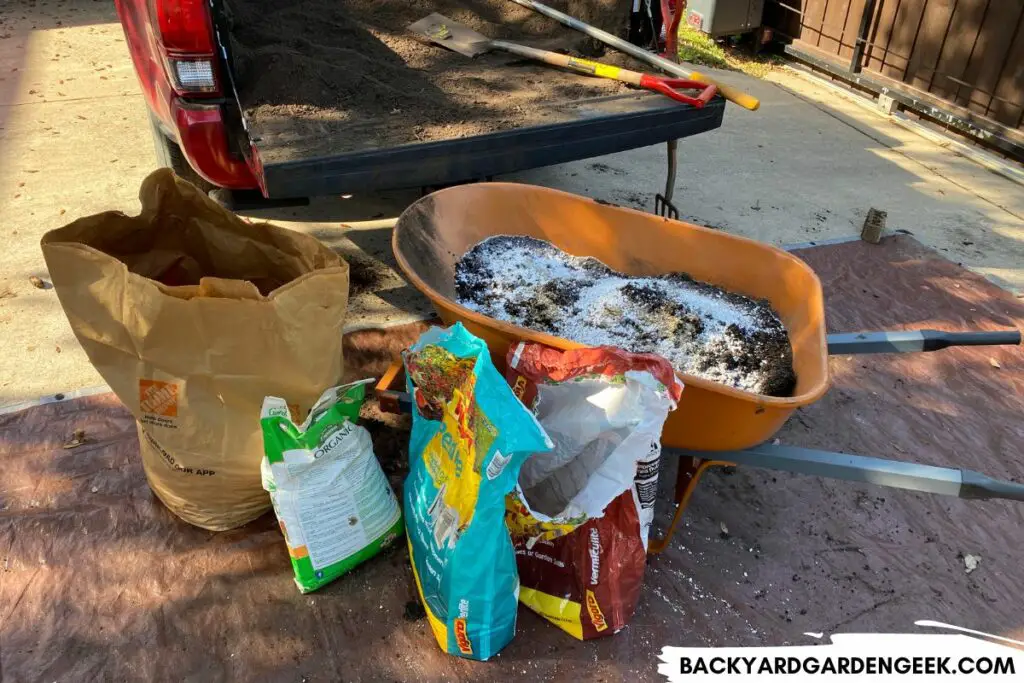
Long story short, I haven’t seen a huge difference in plant development between each of these formulas, but that could be because I give my beds a dose of Alaska brand fish emulsion on a weekly to bi-weekly basis to make up for the nitrogen deficiencies that are typical of topsoil.
Fish emulsion has an NPK ratio of 4-1-1 or 5-1-1, so it’ll help plants get the nutrients they need to grow well, even those growing in raised beds that have lots of topsoil in them.
Here’s another method: If you’re filling your bed for the first time, fill it with lots of compostable materials (logs, branches, leaves, wood chips, kitchen scraps, and yard debris, among other things) but layer in topsoil among those materials.
Over time, the decomposition process will take place, and the nutrients bound up in those compostable materials will be released into the layers of topsoil. This process will take 8-12 months (or possibly longer) depending on how much decomposition needs to take place, but by the end of it, you’ll have a bed full of nice soil to grow in.
There are some plants that you should not grow in raised beds, but most veggies can grow better when you’ve got the right kind of soil for them.
Put simply, if you amend your topsoil with other natural materials–either mixing everything together first or layering the topsoil among the compostable materials–then you’ll be okay in the long run.
What Is the Best Filling for a Raised Bed?
When it comes to filling raised beds, I want to do 2 things at once: a) get my hands on plenty of good materials and b) do so as cheaply as possible.
Please don’t think that your only options for filling raised beds are buying soil in bulk or purchasing it from the local home improvement stores or garden centers.
I purchased nothing but bagged soil back when I first started gardening, and my plants did just fine. But it’s a much more expensive way for first-time gardeners to get started.
If you’re just a little bit patient, there’s a much more economical way to fill raised beds.
For full details about what I do, read my articles on the cheap and easy ways to fill raised beds or the best materials to put in the bottom of your raised beds, but here are some of the easy ways I fill my raised beds.
First, I put thick layers of cardboard underneath the raised beds to kill off any grass or weed seeds.
I’ll then put these materials in the bottom 50% or so of the raised bed (see the list below). They take up lots of space, but they’ll decompose over the course of a year, releasing lots of carbon and nitrogen into the soil:
- Branches
- Compost
- Coffee Grounds
- Grass Clippings (but no Bermuda!)
- Leaves
- Livestock Manure (chicken, cow, goat, horse, llama, sheep)
- Logs
- Pine Needles
- Wood Chips
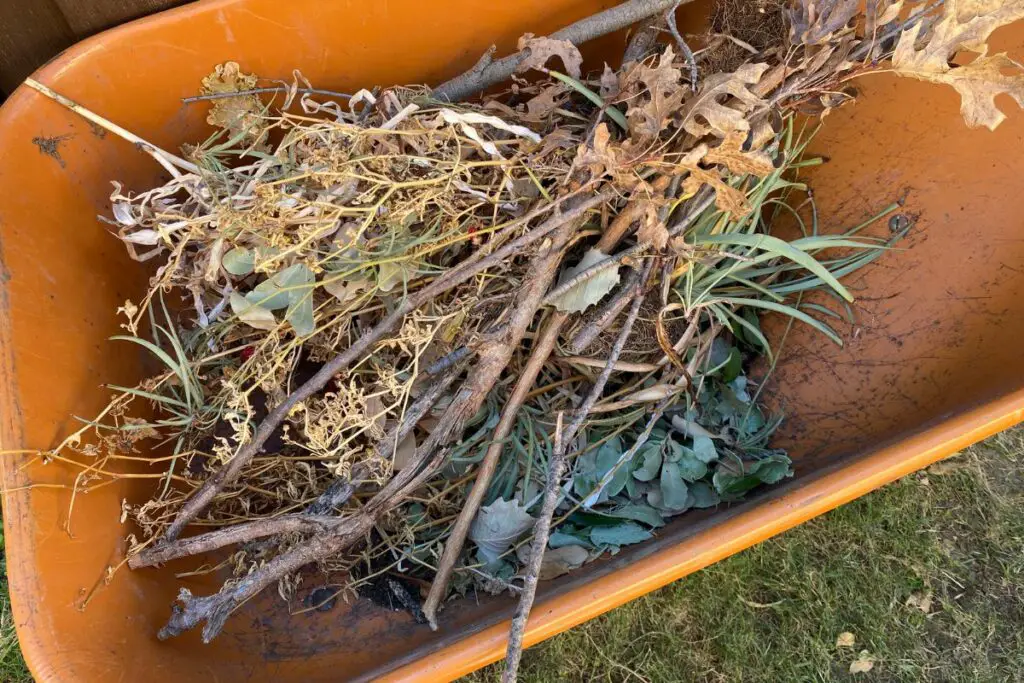
In the upper 50% or so of the raised bed, I’ll add additional materials that decompose quicker:
- Compost
- Eggshells
- Fish Scraps
- Fruit Scraps
- Coffee Grounds
- Garden Plant Scraps
- Kitchen Scraps
- Potting Soil (from last year’s containers)
- Rope or Twine (natural only)
- Straw
After I’ve added all of these materials to my raised beds, I’ll top them off with 6 inches or so of good garden soil.
In the first year, I grow only short-rooted plants in the bed since they’ll do just fine in 6 inches of soil. After 12 or so months, the materials in the lower parts of the bed will have decomposed (except possibly the logs and larger branches), making it possible to plant just about anything in there.
What this means is that you can fill up raised beds without much expense at all. Instead of buying lots of topsoil, you just find good compostable materials, then add some soil atop it all to give you space to grow that first year.
With a little bit of patience, you’ll be growing whatever you want to grow in those beds in no time at all!
Do I Need to Test My Soil Before Planting?
Gardeners don’t necessarily need to test their soil before planting each year, but if you’ve never done so, I highly recommend it since those tests will tell you a great deal about the your soil’s pH levels and what kinds of NPK fertilizer you need to improve your chances of growing great plants.
If the terms pH and NPK aren’t entirely familiar to you, here’s what they mean:
pH Levels
This literally means “potential of hydrogen,” and the reason it’s an important marker of soil health is that it’ll tell you whether your soil is more acidic or more alkaline.
The scale goes from 0 to 14, and here’s what each number means:
- A score of 7 is considered neutral, and if your soil is a 7, that’s a pretty good sign that you’ve got lots of potential to grow nice plants this year.
- If your soil scores in the 1-6 range, that means you’ve got acidic soil, and you’ll likely need to amend it to raise the pH level a bit.
- If your soil is in the 8-14 range, you’ve got an alkaline soil, and you’ll need to amend things over time to drop the pH level.
A pH level of 6-7 is ideal since plants tend to thrive in soil that’s ever so slightly acidic. When you get a soil test, it’ll often give you recommendations for how you might raise or lower your pH levels and what fertilizers you need to add to do so.
N-P-K Symbols
Speaking of fertilizer, when you see a bag with 3 numbers on it that are separated by hyphens, such as 5-5-5 or 0-10-10, those numbers are NPK numbers, and they’re very important.
They represent the amount of nitrogen (N), phosphorus (P), and potassium (K) in your soil. When you get a soil test done, you’ll have a better sense of where your soil deficiencies are and what you need to do about them.
Simply put, it’s not a great idea to just grab a random fertilizer at the store, then add it to your beds. You might unwittingly be making your soil conditions worse!
If you live in the United States, each state has its own locations for testing soil–they’ll often be university extension offices or local agencies–so here’s the best way to find someone near you who’ll test your soil:
- Open a web browser.
- Type in the words “soil test,” the name of your state, and “extension.”
- Make sure the top results are from a university or government office.
Here in Texas, if I open my browser and type in the phrase “soil test Texas extension,” the first thing I see is the Texas A&M AgriLife Extension office. This is exactly where I want to send my soil sample because they’re going to provide an in-depth analysis of soil quality.
This is why you want to type the word “extension” into your browser. Many state universities operate “extension” offices that serve the people of the state (your tax dollars at work!).
If you live abroad, you’ll want to do some research to find a reputable soil testing agency near you.
Soil tests will typically cost anywhere from $15 to $50, but they’re absolutely worth the money since they’ll shed light on what’s going on in your soil and what you can do to improve things.
Unless your plants seem to be doing poorly, I only recommend doing a soil test once every 4-5 years.
Further Reading
If you want to read more about raised beds, including many of the mistakes I’ve made along the way, check out these related articles:
