Can You Put Bark or Mulch in the Bottom of a Raised Bed?
If you’re considering building or installing any new raised beds on your property this year, you might think that the best thing to do is to fill them with soil, which is what I did back in 2016 when I built my first raised garden bed.
But have you considered filling your raised beds with bark or mulch? Or putting logs, branches, sticks, or wood chips in the bottom of the beds?
Bark, mulch, logs, branches, and wood chips are great additions to the bottom of raised garden beds. They’ll decompose over time, adding nutrients to the soil while improving its drainage, and they’ll also minimize the amount of bulk or bagged soil that’s needed to fill the raised beds.
Contrary to what some might think, filling raised beds with bark or mulch is perfectly fine.
In fact, doing so is actually beneficial for your garden in that it creates a mini-hugelkultur effect in your raised beds that will help nourish your plants over time (more on that below!).
In this article, I’ll share some of my mistakes from 2016 while exploring the benefits of filling your raised beds with bark, mulch, and other yard debris.
I’ll provide tips for success, share a list of additional materials that you can fill your raised beds with, and provide information about how you can get wood chips by the truckload delivered to your property absolutely free.
By the end, you’ll be well-equipped to fill your raised beds in ways that help your plants thrive this year and in years to come!
Should I Put Wood Chips in the Bottom of My Raised Bed?
Before I get into the how’s and why’s of filling raised beds properly, I’d like to tell you about some mistakes I made back in 2016.
I was building a raised garden bed for the first time, and I honestly had no idea what I was doing. I sketched out my plans, came up with a design, bought the lumber, and built the garden bed.
But I made 2 key mistakes:
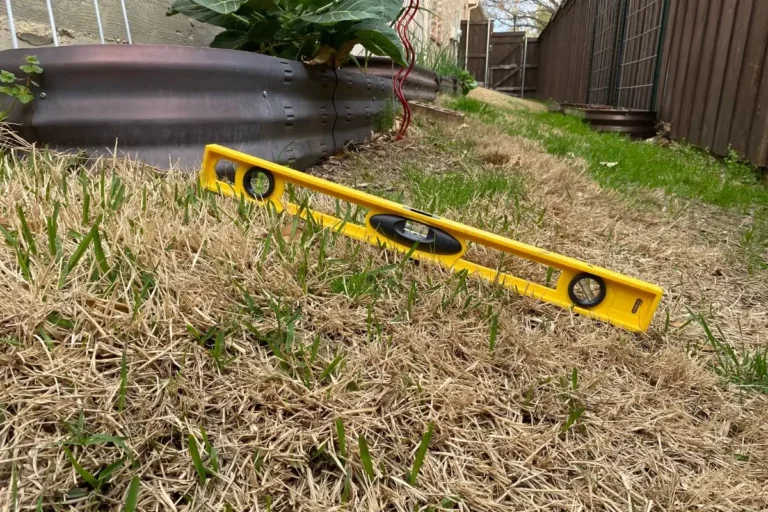
- First, I forgot to put internal supports that anchored one side of the bed to the other. Once I added the soil, the pressure caused the board to bow outward, so I had to remove the soil, add internal supports, then put the soil back in the beds. Lesson learned!
- Second, and most important, I filled the raised beds entirely with soil. I saved some money by buying my soil in bulk from a local supplier, but it was still very expensive.
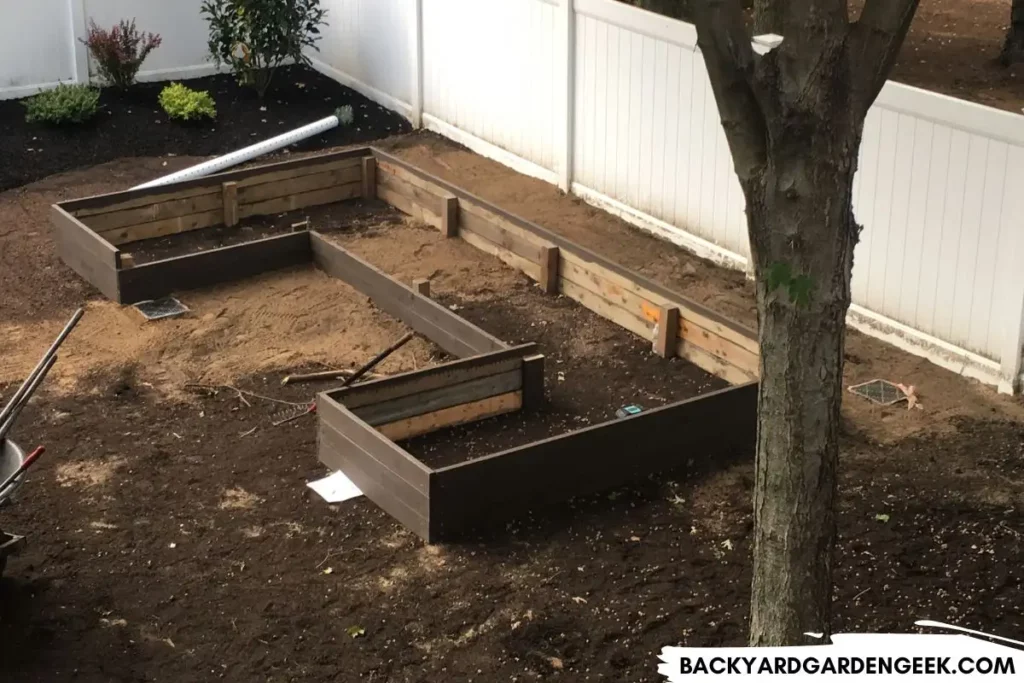
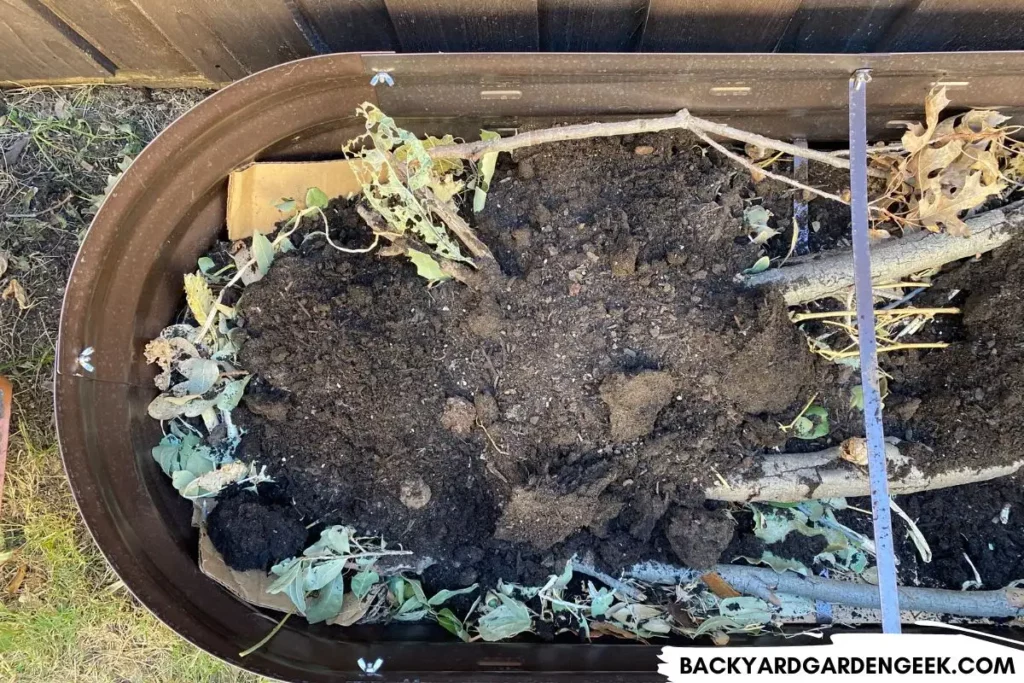
Fast forward to the present, and I now know better. In fact, I installed a large raised bed in my backyard last winter, but instead of filling it with soil, I literally chopped up my neighbor’s Christmas tree and filled most of it with that.
This was a great opportunity for several reasons:
- First, I got free materials to fill my raised bed with. In a year or so, that tree will be gone, replaced with wonderful, healthy soil.
- Second, I didn’t spend much time at all filling my raised bed. Once I got home with the Christmas tree, I chopped off the branches and literally tossed them in the raised bed. Pretty simple!
- Third, I kept nutrient-rich material from going to the dump, recycling it and thus incorporating the tree’s organic materials back into the ground (and helping my future plants in the process!).
And this brings up my main point: When filling new raised beds, you should seriously consider filling them with bark, mulch, logs, branches, sticks, wood chips, or other compostable materials.
One of the great benefits of using bark or mulch (or any other wood debris) in the bottom of raised beds is its cost-effectiveness.
As a cheaper alternative to filling the entire bed with soil, adding bark or mulch at the bottom can save you a significant amount of money, especially if you don’t have access to quality bulk soil and have to buy bagged soil from your local garden center or home improvements store.
Wood debris will break down over time, providing various nutrients to the soil and improving soil structure.
One thing to keep in mind: As researchers at the University of California-Davis have noted, adding wood to the soil will often temporarily bind up nitrogen.
But don’t worry one bit. As the wood continues to decompose, it’ll release that nitrogen back into the soil along with calcium, phosphorus, potassium, and low levels of magnesium, sulfur, and other nutrients that’ll do wonders for your plants in the long term.
This means that you’ll need to be patient with your soil while the wood’s decomposing underneath and pick plants that have short roots and aren’t heavy nitrogen feeders during that first year of decomposition.
Please remember that the decomposition process can vary depending on the materials you place in your raised beds, containers, or planters.
Softwoods such as pine and cedar break down faster than hardwoods (ash, maple, oak, walnut). Moreover, your irrigation practices as well as outdoor temperature and microbial activity will affect how quickly the bark or mulch breaks down.
As a general rule, you can assume that it’ll take at least 6-12 months for bark, mulch, or wood chips to decompose and get fully integrated into the soil.
Hugelkultur and Back to Eden (BTE) Gardening
Now that I’ve covered some of the basics concerning the addition of wood pieces to your raised beds and other gardening containers (in the form of bark, mulch, or wood chips), I want to share some gardening methods with you that’ll help you consider the best practices for your property as well as ways to save money in the long term.
The two gardening methods you should know more about are hugelkultur and Back to Eden (BTE) gardening. Let’s start with hugelkultur.
Hugelkultur is a gardening technique that involves creating raised beds atop logs, branches, and other types of wood. As the wood decomposes over time, it releases beneficial nutrients into the ground and creates layers of moisture-retaining soil, giving plants a nutrient-rich environment in which to grow.
This technique dates back hundreds of years, but it’s still popular among permaculture gardeners who aim to create sustainable, self-sufficient ecosystems.
When using bark, mulch, or wood debris in raised beds, a similar mini-hugelkultur effect can be achieved. By layering wood chips or other types of wood at the bottom of a raised bed, gardeners can create a nutrient-rich environment for their plants. This can be especially beneficial in raised bed gardening, where soil can dry out quickly during the hot summer months and nutrients can become depleted over time.
If you’d like get into the nuts and bolts of incorporating hugelkultur practices into your backyard gardening routines, I recommend these related articles:
- 18 Best Materials to Put in the Bottom of Your Raised Beds
- 40 Cheap and Easy Ways to Fill Your Raised Garden Beds
- Filling Raised Beds with Just Compost: Should You Do It?
- Pros and Cons of Raised Garden Beds: Know Before You Grow!
- Using Topsoil in Raised Garden Beds: Can You Do It?
Back to Eden gardening, also known as BTE, is another gardening technique that involves using wood chips to create a self-sustaining garden.
The idea behind BTE gardening is to create a very thick layer of decomposed wood chips on top of the native soil, then plant directly into the now nearly-decomposed wood chips.
In this case, the wood chips act as a natural mulch, helping to retain moisture and suppress weeds, while also providing nutrients to the plants as the wood pieces break down into organic soil.
To get started with BTE gardening, you’ll need to source a large amount of wood chips. Depending on the size of your garden, you might need several deliveries of wood chips.
If you live in an area where wood trimmers are active, the best way to do this is to use the getchipdrop.com app, which connects gardeners with arborists who have excess wood chips to give away.
When planting in BTE-style gardens, you’ll want to keep a few tips in mind:
- First, you should aim to use a diverse mix of plants to create a self-sustaining ecosystem.
- Second, it’s important to avoid compacting the wood chips by running heavy equipment over them. You can walk on them. Just don’t drive loaders or other large machines on them.
- Third, you’ll never know what kinds of wood chips will be delivered to your property, so be ready for all kinds of debris (from large logs and branches to leaves and lots of wood chips).
Please note that the wood chips will need time to decompose before they can be used for planting, so you’ll need to wait at least 12 months (and possibly longer) before planting directly into the wood chips.
This might sound like a long time, but BTE gardening is a long-term investment, so if you have the patience for it, I highly recommend the practice since BTE gardening can be a rewarding and sustainable way to grow your plants.
The nice thing about raised beds is you can put BTE practices to good use in them. Just fill the beds with lots and lots of wood chips and wait patiently.
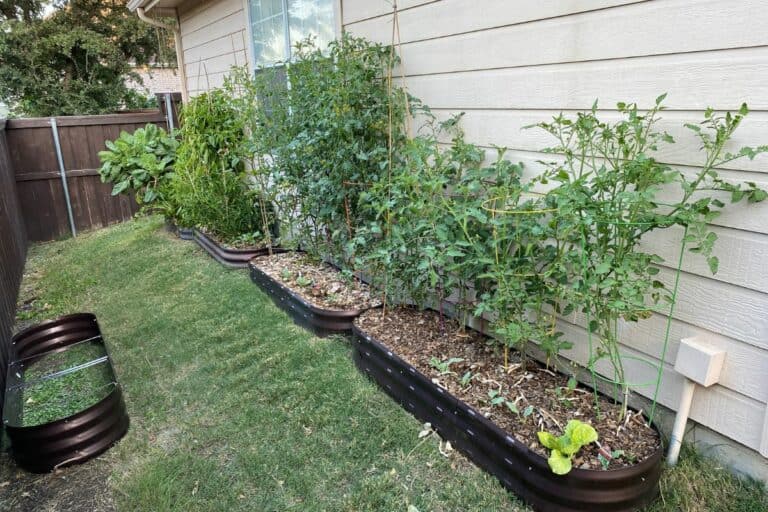
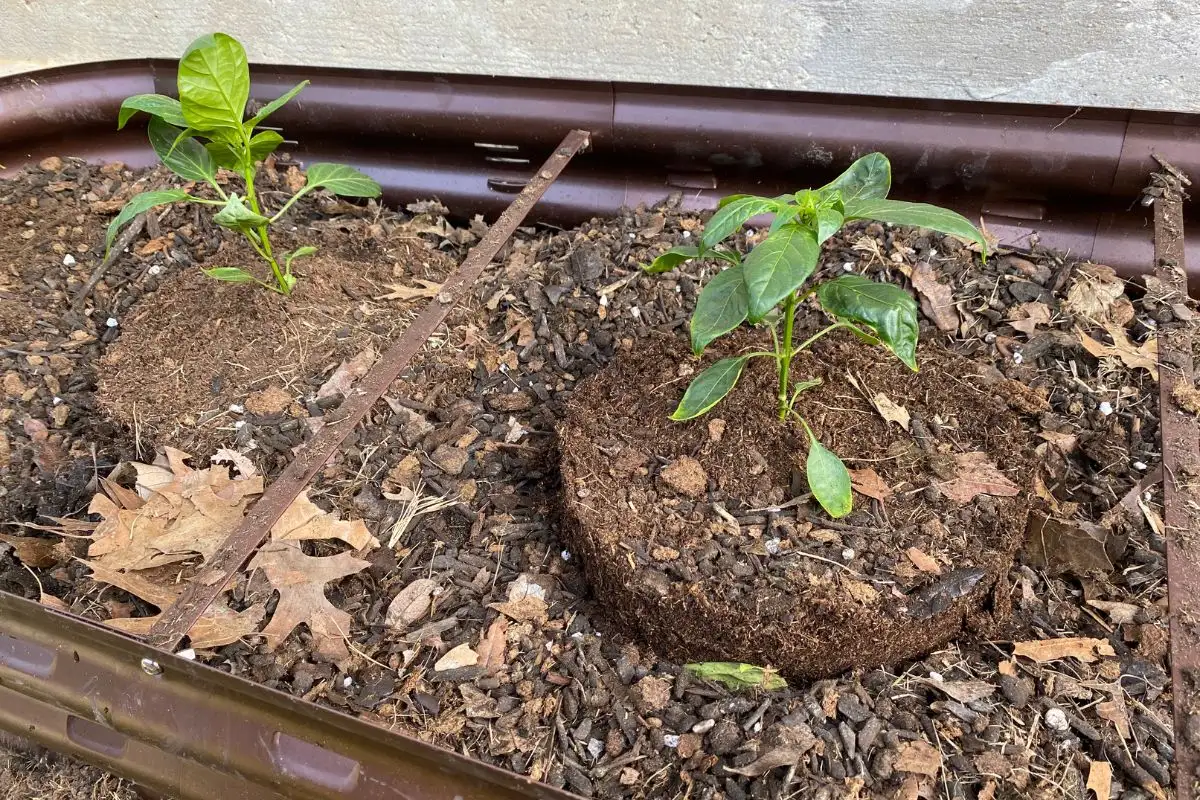
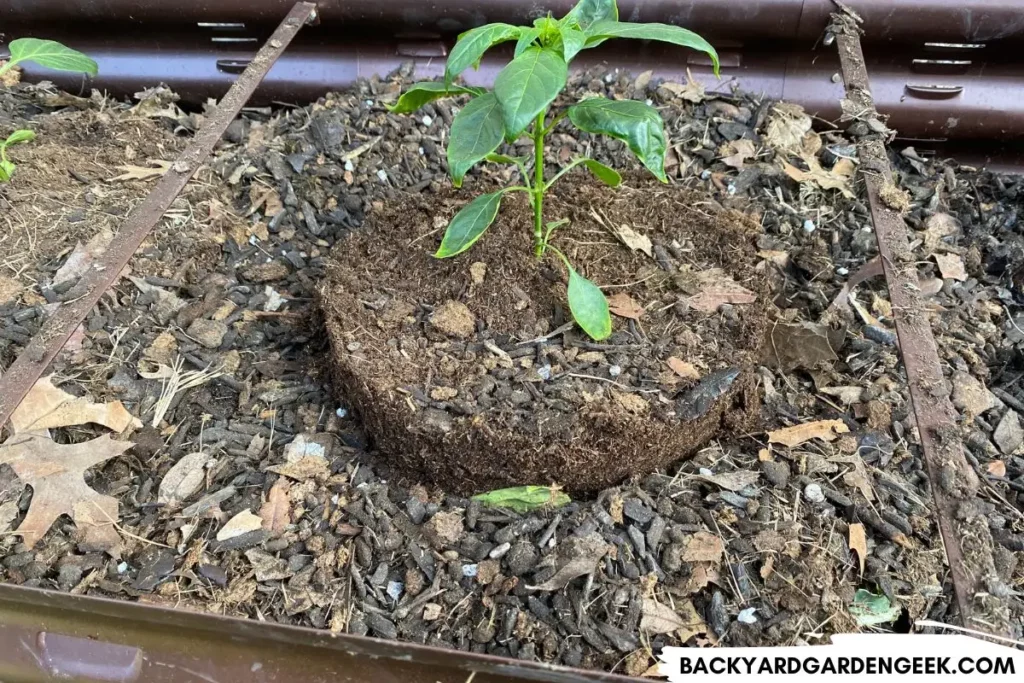
Here’s a pro tip if you don’t want to wait: Fill most of the raised beds with wood chips, but use an empty container to fill certain areas with high-quality soil. For the first year or two, you can grow plants in those little soil islands while you wait for the wood chips to disintegrate.
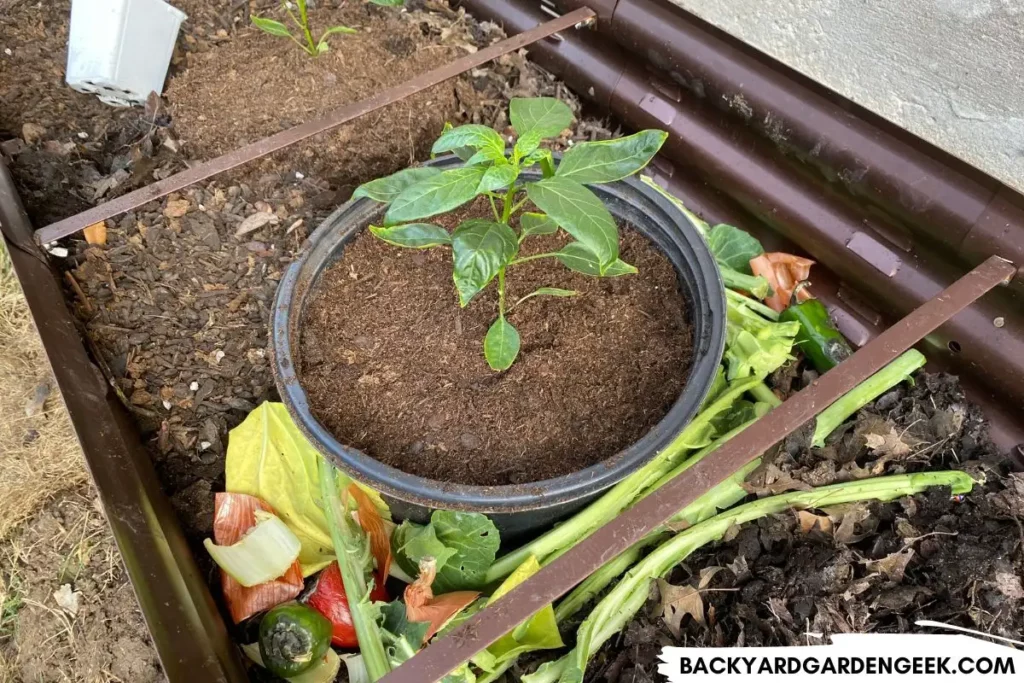
That’s what I did in my new raised beds, and it worked like a charm!
As these examples show, using bark, mulch, wood chips, or other woody materials in the bottoms of raised beds can be a cost-effective and beneficial choice for those who want to fill up garden beds on the cheap.
While it may take some time for the wood to fully decompose, the benefits are well worth the wait!
What Do I Put at the Bottom of a Raised Garden Bed?
Now that I’ve given you an overview of using bark, mulch, and wood chips in your garden, let’s take a quick look at what you should put in the very bottom of your raised beds before you start loading them with wood debris.
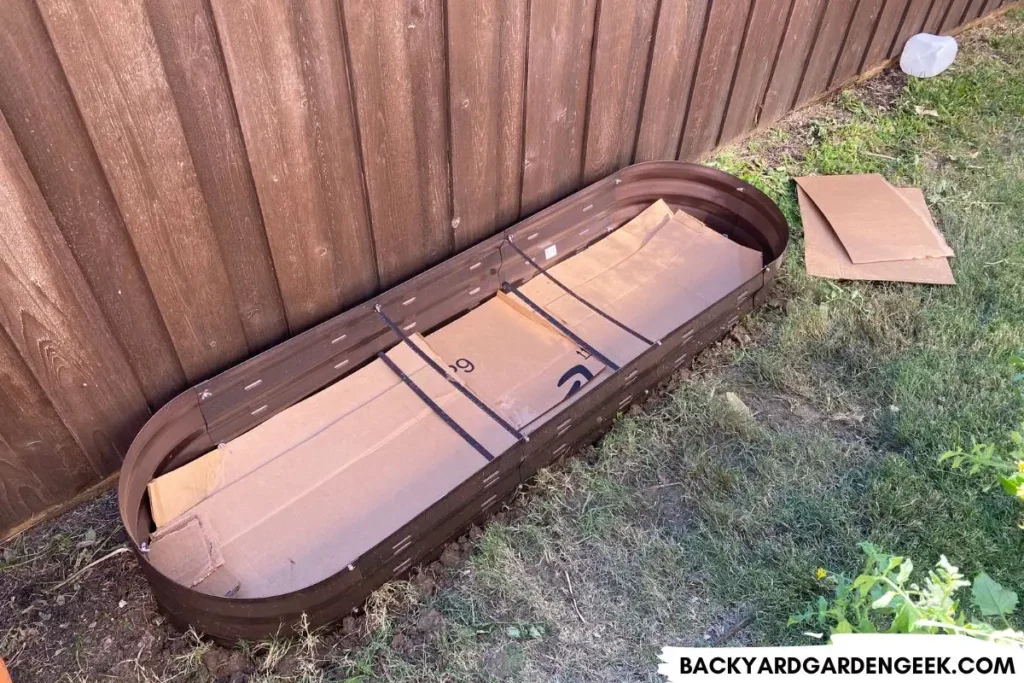
The key to raised bed gardening is keeping as many invasive grasses and weeds out of your raised beds as possible. You can start by removing the grass. But after you do so, you’ll need cardboard. Lots and lots of cardboard.
Cardboard is an excellent material to use in raised garden beds–either placed inside the raised beds or layered underneath the beds–for several important reasons:
- First, it’s great for smothering and killing off grass, which can be a nuisance for gardeners.
- Second, cardboard is an effective weed suppressor, preventing sunlight from reaching weed seeds and thus inhibiting their growth.
- Third, it’s a cheap alternative to landscape fabric and decomposes quickly, adding organic matter to the soil.
- Fourth, cardboard (once it decomposes) allows plant roots to access the nutrients in the native soil, which is particularly important if you’re building your garden on top of poor-quality soil (like the hard-packed clay I’ve got on my property).
- Fifth, because cardboard decomposes and thus disappears, earthworms and other beneficial microorganisms will eventually migrate from the native soil into the raised bed soil.
When using cardboard in raised garden beds, you’ll need to make sure it’s free of stickers, labels, and tape, and you’ll want to lay down thick layers of cardboard and overlap the edges to prevent grass and weeds from growing through any gaps.
If you’ve got burrowing pests on your property, you’ll also want to cut a piece of hardware cloth to size and layer it on top of the cardboard to prevent them from damaging your plants.
Simply put, cardboard is an affordable and sustainable material that’ll help you create a healthy growing environment for your plants. If you’re looking for an easy and eco-friendly way to prepare your raised garden beds, consider using cardboard as your go-to solution.
If you’d like to learn more about how I use cardboard and what I do with my raised beds, take a look at these articles:
- 9 Easy Steps to Build Raised Garden Beds on Your Grass Lawn
- 9 Tips to Ensure Proper Drainage in Raised Garden Beds
- 12 Reasons Why Vegetables Can Grow Better in Raised Beds
- How Deep Should Raised Garden Beds Be for Tomatoes?
- Landscape Fabric Under Raised Beds: Is It Necessary?
What’s the Cheapest Way to Fill Raised Beds?
Of course, once you’ve placed cardboard in or under your raised beds, you’ve got to figure out what to do next.
Assuming you’ve going to build or install a larger raised bed, did you know that you can put all kinds of compostable, organic materials in it?
In other words, you can practice a mini version of hugelkultur by filling most of your raised garden beds with any of the materials listed below:
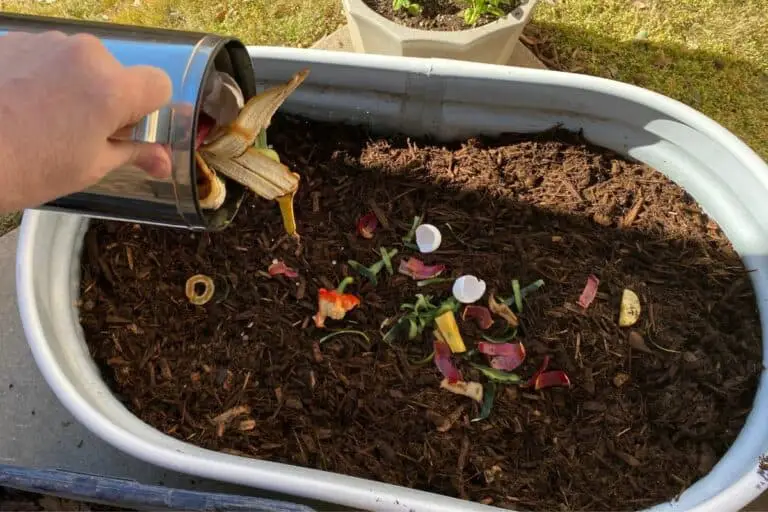
- Banana Peels
- Branches
- Compost
- Egg Cartons
- Eggshells
- Fish Scraps
- Fruit Scraps
- Christmas Trees
- Coffee Filters
- Coffee Grounds
- Dead Houseplants
- Flowers
- Garden Plant Scraps
- Grass Clippings
- Hay
- Jack O’Lanterns
- Junk Mail
- Kitchen Scraps
- Leaves
- Livestock Manure
- Logs
- Loofahs
- Mulch
- Newspaper
- Paper Documents
- Paper Napkins
- Paper Towels
- Pet Fur
- Pine Needles
- Potting Soil
- Rope or Twine
- Straw
- Sticks or Twigs
- Tablecloths
- Tea Bags
- Tea Leaves
- Toilet Paper Rolls
- Wine Corks
All of these materials will decompose over time, so go ahead and pile them up inside your new raised beds, then top the raised bed with 4-6 inches of soil.
That first year, you’ll need to stick with shallow-rooted plants since there’s not much soil in your raised bed, but next year, the decomposition process will have had time to work, so you’ll notice that your beds are filled with lots of great organic soil.
Further Reading
Would you like to learn more about my experiences with raised beds? If so, check out these links:
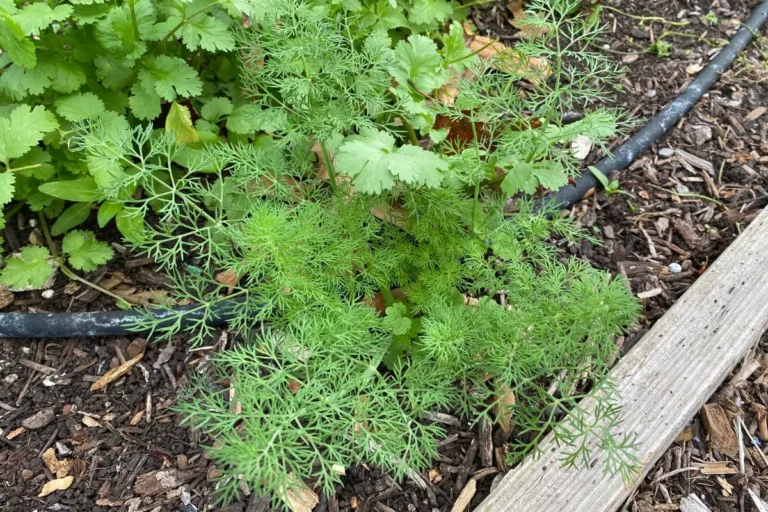
- 13 Must-Grow Herbs for Your Raised Garden Beds
- 23 Plants You Shouldn’t Grow in Raised Beds
- 32 Must-Try Vegetables for Your Raised Garden Beds
- Full Sun or Partial Shade: What’s Best for Raised Beds?
- Putting Raised Beds on the Patio: Should You Do It?
- When Should I Transplant Tomato Seedlings? Expert Tips