9 Easy Steps to Build Raised Garden Beds on Your Grass Lawn
Raised beds are a great way to grow plants and vegetables in your garden. They offer numerous benefits, such as better soil quality, improved drainage, and better accessibility.
But one common question that many beginner gardeners ask is this: “Can I put raised beds on top of grass?”
Raised beds can be installed on top of existing grass, but care should be taken, especially with invasive grasses like Bermuda grass, to remove as much grass as possible beforehand and to cover the entire area with thick layers of cardboard to kill off any remaining grass and prevent weed growth.
In this article, I’ll share everything you need to know when it comes to putting raised beds on top of existing grass.
Of course, you can always remove the grass underneath your raised garden beds, but you don’t necessarily need to if you do what’s necessary to kill off any grass that’s down there.
I’ll take a look at the advantages and disadvantages of putting raised beds on top of grass versus removing the grass entirely and share step-by-step instructions on how to do it successfully.
In fact, I’ve already created a list of the pros and cons of raised garden beds.
But here’s a quick breakdown of what I’ll cover in this article for anyone who would like a quick overview. I’ll cover each of these topics in more detail below:
- Tracking the Sun
- Watching the Water
- Choosing the Right Size
- Selecting the Best Materials
- Picking the Right Location
- Laying Down Cardboard
- Installing the Garden Bed
- Practicing Hugelkultur
- Selecting the Plants
If you don’t do things properly, you’ll cause yourself lots of headaches later on, so I hope you’ll learn from my early gardening missteps and install your raised beds properly the first time!
Putting Raised Beds on Top of Grass: Strategies and Tips
There are both advantages and disadvantages to putting raised beds on top of grass, and it’s important to weigh these factors before making a decision.
Let’s start with the advantages of doing so:
- Ease of Set Up: Putting raised beds on top of grass is a faster and easier process than removing the grass completely.
- Grass and Weed Control: When done properly, raised beds can smother both grasses and weeds, leaving lots of soil to plant in.
- Soil Health: Building raised beds atop grass means that you have more control over the quality of soil that’s found in those beds versus the native soil.
Let’s also take a look at a few disadvantages:
- Grass Growth: If the grass beneath the raised beds is not properly controlled, it can grow into the raised beds, competing with your plants for nutrients and water.
- Weed growth: Weeds can also get into your raised beds if you’re not careful when you construct them, requiring extra effort to control.
Now that I’ve given a quick overview of the advantages and disadvantages of building raised beds atop grass, let’s take a look at my step-by-step process for building or installing new raised beds on your property.
1. Tracking the Sun
Before you install new raised beds, you’ll want to spend time observing how the sun moves across your yard, and ideally, you’ll want to do so at least once each season (winter, spring, summer, and fall), especially if you live in urban or suburban areas where buildings might shade different parts of your yard at different times of the year.
Note where the sun rises, its highest point in the sky, where it sets, and where it casts shadows. This will help you determine the amount of sunlight different parts of your yard receive throughout the day.
Please remember: Just because part of your yard receives sunlight now doesn’t mean it’ll receive any sunlight at another time of year.
I made this mistake early on when I built a raised bed in a sunny area of my yard, only to realize a few months later that that area is fully shaded for 8 months out of the year.
Generally speaking, you should consider whether you want your raised beds to be in full sunlight or partial shade and whether those shade patterns will change as the year goes on.
2. Watching the Water
When building raised beds, you can’t just attend to sunlight and the shadows it casts. You’ve also got to consider water and its runoff patterns on your property.
Years ago, I built a big, beautiful U-shaped raised bed in my backyard. I was super proud of it and excited to start growing veggies in it, but I realized within a few weeks that water was collecting in the U-shaped area of the bed.
I ended up digging out some soil, then adding a French drain that allowed the water to pass underneath the bed and thus not puddle.
However, this was a huge headache and one that could have easily been avoided if I had focused more time and attention on where exactly water went when it rained hard outside.
If you’re not careful, you can negatively impact the drainage of your raised beds, so make sure that you’re not building raised beds in any areas where water tends to run off.
3. Choosing the Right Size, Shape, and Height
When you’re building or installing new raised beds atop your lawn, you need to consider the size, shape, and height of those beds in comparison to what your space looks like and what you’re hoping to grow.
In one area of my backyard, I’ve got a narrow strip of grass that gets lots of sunlight and is perfect for raised beds.
But it’s very narrow there, so I had to find raised beds that were no wide than 20 inches so that I could navigate my wheelbarrow through the opening.
My local stores didn’t have anything like this, but thankfully, I searched around Amazon and found a LuxenHome raised bed that, at 19.7 inches wide (50 cm), worked perfectly for my needs.
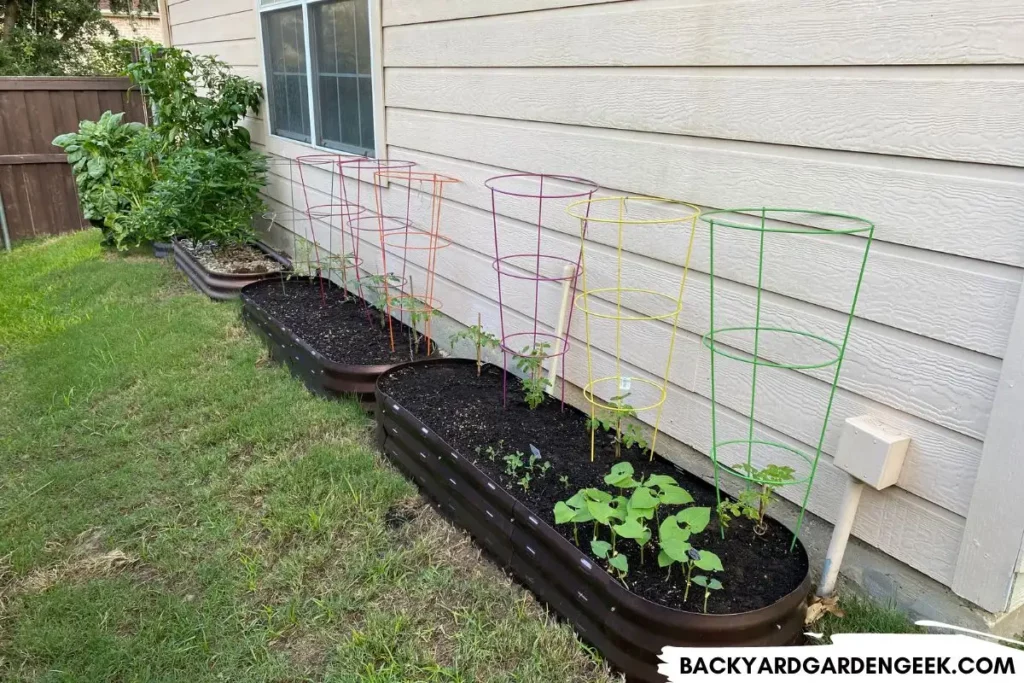
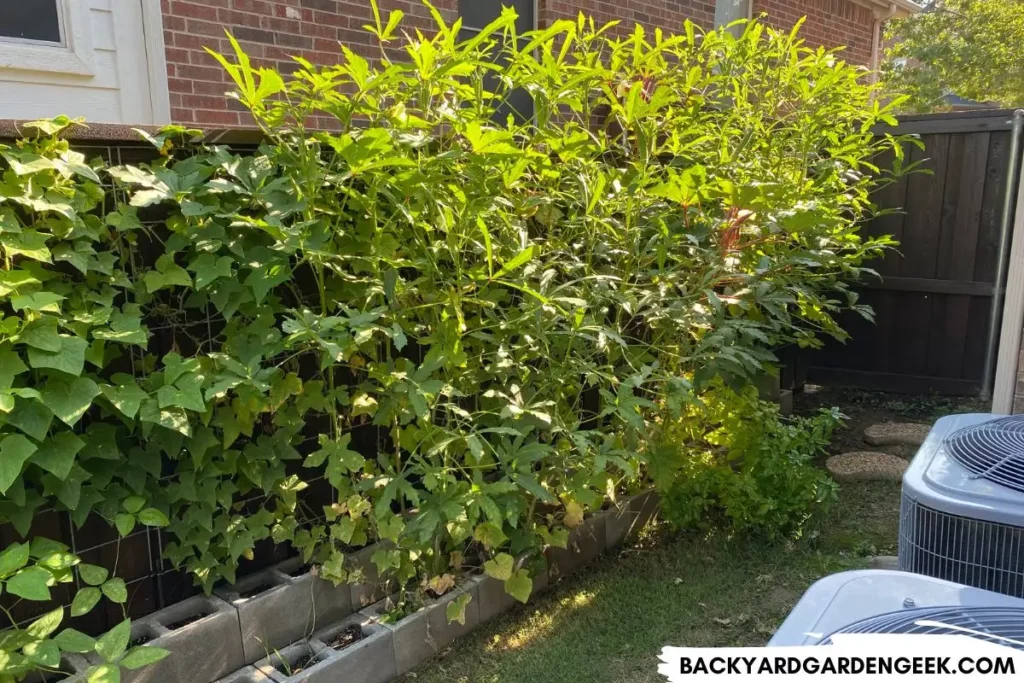
In another corner of my yard, I had a great space for a raised bed, but I needed a tall one that would allow my plants to access a cattle panel that I hung from my fence as a trellis.
For this particular project, I went with a taller garden bed since I needed more height to help the plants grow up and wrap themselves around the cattle panel.
Long story short, consider your space and what you hope to grow, then build or buy beds that allow you to do just that.
4. Selecting the Best Materials
When sourcing materials for raised garden beds, you’ll want to consider just how long you’re hoping the beds will last.
If you build your own beds using wood (whether hardwood or not), please be aware that all wood will eventually rot even if you do all you can to prevent it.
With hardwoods such as cedar, redwood, or white locust, you’ll get many years of use out of your raised beds, but you’ll notice rot as early as year 7 and most likely need to replace them by years 10-12.
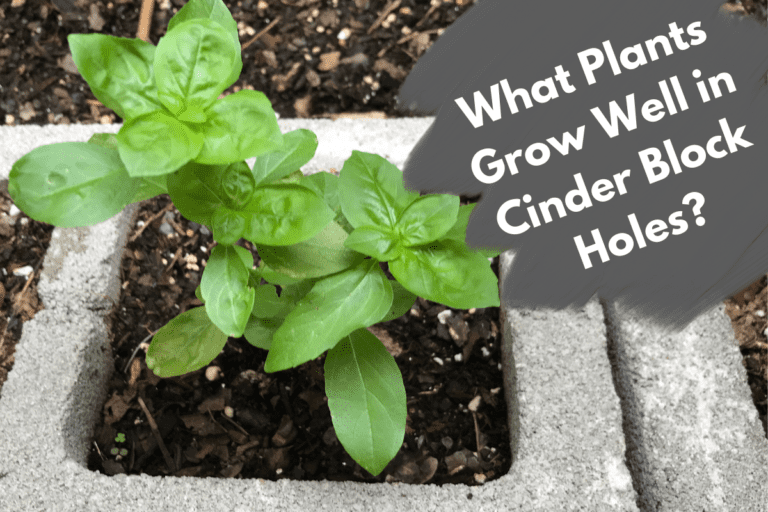
Another option is concrete block raised beds (which many refer to as cinder blocks). The upside to concrete blocks is that they’re relatively cheap and also very long-lasting.
You can also grow plants in the holes of each concrete block. In fact, I’ve even written a beginner’s guide to growing plants in concrete block holes, so check it out if you have a moment!
The major downside to concrete blocks is that they get very hot during the summer months, especially if you live in more southern regions.
If you live in areas where it gets hot during the summer, you can absolutely building concrete block raised beds, but you’ll want to consider placing them in areas of your yard that receive partial sunlight.
Building concrete block raised beds in full sunlight will mean constant watering, especially for any plants that you’re growing in the concrete block holes.
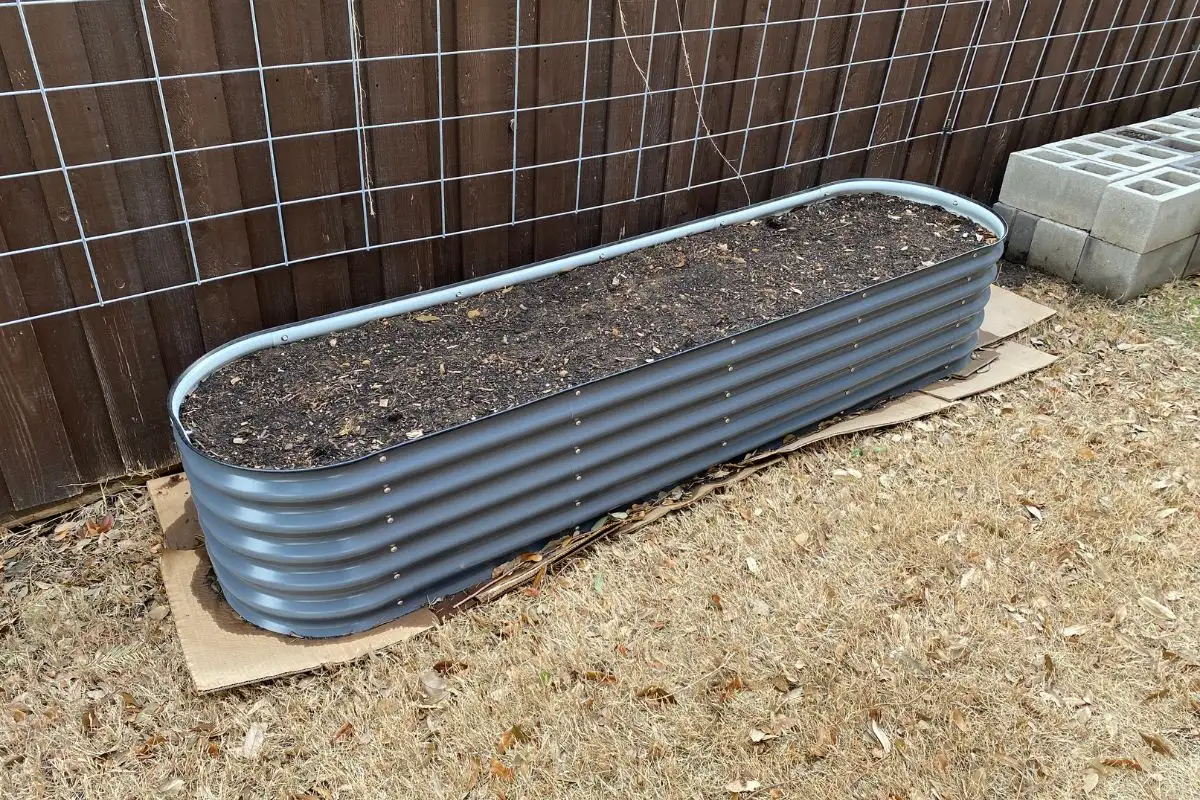
I wanted to avoid the problems with wood and concrete blocks, so I’ve recently opted for metal raised beds, and I’m very happy with the results so far.
After several years of use, the beds are no longer shiny, but they’re otherwise exactly like they looked when I first installed them.
In fact, some metal raised garden beds (such as the Birdie’s or Vego Garden Brands) advertise lifespans that are 20+ years long!
These brands are rather expensive, but if they last longer than 20 years, you’ll more than make your money back given how much you’d have to pay to build a wood raised bed, then build it again 10-12 years from now.
5. Picking the Right Location
When you’re building or installing raised beds, you’ve not only got to consider sunlight and water runoff patterns, but you should also consider convenience.
Believe me, if you’ve got a decent-sized property, you don’t want to have to haul water out to raised beds that you’ve installed too far away from your house. It’s much easier if your raised beds are closer to the house or if you’ve built an irrigation system that gets the water closer to the raised beds themselves.
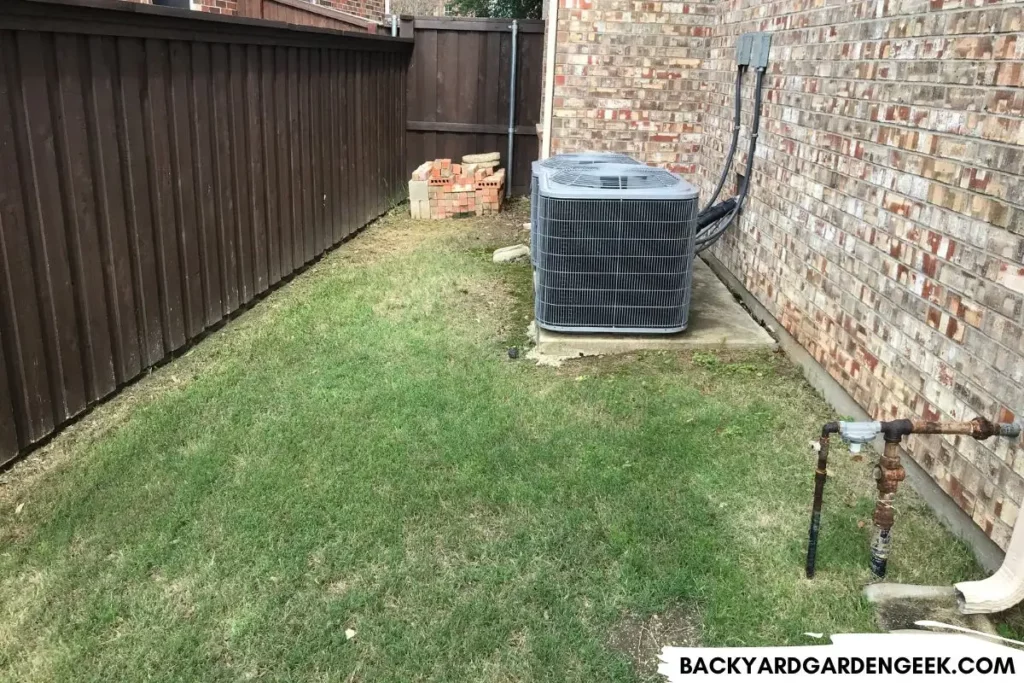
I know this from experience. Because of the shape of my backyard, I’ve got raised beds and containers in 4 different places: my patio, my driveway, behind my detached garage, and on the side of my house nearest to my air conditioning units.
I’ve really enjoyed the raised garden bed on my patio because of its convenience. I simply turn on the water and start watering my plants.
The other beds produce more since they get more sunlight throughout the day, but they’re a bit of a nuisance to water, especially during the hot Texas summers.
This isn’t ideal, but it’s what I’ve got to work with.
My goal moving forward is thinking through how I might better build irrigation systems so that I’m not criss-crossing my yard with garden hoses and watering cans.
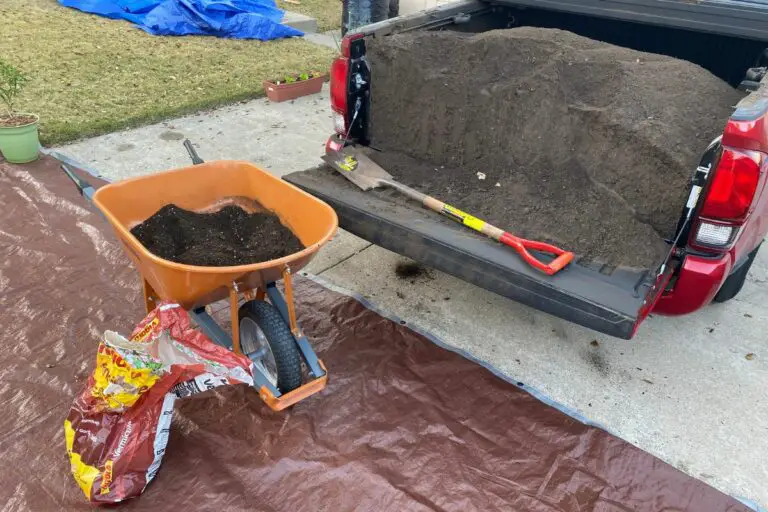
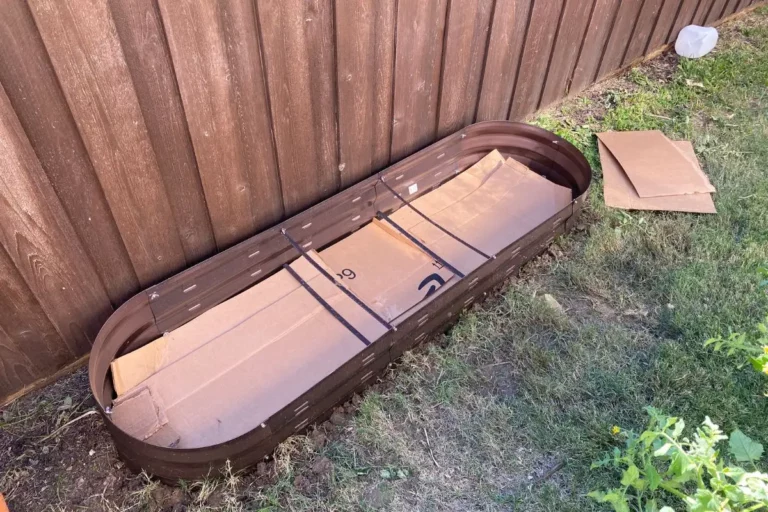
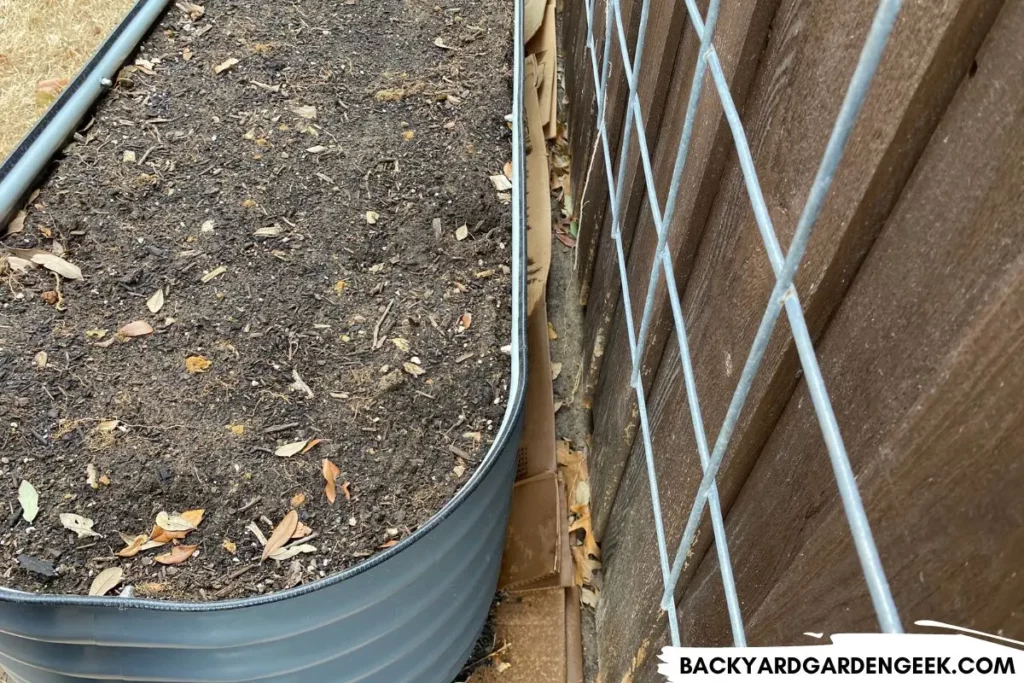
6. Laying Down Cardboard
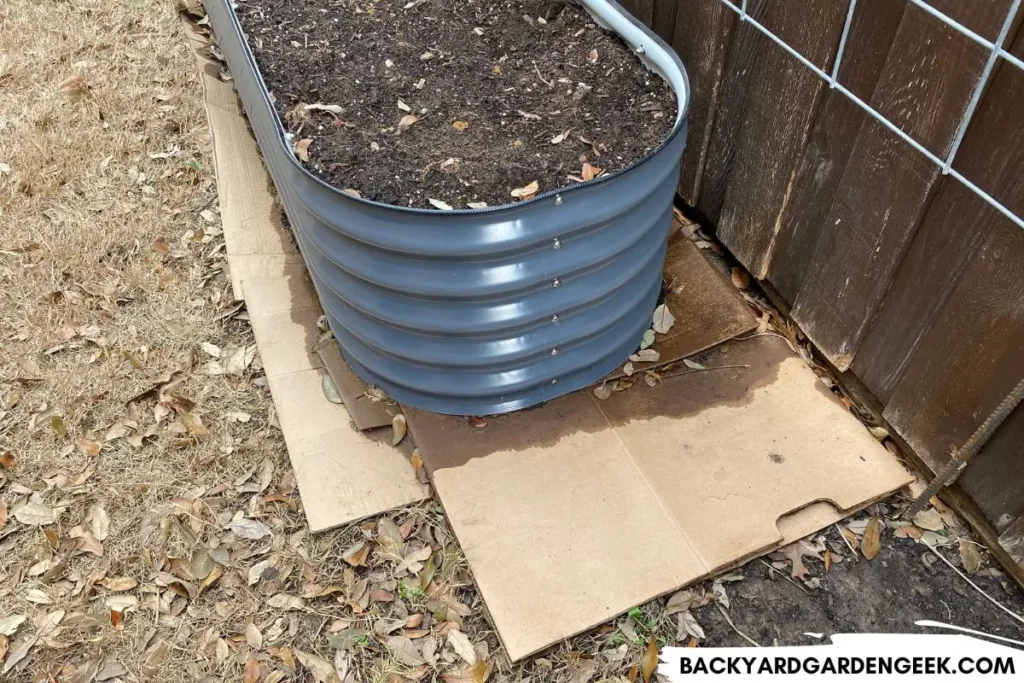
Laying down thick layers of cardboard is an important step in putting raised beds on top of grass. Cardboard helps kill off grass and prevent it from growing up through the soil and into your raised beds.
But here’s the thing: You need to put down enough cardboard to ensure that all the grass dies.
A good rule of thumb is to place at least 3-5 layers of cardboard underneath your raised beds, overlapping the pieces to ensure complete coverage. You should also place cardboard in the general vicinity around the raised beds to prevent grass from creeping into them.
In addition to laying down the cardboard, you’ll benefit if you can cover the walkways around your raised beds with wood chips to further prevent grass and weed growth.
Don’t put gravel down. You can get wood chips for free from local tree trimmers (if you live in an urban or suburban area), and those chips will decompose over time, leaving you with walkways that have amazing compost underneath them.
7. Installing the Garden Bed
Once you’ve got plenty of cardboard laid out in the right location–and layered thickly to smother all underneath grasses–you can begin either building or installing your raised beds on top of the cardboard.
I’ve seen some folks recommend putting down landscape fabric below raised beds, but I disagree wholeheartedly.
Simply put, do not put landscape fabric beneath your raised beds. Just don’t.
If you’ve got a vermin problem on your property, please put down hardware cloth beneath your beds to protect your plants from underground attacks, but that’s entirely different from landscape fabric.
Here’s what happens if you put down landscape fabric: You make it impossible for earthworms and microorganisms in your native soil to migrate into your raised beds.
And believe me, you want that migration to happen since those bugs and organisms will help create a healthy soil profile over time.
Landscape fabric will also keep your plants’ roots from reaching down into the native soil to draw additional nutrients from beneath the ground.
This might not matter too much if you’ve installed raised beds that are 30+ inches tall (76 cm). But most raised beds aren’t that tall, and your plants will benefit from sending their roots as deep down as possible, especially larger varieties like tomatoes and pepper plants.
8. Practicing Hugelkultur
Once your raised beds are situated correctly in your lawn, you’ll want to fill them as cheaply and easily as possible.
To do so, you should absolutely practice a gardening method known as hugelkultur, where you layer materials so that, over time, they decompose and produce wonderfully healthy soil for your plants to grow in.
Here’s how it works:
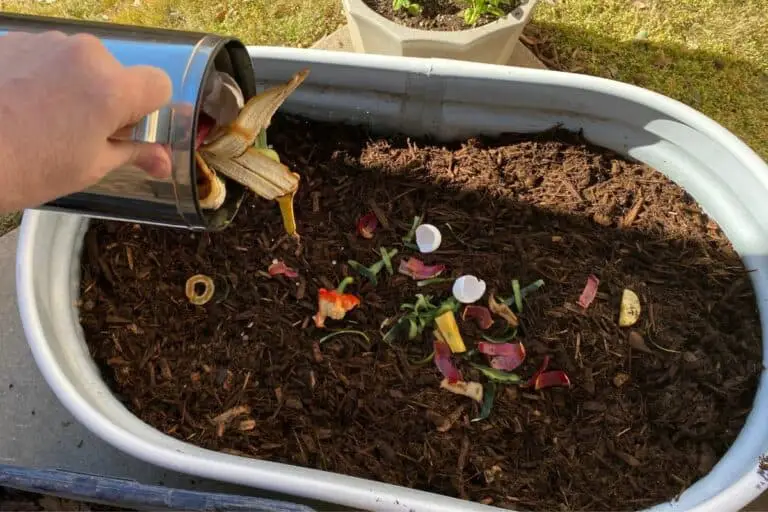
In the bottom of your raised beds, you’ll want to put lots of large compostable materials. Think stumps, logs, giant branches, and anything else that’ll compost down over the course of 1-3 years.
In fact, I’ve written an article about 18 materials to put in the bottom of raised beds, so I encourage you to check it out to learn more!
After you’ve filled the bottom 25% or so with larger materials, you’ll want to fill in the next 25% of the raised bed with smaller compostable materials, the kind of materials that’ll typically decompose in 6-12 months.

Here’s a few examples:
- branches
- compost
- eggshells
- fish scraps
- coffee grounds
- dead houseplants
- flowers
- garden debris
- grass clippings
- kitchen scraps
- leaves
- livestock manure
- mulch
- old potting soil
- pine needles
- sticks or twigs
- tea bags
- wood chips
If you want to see my full list, take a look at my article on 40 cheap and easy ways to fill raised garden beds.
These materials will decompose within a year, so they’re a great addition to the raised beds, especially if you balance brown materials (which release carbon) with green materials (which release nitrogen).
In the top 25% of your raised bed, I encourage you to put down soil or soil mixed with mature compost.
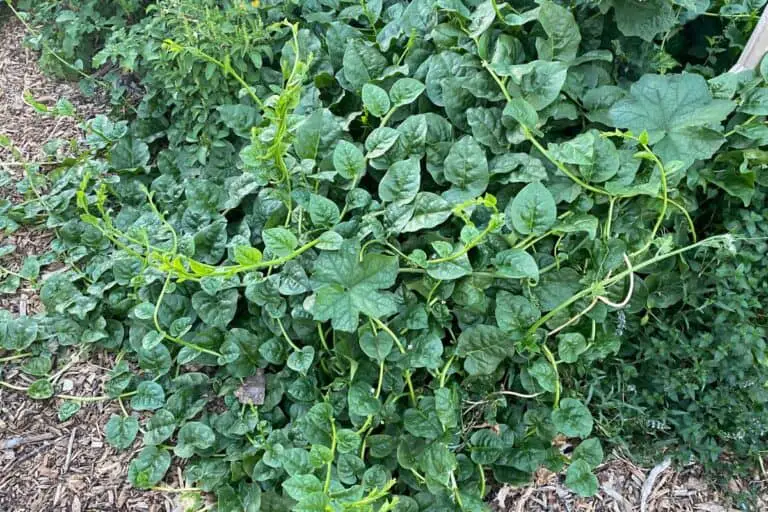
That way, during the first year after you’ve installed your raised beds, you can grow shallow-rooted plants in them such as beets, kohlrabi, lettuce, onions, radishes, and most herbs.
As time goes on, the materials down below will decompose, and you’ll be able to plant whatever you want to plant in that bed for a fraction of what it would have cost for you to fill the entire raised bed with soil.
9. Selecting the Plants
As I noted above, when you’ve built your raised beds this way, select shallow-rooted plants to grow in them that first year.
Don’t attempt to grow eggplant, pepper plants, or tomatoes–or any other deeper-rooted plants–since the lower half of your raised bed will not have deteriorated yet and thus won’t provide the kind of nourishment those plants depend on.
If you practice the hugelkultur method I’ve noted above, here’s a list of shallow-rooted plants you can grow in your raised beds immediately after installing them atop your lawn:
- Arugula
- Basil
- Beans
- Beets
- Chives
- Cilantro
- Dill
- Feverfew
- Garlic
- Kale
- Lettuce
- Marjoram
- Onions
- Oregano
- Parsley
- Peas
- Radishes
- Spinach
- Thyme
- Turnips
And just remember: There are at least 20 plants that you should never grow in raised beds. Keep those out of your raised beds, or else you might experience headaches as time goes on.
Got Grass in Your Raised Beds? Things to Consider
Despite your best efforts, grass may still creep into the raised bed. This is a common problem that many gardeners face, but there are organic methods that you can use to get rid of it.
Hand Pulling
One method is to hand pull the grass, and this is fine for small jobs.
But it’s a time-consuming process for larger problems, although it’s effective and doesn’t harm the soil.
You can also use a hoe or cultivator to chop the grass down, making it easier to pull, but don’t do this if you’ve got any plants nearby, or you’ll likely damage the roots.
Heavy Mulch
Heavy mulch will smother many grasses and prevent them from growing.
You can use wood chips, mulch, or lots and lots of leaves, but for this to work, the mulch should be at least six inches thick (preferably thicker) and should be reapplied every year.
Vinegar
Another option is to use vinegar. This is a natural weed killer that’s safe for the environment (although you’ve got to be careful around your plants).
Simply pour vinegar on the grass, and it’ll start killing it off within a few days.
Please be warned that you need to be careful with this method if you’ve got any plants growing anywhere nearby since vinegar could harm their root systems.
Vinegar can also potentially raise the soil’s pH levels if you apply lots of it, so that’s something to keep in mind as well.
One more thing: If you’ve got a yard that’s full of rhizomatic grasses such as Bermuda grass–which can easily find their way into raised beds–you’ll want to be extra vigilant and put down as many layers of cardboard as possible, making sure the cardboard extends far beyond the raised bed.
In fact, if you’ve got the space, you might want to install your raised beds atop cardboard, then solarize the area around your garden, cover it in cardboard, and cover your walking areas in wood chips.
Bermuda is horrible, so if you can create a barrier between it and your raised beds, you’ll be better off in the long run.
And never, ever put Bermuda grass clippings in or around your raised beds, since those clippings can grow new Bermuda grass.
Simply put, you can use a combination of all these methods to keep grass under control in your raised beds.
By hand pulling, mulching, and using vinegar, you can keep your raised beds looking their best.
Want to Learn More?
Putting raised beds on top of grass is a great way to start a garden, and with the right preparation, you can be successful.
By paying attention to the sun and rainwater, selecting the right kinds of materials, laying down thick layers of cardboard, and developing a healthy soil profile, you can enjoy a thriving garden for years to come.
Whether you’re a beginner or an experienced gardener, raised beds are a great way to grow plants and vegetables, and if you follow the tips I’ve shared in this article (and the others I’ve provided links to), you’ll be well on your way to success with raised garden beds.
If you want to learn more about my experiences growing vegetables in raised garden beds, check out these related articles: