Do Tomato Seeds Need Sunlight to Germinate? 5 Planting Tips
I’ve been growing tomatoes from seed for over 10 years, and when I first began doing so, I had to grow them in my basement, which didn’t get any natural light.
I remember wondering if my seeds would grow without the help of sunlight. Would they germinate?
Tomato seeds can be germinated entirely without sunlight, although sunlight can help speed the germination process by keeping the soil warm. Tomato seeds germinate best in soil that’s around 75℉ (24℃), which means that sunlight is a necessary accessory if heating mats aren’t readily available.
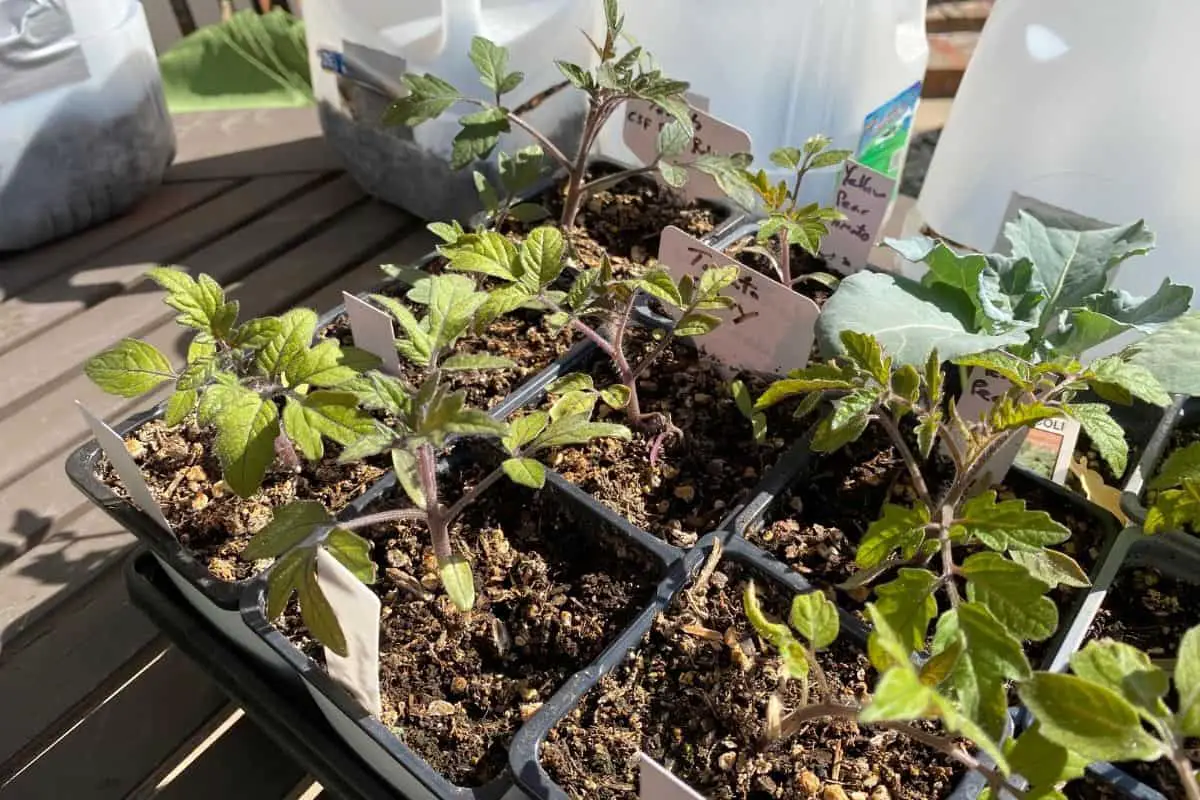
I’ve germinated tomato seeds in sunless basements and sunlit garages. I’ve also germinated them on sunny windowsills and even outside in full sun.
What I want to do in this article is to share all that I’ve I’ve learned over time when it comes to germinating tomato seeds successfully so that you can have the highest possible germination rates when you start your seeds this year.
Germinating seeds isn’t necessarily difficult once you know what to watch out for, but as I learned when I first started doing so, it can be incredibly frustrating to plant seeds, wait for them to grow, and realize once it’s too late that only half of them germinated (or even none at all!).
So let’s take a look at the role of sunlight in the germination process and what you can do to germinate most, if not all, of your seeds this year.
Sunlight and Seeds: 5 Things to Know
When it comes to germinating tomato seeds, gardening is like most other things in life–you’ve got to learn as much as you can and practice as often as possible to get good at what you’re doing.
Unfortunately, there’s usually a fairly short window for growing your own tomato plants.
If you start the seeds too early, your plants will get large and scraggly before the final frost hits your region. If you start too late, you’ll miss out on some of the best weeks in spring, and your plant won’t reach its full potential before the summer bugs arrive.
When it comes to planting and germinating tomato seeds, the window of opportunity varies greatly by region, but the recommendations below are applicable regardless of where you’re growing your plants.
One quick tip: Be sure to buy your seeds from reputable online retailers a few months prior to the start of the growing season. Seeds sell out quickly as the time to plant draws near, so you’ll want to make sure you find seeds that grow best in your region well in advance.
1. Sunlight and Soil Temperature
What matters most when it comes to germinating tomato seeds is soil temperature and moisture, so let’s first take a moment to talk about temperature.
The ideal temperature range for tomato seed germination is 70-85℉ (21.1-29.4℃), although tomato seeds can still readily germinate when soil temperatures are as low as 50℉ (10℃) or as high as 95℉ (35℃).
If soil temperatures are too low, however, tomato seeds will go dormant. That is, they’ll recognize that temperatures are not ideal for plant growth and thus remain in stasis until warmer weather increases soil temperatures..
This is why, every spring, you might find so-called “volunteer” tomato plants popping up in your cold compost pile or garden bed. The seeds likely fell last fall but soil temperatures were too low, thus preventing germination at a time that would have been inopportune for new plant growth.
The opposite is true when it comes to heat. Seeds won’t go dormant. They’ll actually be damaged by the extreme temperatures.
This is why seeds don’t germinate well in the height of summer, when temperatures in many places get above 95℉ (35℃), and why they don’t grow if exposed to hot compost piles, which will literally cook them if they’re anywhere in the vicinity of temperatures in excess of 110℉ (43.3℃).
This is where sunlight begins to play a role, especially in late winter or early spring.
If you’re germinating seeds indoors with heating mats, you won’t need any assistance from the sun because most heating mats are designed to keep soil temperatures around 75-80℉ (23.8-26.6℃).
But if you don’t own heating mats, sunlight could be a big contributor to successful seed germination–especially several hours per day of direct sunlight–since the heat from such light would increase soil temperatures during the daytime hours. In turn, this could provide just enough warmth to raise the temperature of the soil to levels that encourage seed germination.
2. Sunlight and Soil Moisture
Here’s the thing about sunlight: It’ll warm up your soil (which is great), but it’ll simultaneously dry out your soil (which isn’t great).
When it comes to soil moisture, you need to keep your planting soil moist but not wet, and your tomato seeds need to remain in contact with the soil while also having access to small amounts of air.
This is why the best kind of planting soil is the kind that’s referred to as “loamy”–not too dense and not too airy. Loamy soil retains water so that seeds don’t dry out, but it also drains well so that seeds don’t rot either. It’s the best of both worlds.
Personally, I like using seed soils made with coconut coir. Unlike peat moss, which works well as a seed-starting soil but comes with a steep ecological price tag, coconut coir is made from the husks of coconut shells, yet it’s similar in many ways to peat moss.
I like these 2 products in particular because you get a lot of seed-starting soil for your money:

This Burpee seed starting mix block is a great deal compared to bags of seed starting mix.

SpongEase also makes a great coconut coir seed starting soil.
If you’ve picked up some good loamy soil, sunlight is the perfect accompaniment since it’ll warm the soil when placed directly in the sun’s rays. Just be careful. Even though loamy soils are great for germinating seeds, they can also dry out quickly when exposed to direct sunlight and higher temperatures.
To mitigate some of these issues, I tested out Burpee’s Self-Watering Seed Starter Tray in conjunction with direct sunlight (from a window) and Vivosun heat mats at the beginning of this season. As I noted above, the watering system is a little pricey, but I had heard good things about it and wanted to see for myself how well it worked.
Sure enough, I had incredible germination rates using this self-watering system, direct sunlight, and heating mats. Out of the 72 cells that I planted seeds in, only 4 failed to germinate, which means I had a 95% germination rate overall.
What I also like about this system is that it allowed me to expose my planting soil to direct sunlight as well as heating mats without worrying too much about the soil drying out since it was being drawn up into the planting cells via a wicking cloth.
All in all, I was very happy with the results.
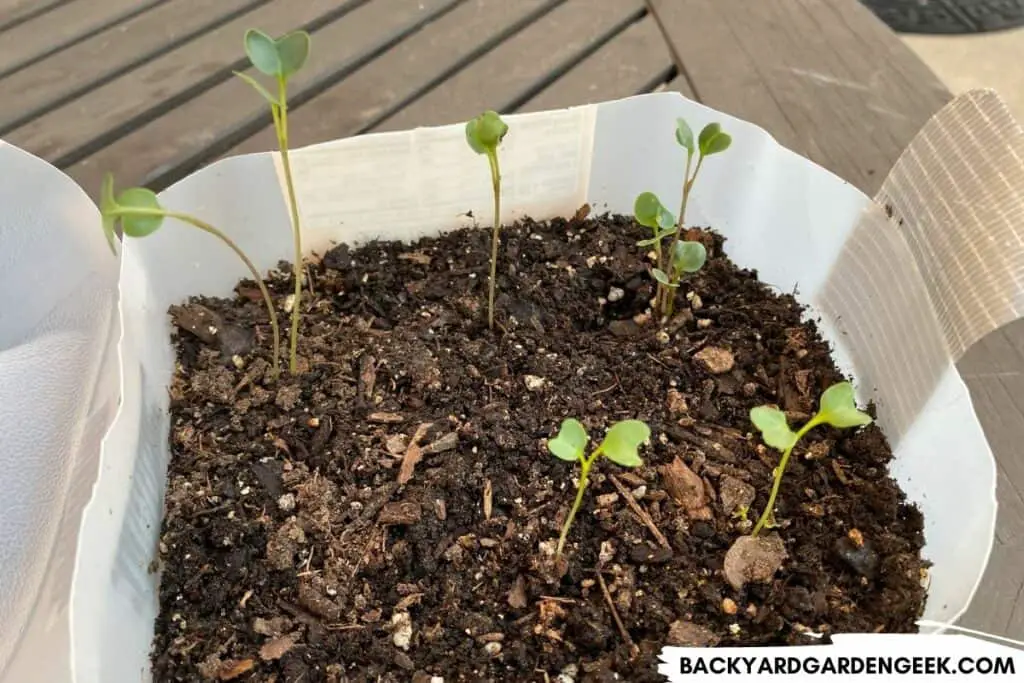
3. Sunlight and Cotyledon Health
As I noted above, sunlight isn’t necessary for seed germination, although it’ll help ensure that your soil stays nice and warm. But everything changes once the new seedling emerges from the soil.
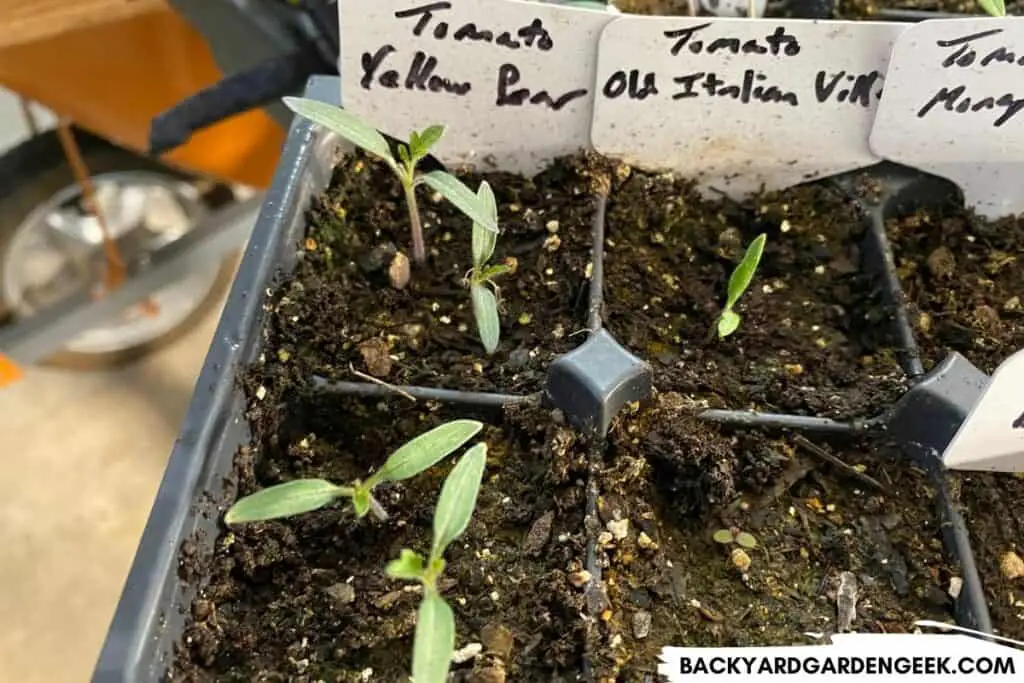
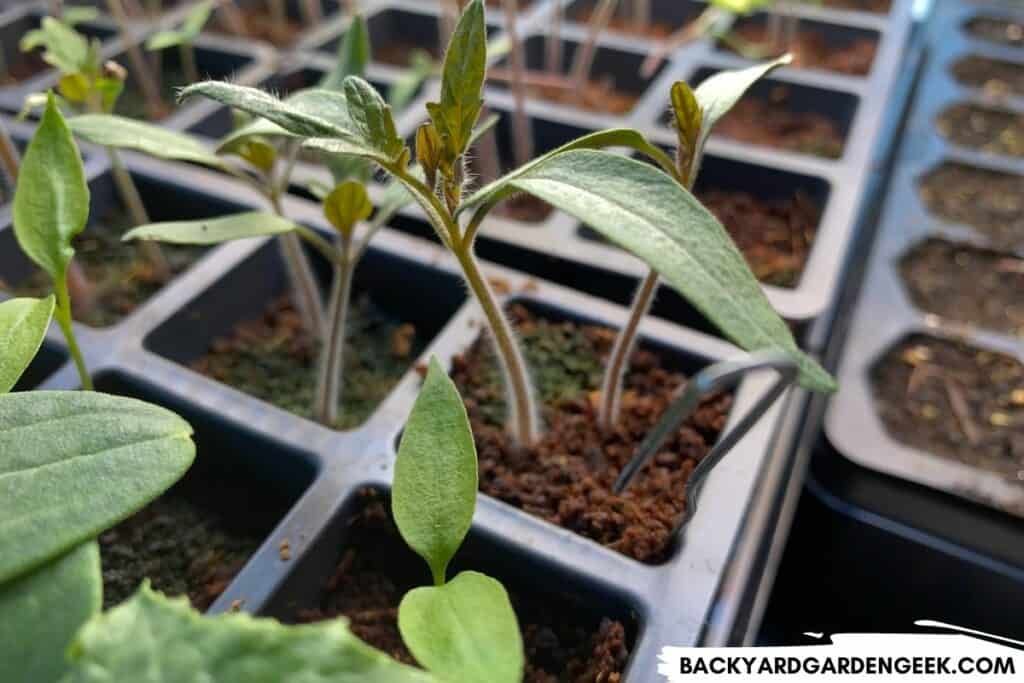
What happens is this: Once the warm, moist soil softens the protective outer shell of the tomato seed (known as the testa), the seed sends out its first root (called a radicle) into the surrounding soil. As the radicle extends downward, a tiny shoot emerges from the tip of the seed, which contains the plant’s first 2 leaves (otherwise known as cotyledon leaves or simply cotyledons).
At this point in time, the plant is in a very fragile place. If anything happens to the cotyledons, the plant’s dead. If anything happens to the stem, the plant’s probably dead. If anything damages the roots, the plant might just be dead.
What happens now largely depends on where and what time of year the seedling has sprouted.
If it’s the dead of winter, you’re likely growing your seedlings indoors, and sunlight won’t do all that the plant needs it to do unless you have many, many windows in your home. That’s because newly sprouted seedlings need 14-16 hours of sunlight per day to maintain strong plant growth.
But if it’s later in the spring, especially after the last frost in your region, then you’ll likely notice seedlings sprouting around your garden. Since it’s warmer outside with no chance of freezing temperatures, sunlight will do just fine for these seedlings.
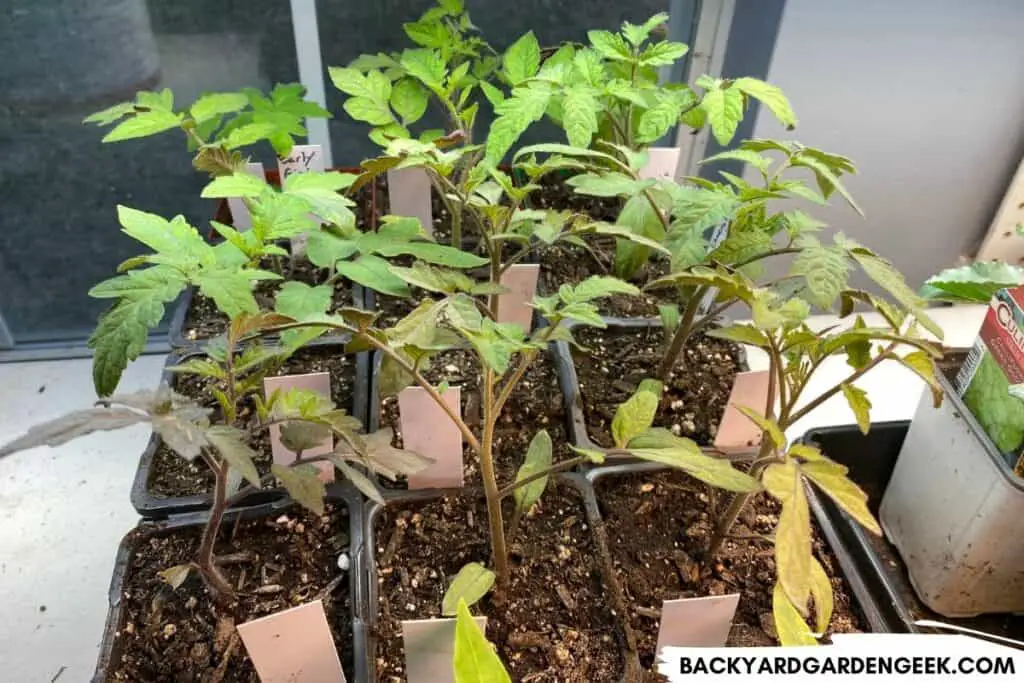
4. Sunlight and Balanced Growth
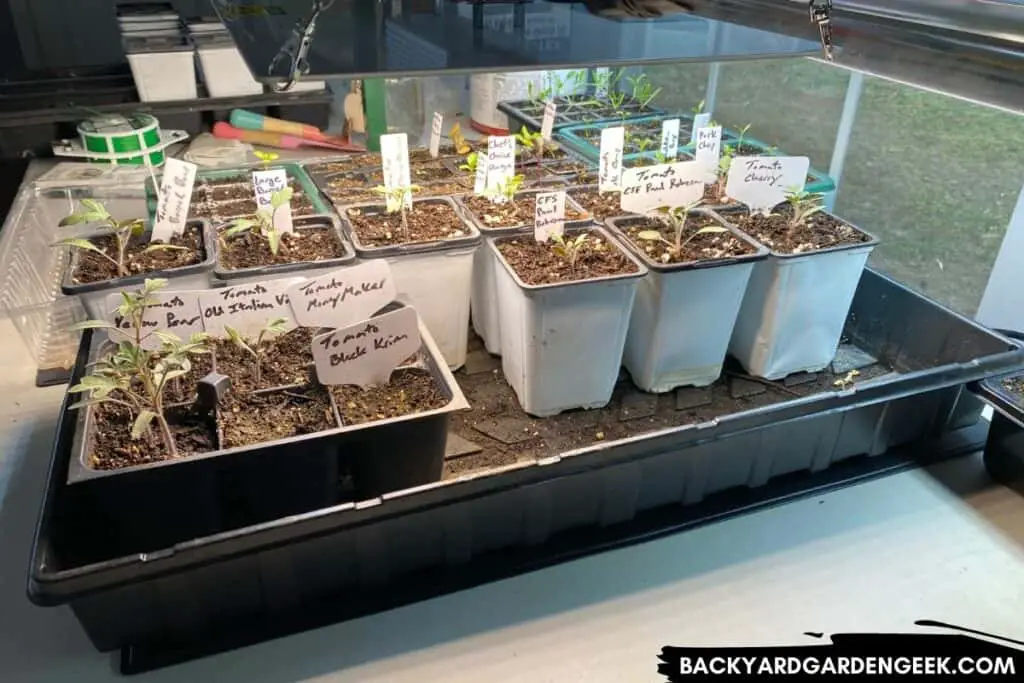
For those of us who love to plant our seeds as early as possible to get a jump start on the spring growing season, grow lights are a must. Whether you use shop lights or the newer LED panels, you’ve got to ensure that your seedlings are getting lots of direct light.
And here’s where sunlight can be a bit deceptive. Let’s say you’ve got a large window that gets plenty of sunlight throughout various parts of the day. Given this kind of light, you might be tempted to rely on sunlight alone for your plants’ growth.
In many cases, this will be a mistake. Here’s why.
Tomato seedlings want lots of sunlight, which means that they’ll stretch to get as close as possible to the nearest light source, whether that’s a window or a grow light.
If you’re relying solely on sunlight to provide the necessary energy your plants need to grow, here’s what might happen. Your plants will start off just fine, but within 1-2 weeks, you’re going to notice their stems extending as they reach toward the sunlight.
Instead of short, strong seedlings, you’re going to end up with tall, weak seedlings. These are commonly referred to as “leggy” because they’re often thin and top-heavy, prone to falling over due to the weakness of their long main stem.
And this weakness is a direct result of an overreliance on sunlight.
To make sure your plants experience more balanced growth, here’s what you should do instead. If you’re growing your plants indoors, be sure to purchase a grow light of some kind. There are all kinds of options out there, but I’ve had some great success recently with LED panel grow lights and rope hangers.
When the seedlings first sprout, be sure to have your grow light situated only 1-2 inches above the newly sprouted plants. This way, your plants won’t attempt to reach upward and outward. They’ll instead have all the light they need directly above them.
As time goes on and as the plants grow taller, use the rope hangers to slowly ratchet your grow lights higher and higher so that the plants never come in contact with the grow lights or the lighting assembly (since that can cause burned foliage). Doing so will encourage proper plant growth, and you won’t have to worry about leggy seedlings.
Long story short, sunlight can be helpful when your plants have just sprouted, but don’t rely on it. Use your grow lights instead and supplement with some natural sunlight if you happen to be growing your plants near sunlit windows.
5. Sunlight and Pest Management
As I’ve noted above, your newly sprouted seedlings are going to reach for light wherever they can find it. The closer the light source is to the plant, the hardier the plant will get since it won’t strain its stem reaching upward or outward.
As tomato seedlings develop their first sets of true leaves and shed their cotyledons, you’ll need to start acclimating your plants to full sunlight since grow lights and partial sunlight aren’t a proper equivalent for what plants will experience once they’re introduced into the garden permanently.
Using a process known as “hardening off,” you’ll need to start setting your plants outside sporadically each day so that they grow accustomed to full sunlight and windy conditions and develop the strength they’ll need to thrive outdoors.
Here’s the schedule I use to ensure my tomato seedlings are nice and hardy once they go into the garden:
| Days | Hours |
|---|---|
| Days 1-3 | 1 Hour |
| Days 4-6 | 2-4 Hours |
| Days 7-9 | 4-6 Hours |
| Days 10-12 | 6-8 Hours |
| Days 12-14 | 8-12 Hours |
After 2 weeks of hardening off, my tomato seedlings are ready for the garden.
However, there’s one final thing you should keep in mind when it comes to seedlings and sunlight: When you begin hardening off your plants, you’ll have to expose them for the first time to environmental dangers such as heat, wind, rain, and pests.
For heat, wind, and rain, the fix is an easy one. Simply bring your seedlings inside and put them under grow lights or in a sunlit window until the threat has passed.
But things are a bit more complicated when it comes to pests. If you’ve noticed that aphids, spider mites, or any other bugs have discovered your tomato seedlings, you’ll need to act fast before your plants are irrevocably damaged.
I’ve written articles on why you might consider using neem oil on seedlings along with my step-by-step process for doing so properly, but here’s the key: If you see something, do something.
Whether you decide to use neem oil or whether you mix up a natural soapy water spray–my favorite recipe is 5 tablespoons of Dr. Bronner’s Peppermint Castile Soap per gallon of water–you’ll want to spray your plants before the aphids, spider mites, or other bugs take them over.
And here’s where you need to be careful when it comes to sunlight: If you spray your plants with neem oil and then expose them to sunlight, you’ll likely damage them and possibly even kill them. Soapy water won’t have such damaging effects if used in sunlight, but it’s still not recommended on days when it’s sunny and hot.
If you need to spray your seedlings for bugs, the sun is not your friend, so be sure to spray them once the sun starts to set. That way, you’ll have 100% visibility, but the day will mostly be over, and the remaining sunlight won’t damage your tomato seedlings.
I’ve always enjoyed growing tomatoes from seed since it allows me to get my hands on plants I’d otherwise never see in my local garden center or home improvement store.
As I’ve noted throughout this article, you don’t need sunlight or grow lights to germinate tomato seeds, but you’ll want to make sure you’ve got heating mats to warm up your soil and large windows or grow lights to provide energy to your newly-sprouted plants.
If you purchase the items mentioned above (or something like them) and make sure your soil stays warm, you’ll be growing your own tomato plants in no time at all!
Do I Need a Grow Light to Germinate Tomato Seeds?
When it comes to germinating tomato seeds, grown lights and sunlight are really no different.
As a general rule, grow lights aren’t necessary for tomato seed germination since germination largely depends on proper moisture and soil temperature. However, once sprouted, tomato seedlings will need 14-16 hours of either natural or artificial light to develop into healthy plants.
These days, you can purchase grow lights just about anywhere, but you’re typically going to see 2 popular types: long bulbs and strips or rectangular panels.
Here’s what I’ve got in my garage plus some thoughts on the upsides and downsides of each style of grow light.
With bulbs and strips, you’ll get good coverage along the length of the light, but the light won’t extend too far in terms of width, so you’ll need to either grow your seedlings in a row or hang several bulbs or strips next to each other to provide more light widthwise.
When it comes to LED panels, these provide good light along both their length and their width, but the panels themselves are usually fairly small. Depending on how low or high you’ve got them hanging, the light won’t extend too far beyond the edges of the panel.
I’ve also found that the manufacturers of LED grow light panels often overestimate the coverage area of their lights. They’ll tell you that the light covers a 4 foot by 3 foot area (1.2 by .9 meters), but the product likely won’t provide adequate sunlight to that entire area.
If you’re concerned about this, I’d recommend buying a size up from the size you think you need (I wish I had!). You’ll pay a bit more upfront, but you’ll be happier in the long term.
More Information
I add new articles to this site weekly in the hopes that they’ll help out both new and experienced gardeners alike.
If you’d like to know what I’ve learned about tomato seeds, seedlings, and plants over the past 10+ years, please take a look at the articles below: