Tomato Seeds and Seedlings: What Do They Look Like?
Have you ever found a package of seeds in your seed stash and couldn’t remember what seeds they were? Or noticed a volunteer plant sprout up in your garden and couldn’t readily identify it?
If any of this sounds familiar, then this is the article for you since I’m going to lay out, as simply as possible, everything I know about the look and feel of tomato seeds and seedlings.
Tomato seeds come in various shades of light brown–from beige and tan to ivory, eggshell, and bone–and unlike smooth pepper seeds, they look like coarse, slightly fuzzy teardrops. Young tomato seedlings will have hairy, lightish pink stems and two thin, elongated oval leaves (known as cotyledons).
In this article, I’ll explain the ins and outs of tomato seed and seedling identification so that you can understand not only how exactly seeds transform themselves into seedlings but also what to expect when you begin harvesting, storing, germinating, and transplanting tomato seeds and seedlings.
How Do You Identify Tomato Seeds?
In order to understand what tomato seeds look like–both when you harvest them and dry them or purchase them in stores–I’d like to start at the beginning, then walk you through what I think about when looking at my seeds and seedlings.
Newly Harvested Seeds
As everyone knows, the best place to get your hands on tomato seeds is to simply cut open a tomato and scoop out the seeds.
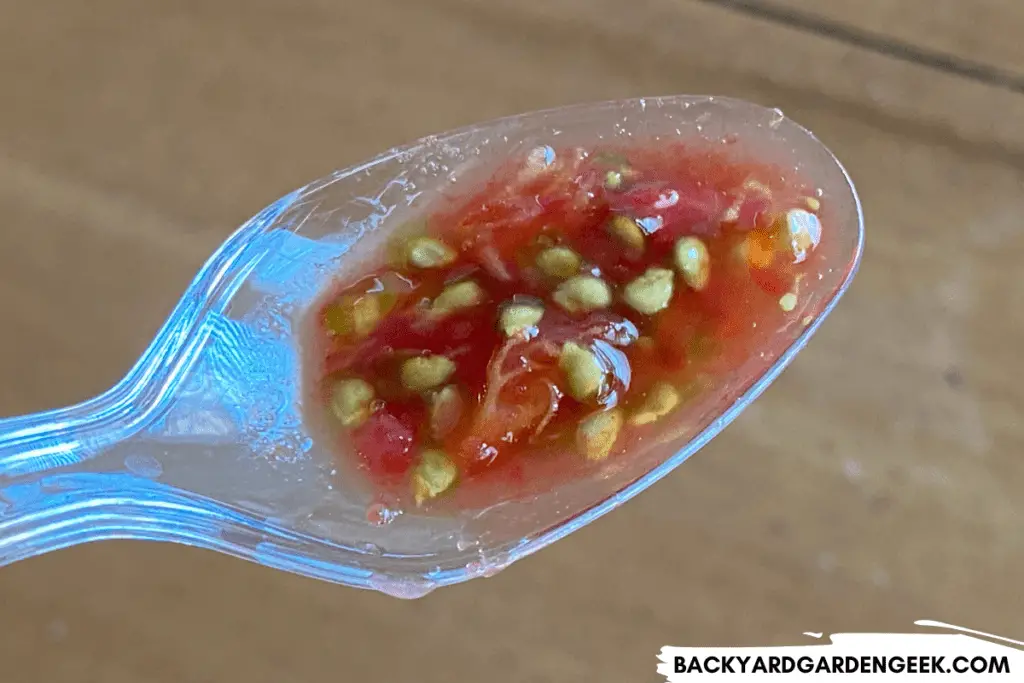
When you do so, you’ll notice that the seeds are covered in a filmy, gelatinous substance. What I find the most interesting about this gel is that it contains chemicals that inhibit seed germination.
Something to keep in mind: By nature, tomato plants don’t want to produce beautiful, delicious tomatoes for you to eat. Their goal is to grow, develop fruit, let the fruit mature, then drop the mature fruit to the ground so that the tomato plant can reproduce itself. That’s its primary goal.
What the gel does is to inhibit germination until the fruit is at peak readiness, which will ensure that the seeds, when they eventually make it to the ground, will produce as many new tomato plants as possible.
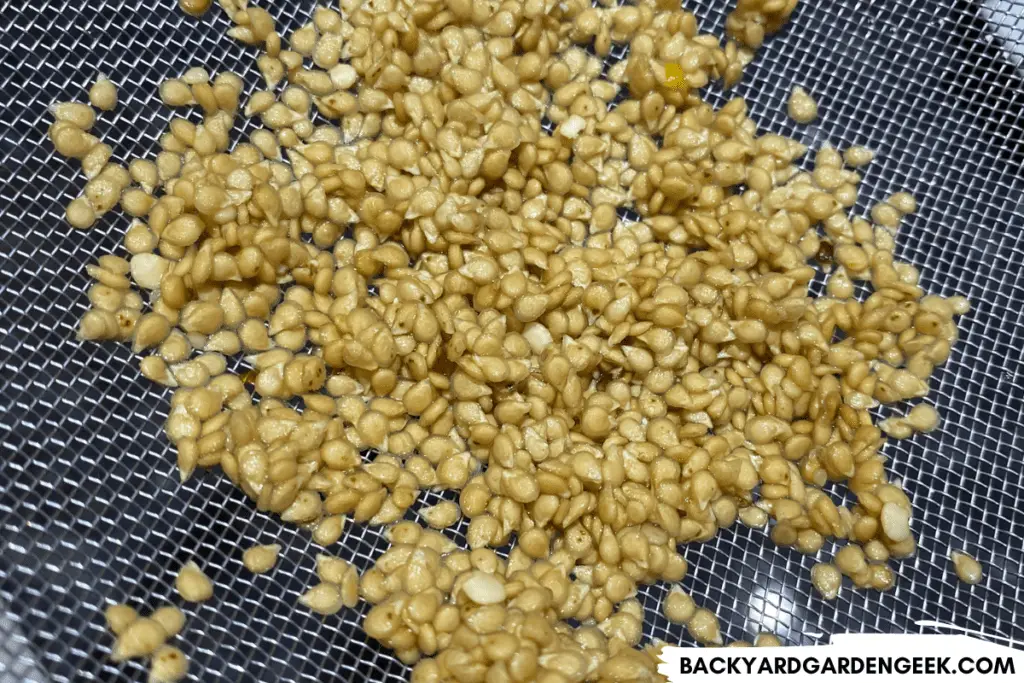
When covered in gel, seeds are a yellowish color, often with a reddish hue as well, but you can’t tell too much about them because they’re mostly just slimy and gooey.
Let’s now take a look at dried seeds so that you can understand better what they look like and how they germinate.
Dried Tomato Seeds: Color
In this article, I’m not going to cover in detail the best way to dry and save tomato seeds, but I will share a brief summary of what I do before turning to what tomato seeds will look like once they’ve been dried.
Here are the steps I take to dry my tomato seeds prior to storage:
- Selecting a perfectly ripe tomato, I scoop the seeds out and dump them in a cup of water.
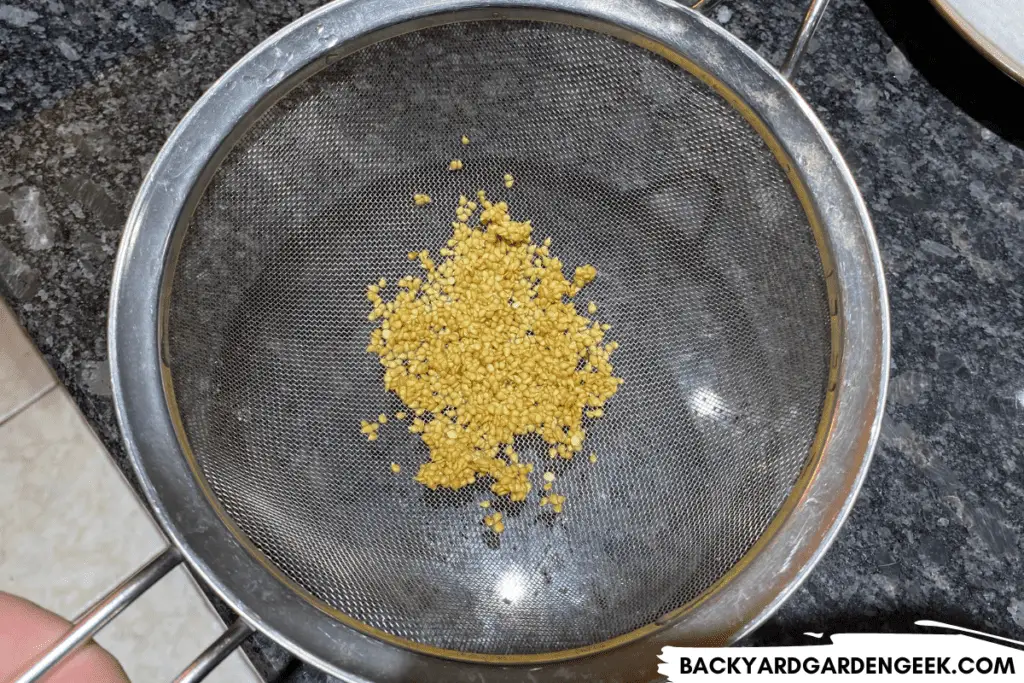
- After letting them sit in water overnight to loosen up the surrounding gel, I pour the cup into a metal mesh strainer, then spray the seeds using my kitchen faucet sprayer, moving the seeds around with my finger so that most of the remaining gel gets separated from the seeds.
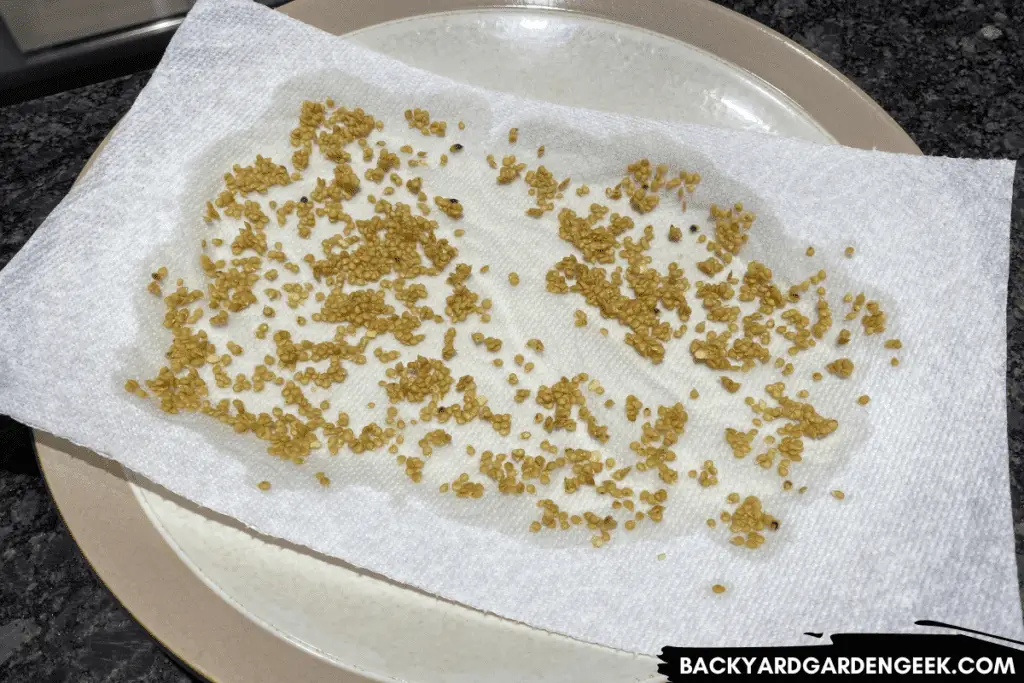
- Once the seeds have been thoroughly sprayed, I dump them onto a paper plate. I do not use paper towels because tomato seeds, once dry, will stick to the paper towel, making it more cumbersome to scrape them off.
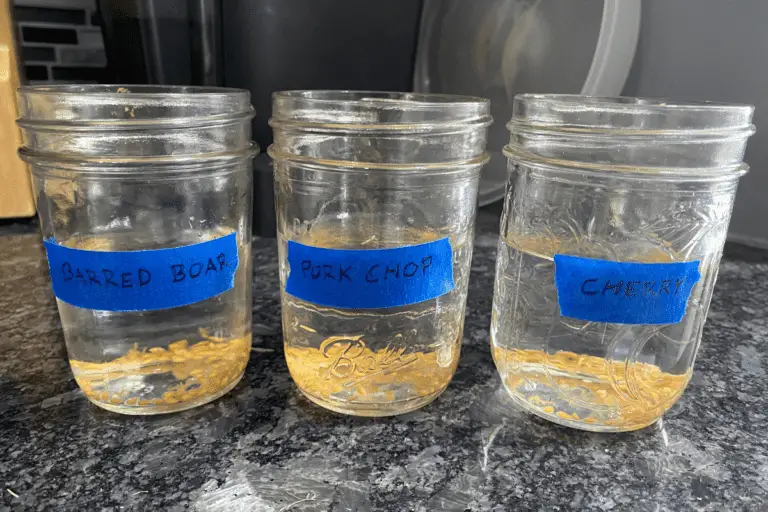
- I leave the seeds on the paper plate for 3-4 days, then shake them into a small properly labeled paper envelope.
I say “properly labeled” because there have been a few times where I poured the seeds into an envelope and then forgot to label it. By the time spring came around, I had completely forgotten what they were. I now label my envelopes in advance to avoid that problem.
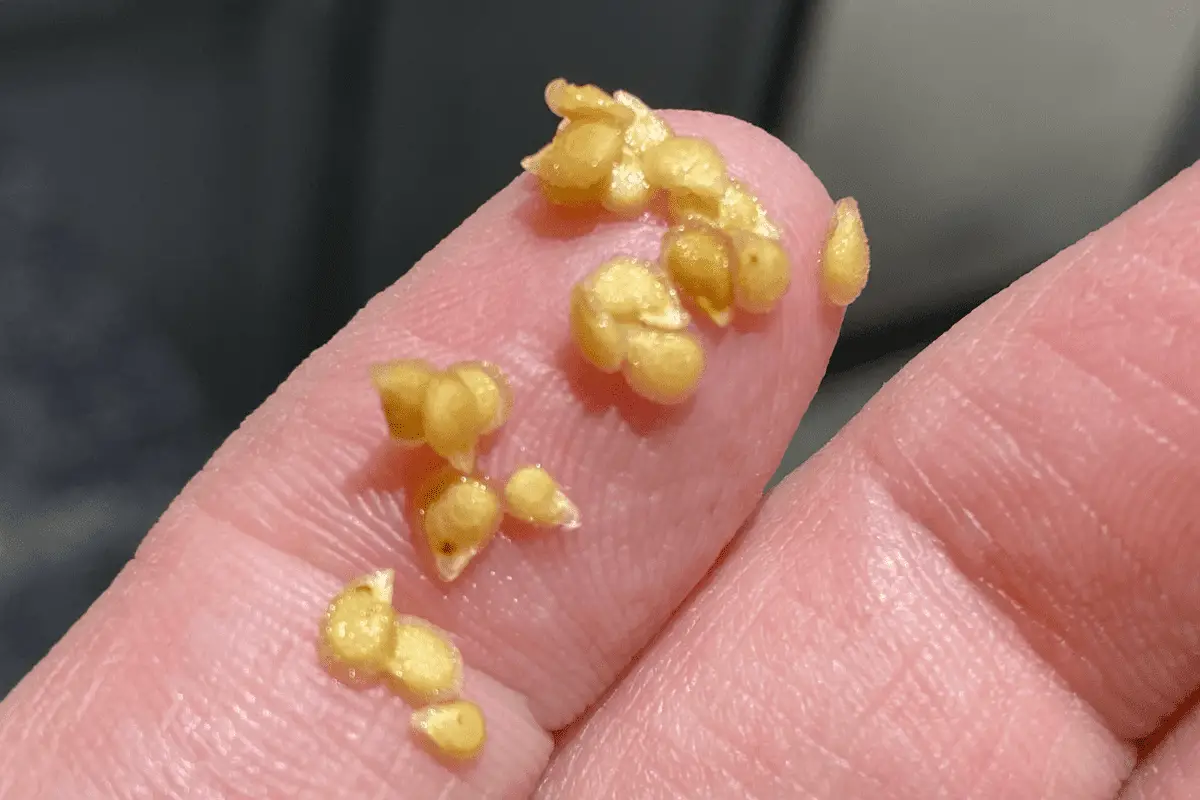
As I noted above, dried seeds are typically a very light, brownish color: beige, tan ivory, eggshell, and bone, to name a few. Some are slightly darker, some are lighter, but all of them look off-white to varying degrees.
Dried Tomato Seeds: Shape
If you’ve come across an unmarked package of seeds–or if someone’s given you some seeds and you’re not sure what they are–here’s how to know that you’ve got tomato seeds and not some other unknown plant variety.
Tomato seeds are typically 2mm-3mm in diameter and are teardrop shaped. They’ve got a rounded bottom and a somewhat pointy tip.
When a tomato seed first germinates, a tiny shoot known as a radicle emerges from the seed and turns downward into the soil, soaking up water and nutrients as it grows. Shortly thereafter, the seed produces the plant’s tiny stem and its 2 cotyledon leaves, which stretch their way toward the surface of the soil.
Both the radicle and the stem and its cotyledons emerge from the tip of the tomato seed.
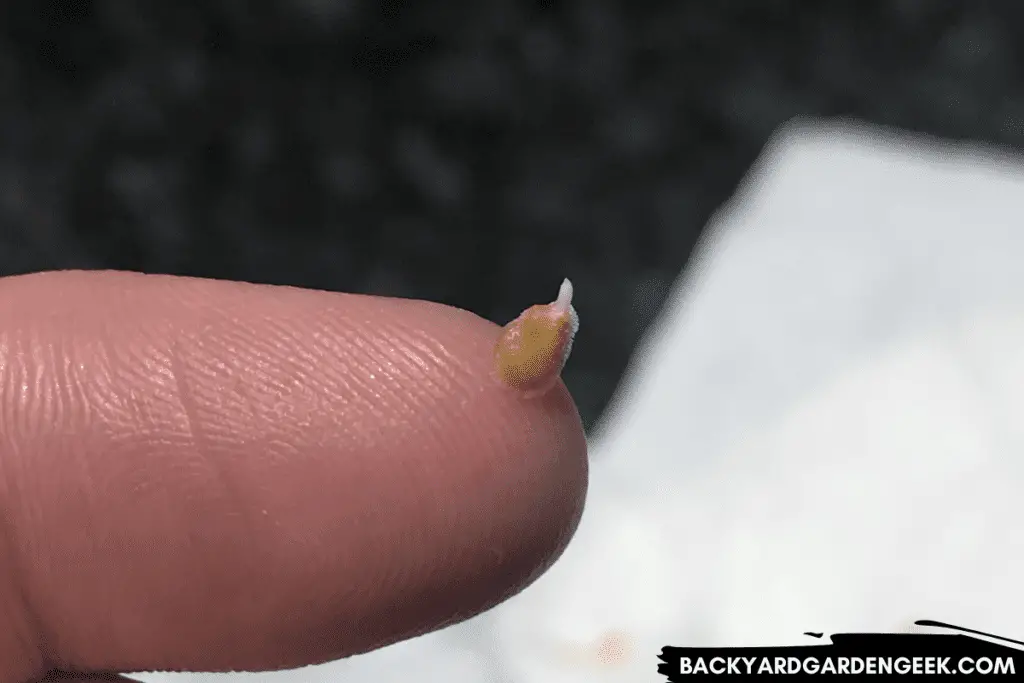
If you leave your tomato seeds in a cup of water for too long, you might notice a small something emerging poking out from the seed. That’s the radicle, and it means that the seed has germinated.
If you see the early signs of radicle formation, you can go ahead and plant those seeds in the garden, but you can’t dry and save them because tomato seeds can’t germinate twice.
Dried Tomato Seeds: Texture
After the gel has been washed off and removed from the seed–and after the seeds have dried for at least 48 hours–their texture becomes much more apparent.
When I first started drying my own seeds, I expected them to be hard, but I soon realized that they were actually a bit soft and somewhat pliable, lacking the hard shells that larger seeds have, such as those harvested from cucumbers, melons, pumpkins, squash, and watermelons.
If you pay very close attention to tomato seeds–either by picking them up and examining them closely or looking at them under a magnifying glass or microscope–you’ll notice that they have small hairs all over them. These hairs are called trichomes, and they’re attached to the outer part of the seed, which is known as the testa.
In fact, if you put tomato seeds under a powerful enough microscope, you’ll notice that the seeds have so many hairs that they’re downright fuzzy.
Check out this NPR article if you’d like to see an amazing closeup of a tomato seed!
What’s interesting about these hairs is that they actually serve a purpose. They produce secretions that keep insects away, chemical compounds that also contribute to the flavor of the eventual tomatoes your plants will produce.
One final thing about tomato seeds: At a very cursory glance, they share some similarities with pepper seeds. These plants are all from the Solanaceae plant family (commonly called nightshades), and tomato and pepper seeds both tend to have off-white colors.
But pepper seeds are much smoother, rounder, and harder than tomato seeds. That’s what gives them away.
Newly-Germinated Tomato Seeds
Unless you’re attempting to germinate tomato seeds in water or on paper towels, you’ll likely never see what a newly germinated tomato seed looks like.
But for those trying the paper towel method, here’s what you’ll notice. After 2-3 days, you’ll see something emerge from the point of the tomato seed. As I noted earlier, that’s the radicle.
What happened is this: The moisture that surrounded the seed weakened the testa, which then prompted the radicle to push through the seed’s outer covering. At first, the radicle will look like a tiny spear point emerging from the seed, but within a few days, it’ll start to take on a root-like look.
In fact, that’s it’s purpose: To plunge into the soil and intake as many micronutrients as possible, allowing the plant to grow both a root system and the leaves it’ll need to soak up light.
Newly-Growing Tomato Seeds
The radicle can grow around 1-2 millimeters per day, but around 4-7 days after it first appears, the cotyledon will emerge from the testa as well.
As the radicle grows further into the soil, the cotyledon grows upward, drawn to the surface of the soil. When you glimpse the first bit of green popping out of the soil, what you’re seeing are the cotyledon leaves. Those leaves (as well as the sunlight they soak up) will provide the necessary energy for further growth.
Within 4-7 days of the cotyledon leaves first emerging, you’ll notice something very small starting to form in the gap between the cotyledon leaves. Those are your plant’s very first true leaves.
As the plant continues to develop, the true leaves will grow larger, and the cotyledon leaves will shrivel up and die. This is normal, so there’s nothing to worry about if you notice the cotyledon leaves starting to turn brown and wither.
Here’s one final thing to keep in mind: Your plant is in a very fragile place at this moment. If anything damages those first true leaves, the plant won’t necessarily die, but it’ll take 4-6 weeks (or longer) for it to recover from that initial damage and continue along its proper growth cycle.
This happened to me last year with several shishito pepper plants. Aphids got into my garage and damaged several plants right after their first true leaves had emerged. Out of the 5 shishito plants that were damaged, 2 died within a week or so, and the others took several more weeks to recover from the attack.
To stop the aphids, I sprayed my seedlings with neem oil, then followed that up by spraying the seedlings with an insecticidal soap once a day for the next 2-3 days. I grow lots of tomatoes and peppers in my backyard, and neem oil works really well on these plants.
If you’re interested in learning more about my process, check out this step-by-step guide for using neem oil on tomato plants.
By the time June rolled around, the healthy seedlings had grown to 16-18 inches tall while the damaged plants were barely 4-5 inches tall. That early damage meant that those plants were at least a month behind the healthier ones.
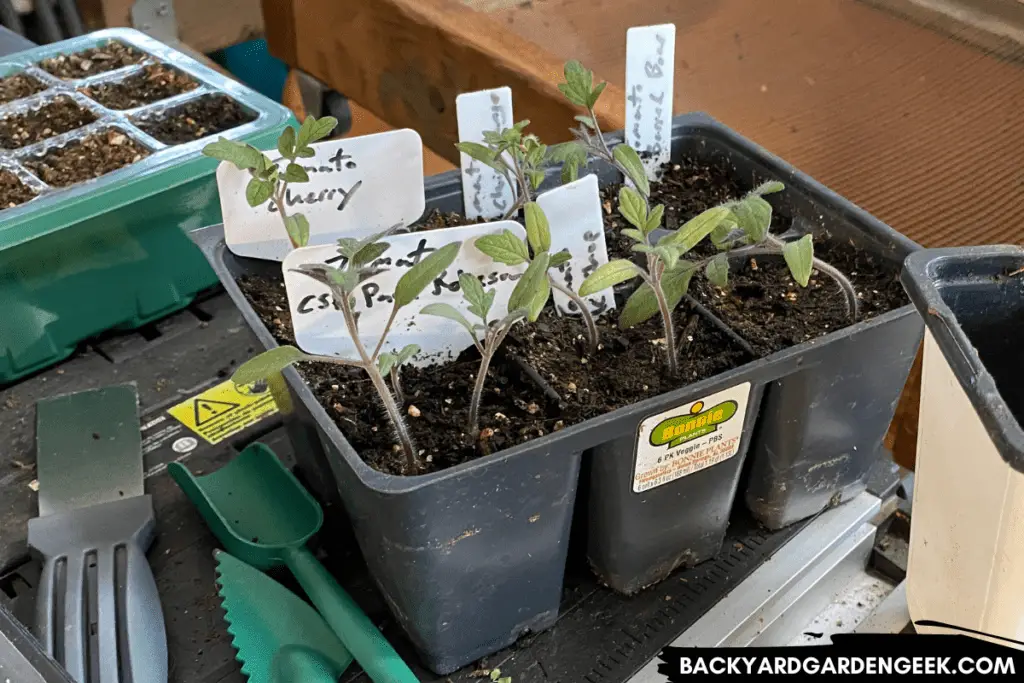
Tomato Seedlings: What Do They Look Like?
So the cotyledons have done their work, and you’ve got your first pair of true leaves. What happens next?
This is where the fun begins because, as long as your plants aren’t stunted by bug damage or disease, they’ll start growing quickly at this point, and you’ll see a few noticeable changes:
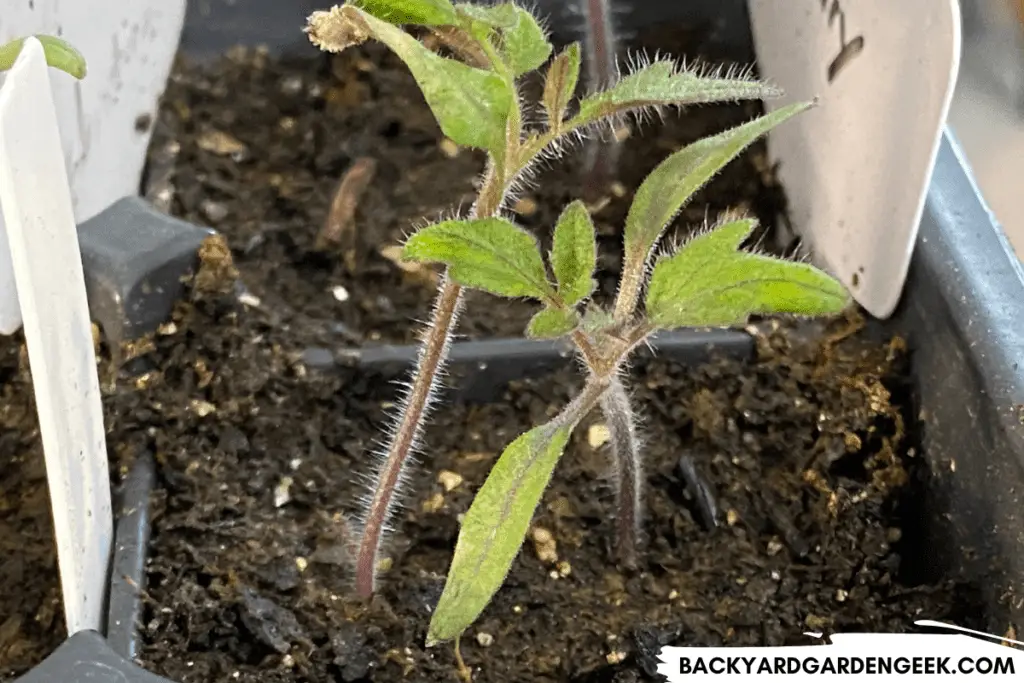
- The stem will begin to thicken up as the plant grows stronger, which is fantastic because you can easily damage plants when their stems are thin and fragile.
- As the stem thickens up, you’ll notice all kinds of hairs appearing along the stem. Each of those hairs is actually a potential root, so as your plant grows, it develops the ability to adapt to different planting depths.
- As the cotyledons begin to die off and the first set of true leaves grow larger, you’ll notice additional true leaves emerging from the tip of the stem as the plant continues growing.
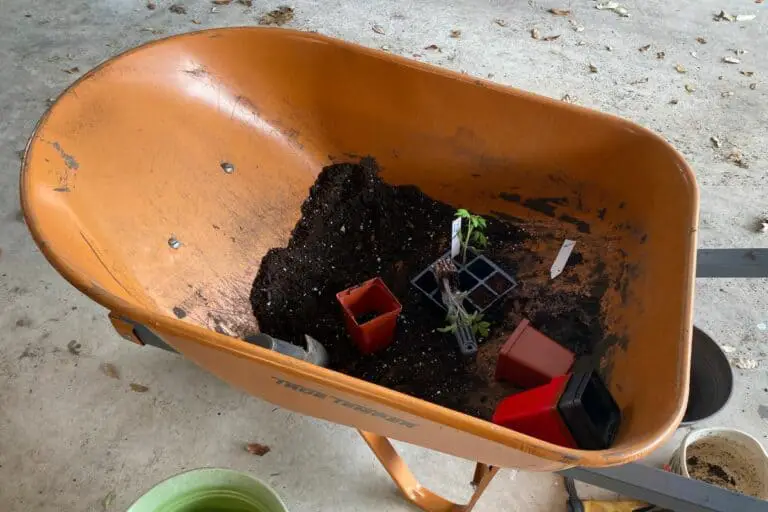
- If you grew your plant in a small-ish growing cell–typically 1 inch in diameter and 2 inches deep–you’ll need to transfer it from the small cell into a larger container of some kind. This is called “potting up,” and depending on local temperatures, you might need to do this 1-2 times before your tomato plant is ready to go into the ground outside.
Now that you’ve got a well-developed tomato seedling, let’s talk about what it looks like at this point and what you’ll need to do to get it ready for transplanting.
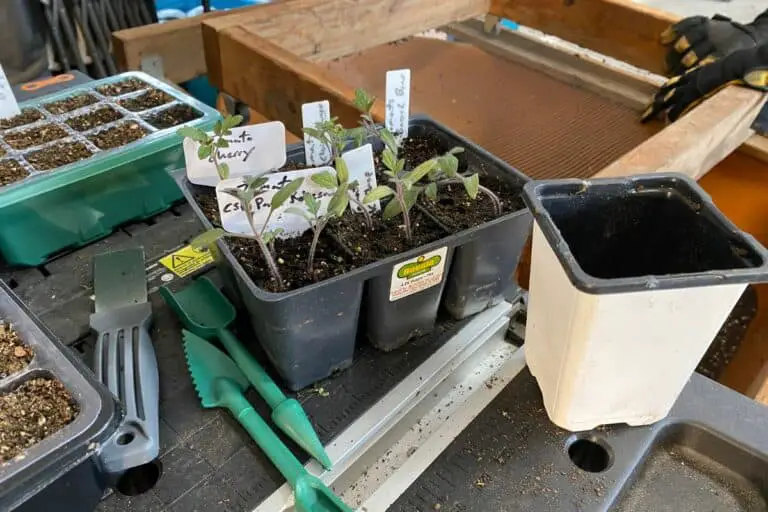
I prefer for seedlings to have at least 4-5 true leaves before I consider potting them up for the first time.
When it’s time to pot them up, I typically move them from their small, original cells into slightly larger starter pots.
You can sometimes get free pots when you purchase seedlings from your local garden center, but if you’re unable to find free ones, you can use these:
I’ve had plenty of success with simple planting pots and trays. They keep things simple.
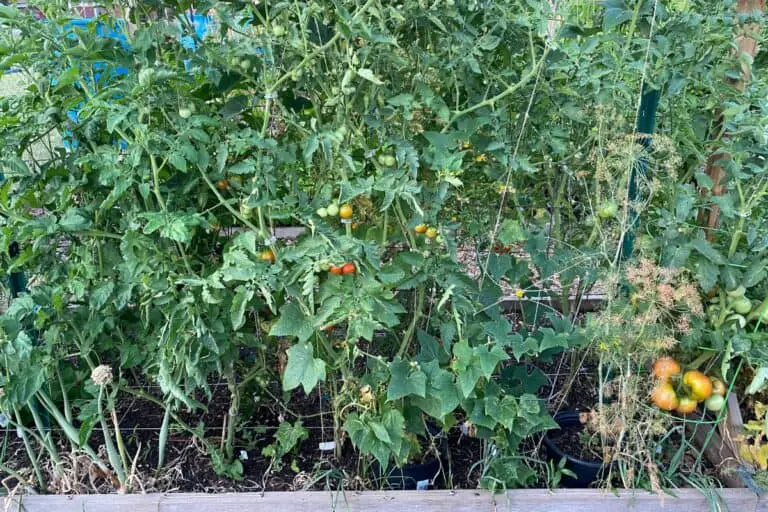
As the weeks go by, your plant’s stem will thicken up, and it’ll continue creating additional true leaves. By this time, it probably has at least 6-8 (or more) of them, which means that you’ve got a healthy, established seedling on your hands.
If your seedling looks a bit too purple–or if its leaves start to yellow out a bit–you don’t need to worry. What’s likely happening is that the plant doesn’t have the exact nutrients it’s looking for, which is quite common for seedlings grown in tiny containers.
When that happens, I mix up a quick tomato seedling fertilizing, using nothing but water and a good fish emulsion. My favorite fish emulsion fertilizers are the 5-1-1 NPK kind–which stands for Nitrogen, Phosphorus, and Potassium–because these products keep my plants healthy and productive.
To make an effective fish emulsion fertilizer for your seedlings, simply mix .75 tablespoon (11 ml) of fish emulsion with 1/2 gallon of water (2.3 L), then carefully pour around the base of your plants. This isn’t an overnight fix, but it’ll help your plants recover from their nutrient deficiency and grow as strong as possible.
More About Tomatoes
If you’d like to learn more about some of the topics I’ve mentioned above, check out these related articles: