Germinating Tomato Seeds in Water: A Step-by-Step Guide
If you’ve ever grown tomatoes from seed, you’ve likely experienced some of the frustrations I’ve experienced over the years.
You plant your seeds, you make sure the planting soil stays moist, and you wait for tomato seedlings to pop out of the ground. Then a week or so goes by and…it’s not what you expected.
Maybe you planted 10 seeds and 5 seedlings appeared. Or 30 seeds and 20 seedlings appeared. Or maybe you had a rough year, and none of your seeds germinated.
There are several well-known ways to germinate tomato seeds, including planting directly in the soil or using moist paper towels. But in this article, I’m going to talk about a lesser-known method of germination that works surprisingly well: soaking seeds in water.
When left in water for 3-4 days, tomato seeds will germinate because water softens the seed’s outer shell (the testa), making it possible for the first root (the radicle) to emerge from the softened shell. Newly germinated seeds should be removed from water as soon as possible to avoid seed rot.
Until last year, I had never tried germinating tomato seeds in water, but I wanted to see how effective it was compared to planting seeds directly in seed pots or germinating them using paper towels, so I gave it a try.
All in all, I was happy with the results, and I wanted to share what I did so that others could benefit from my experiences germinating tomato seeds in water.
Can You Germinate Tomato Seeds in Water? Here’s How You Do It
What I’d like to do here is to share a step-by-step walkthrough of what’s involved in germinating tomato seeds in water.
As you’ll notice, the process isn’t that complicated, but you need to take a close look at your seeds 1-2 times each day since germinated seeds that are left in water will begin to rot.
1. Harvest or Purchase Quality Seeds
One of the keys to growing great tomatoes is to start with great seeds.
If you plan on purchasing tomato seeds, I recommend doing some research about your particular region to see which varieties grow best there. As I discovered when I moved to Texas, some of my go-to favorites when I lived in New Jersey didn’t produce much of anything in Texas since the heat was just too much for those plants.
Of course, you can go to any home improvement store or garden center and purchase whatever seeds they have on display, but please be warned, those seeds might not be ideal for your region or climate since such stores have a very limited selection.
Generally speaking, I think it’s far better to purchase tomato seeds from reputable online seed companies. You’ll still need to do your homework to make sure you’re buying seeds that’ll do well where you live, but you’ll have access to huge seed catalogs when you buy your seeds online.
If you’re growing heirloom tomatoes, you’re probably saving your own seeds, which is a great way to save money each year while also growing the tomatoes you know and love.
You can also save seeds from hybrid tomato plants. However, you’re definitely experimenting if you do so since the plants you grow with seeds harvested from hybrids could be very different from the original hybrid plant.
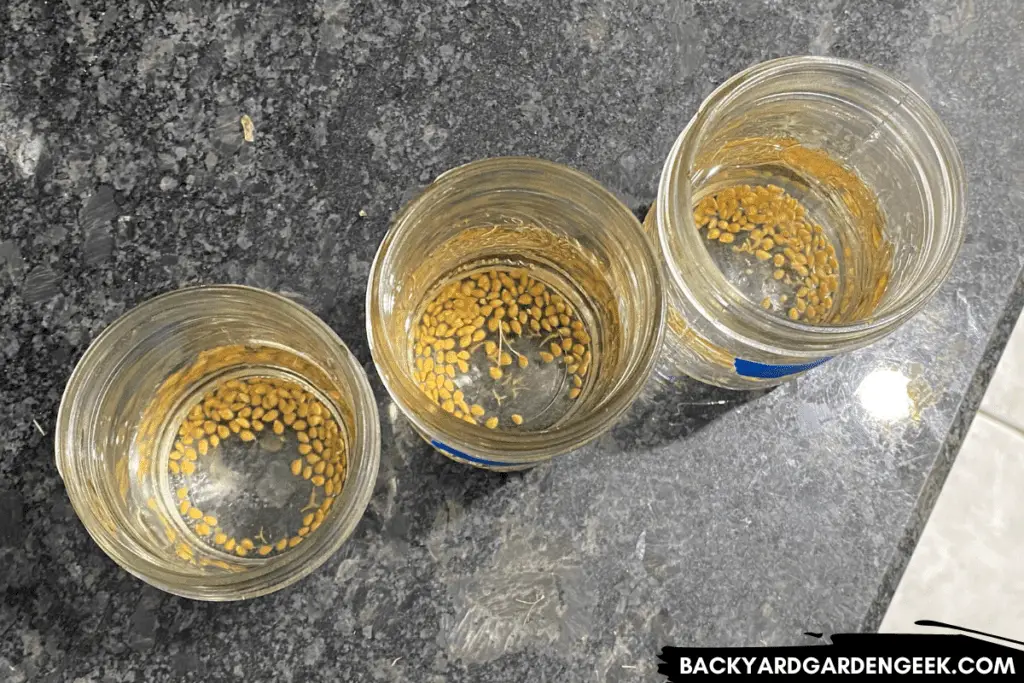
2. Select Transparent Containers
Once you’ve selected your seeds, you’re going to need containers for each tomato variety you’re hoping to grow.
I recommend transparent containers and prefer mason jars or glass cups over clear water bottles. Pints are also a good option since most are made of clear glass.
The reason I prefer glass over plastic bottles is that glassware is sturdier and won’t tip over easily. You can also see your seeds, which means you’ll be able to tell when they’ve germinated. And unlike plastic bottles with narrow openings, glasses have wide openings which make it easier to stir the contents of the glass and retrieve any seeds that get stuck to the sides.
Of course, you can always cut a plastic water bottle to remove the narrow opening, but why go to that hassle when you can simply use mason jars and other glassware?
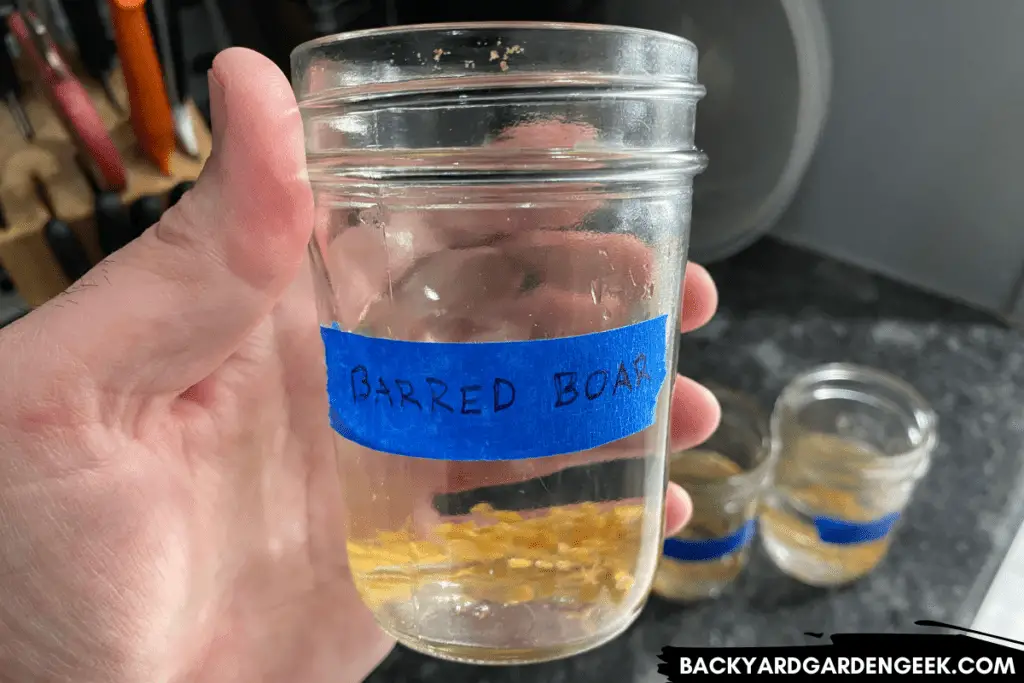
3. Label Containers Clearly
This might sound obvious, but I want to make sure this point is clear: If you’re growing different tomato varieties, you’re going to need different glasses.
Putting all of your seeds in a single glass might save some time initially, but once you do so, you’ll have no idea which seeds are which. If you’re okay with that, go ahead! But if you want to know what’s growing in your garden, you’ll need to clearly label your glassware.
You can do this in whatever ways seems easiest to you, but I prefer doing so in 1 of 2 ways:
First, I’ve used masking tape and painter’s tape, and both work well. Simply write the name of your tomato variety on the tape, then tear it off and affix it to the glass. Unlike masking tape, painter’s tape normally won’t leave any sticky residue behind, which is why I like using it.
Second, if you prefer not to place anything sticky on your glasses, simply take a small piece of paper or post-it note, write down the name of the tomato variety, and place that piece of paper under the appropriate glass.
If you choose the second method, just be sure that you don’t remove multiple glasses at once since you might forget which glass went where. Otherwise, this method works well, and there’s no need to affix anything to your glassware.
4. Add Water and Seeds
This step is about as easy as you think. Simply pick the seeds you want to germinate, then drop them into the correctly labeled glasses of water.
But please keep this in mind: Not all germinated seeds will transform themselves into beautiful, healthy seedlings.
Some will germinate but won’t produce a plant (likely because they rotted in the soil). Others could succumb to pests or damping off disease. And some seeds produce seedlings that simply don’t take off. For a variety of reasons, they’re the runts of the litter and end up lagging behind other seedlings.
My rule of thumb is this: Germinate roughly 15% more seeds than you think you need. That way, if you end up losing a few seedlings, it’ll be no big deal because you’ve got a few extras on hand.
5. Stir Water Daily
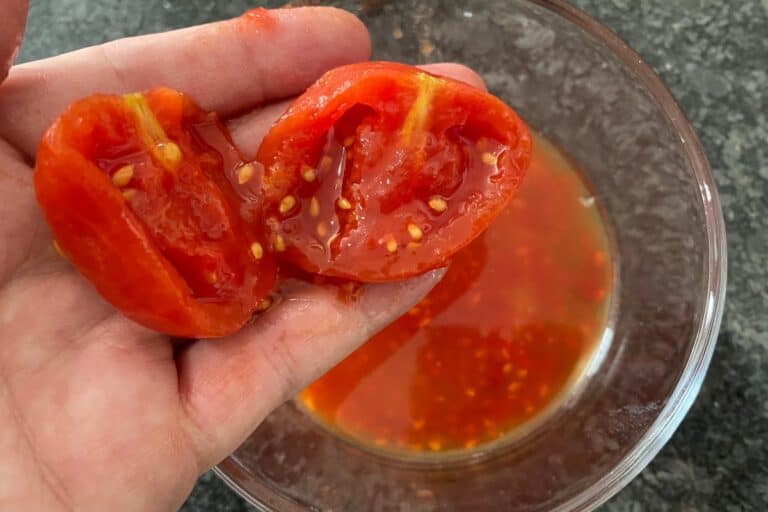
You don’t necessarily need to stir your water, but I like to do so, especially if I’m attempting to germinate seeds that I’ve just harvested from a fresh tomato.
If you’re germinating dried seeds, stirring the water simply ensures that no seeds get stuck together at any time in the process.
If you’re germinating seeds that you’ve harvested from a fresh tomato, stirring the water will help separate the gel from the seed, making it easier for seeds to germinate.
6. Observe and Track Progress
For the first 24-36 hours, you don’t need to think too much about your seeds. Stir them once or twice and otherwise leave them alone.
But once your seeds have been sitting in water for around 36 hours, you’ll need to start paying attention to them because once they germinate, you don’t want them to continue sitting in water.
To keep things simple, I usually check them once in the morning and once in the evening. When I do, I’m looking for something very particular: a tiny point barely protruding from the seeds.
This pointy thing is the tip of the radicle as it first emerges from the seed’s softened shell, and it kind of looks like a tiny little triangle or arrowhead.
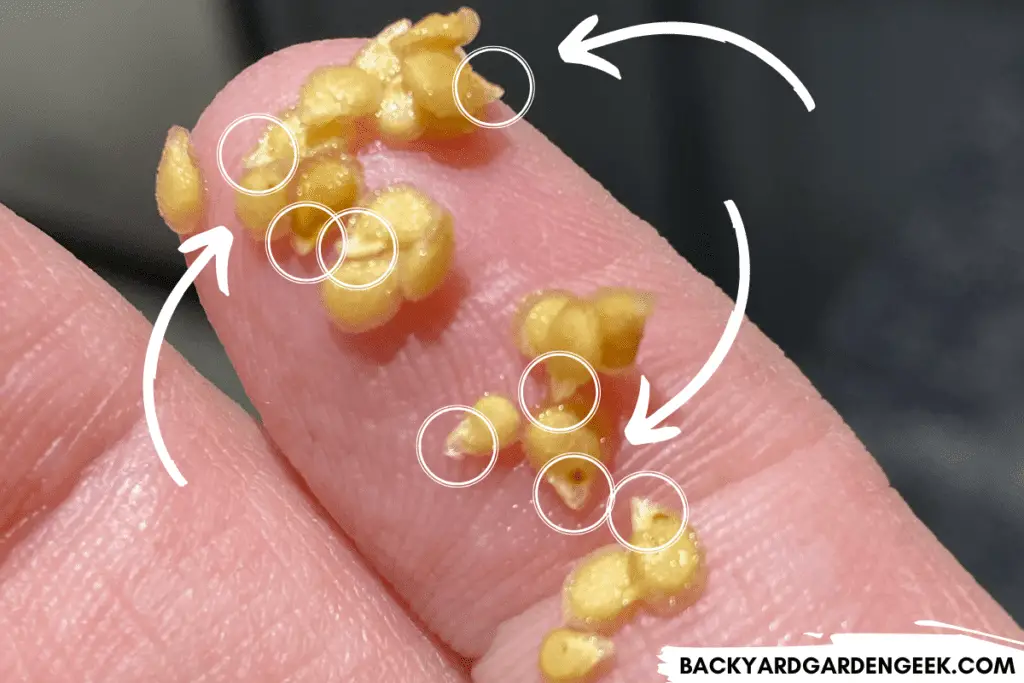
Once you see the radicle emerging from the seed, you’ll know that those seeds have germinated, and you’ll need to act quickly so that the newly-germinated seeds don’t rot or die off.
7. Pour Out Water, Check for Radicles
When radicles first appear, this doesn’t mean that every single seed in the glass has germinated, but it means that many of them probably have.
What you’ll want to do next is to grab a metal strainer and pour both water and seeds into the strainer. At this point, you’ll need to take a close look at your seeds. If you see any that don’t have tiny little arrow-like shapes coming out of them, those are seeds that haven’t yet germinated.
You’ll want to refill the glass with water and place those seeds back in the glass until you notice radicles emerging from their shells.
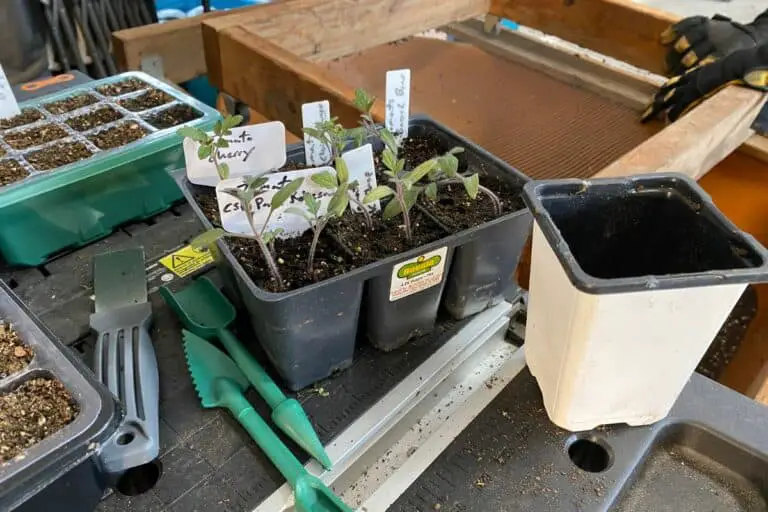
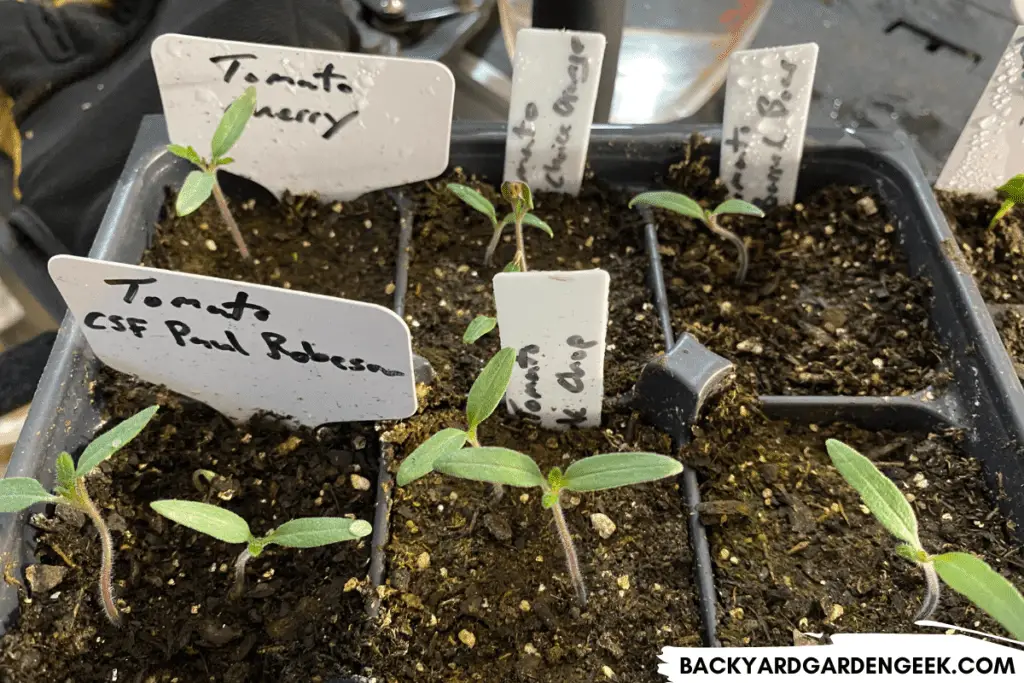
8. Prep Your Seed Trays and Plant Your Seeds
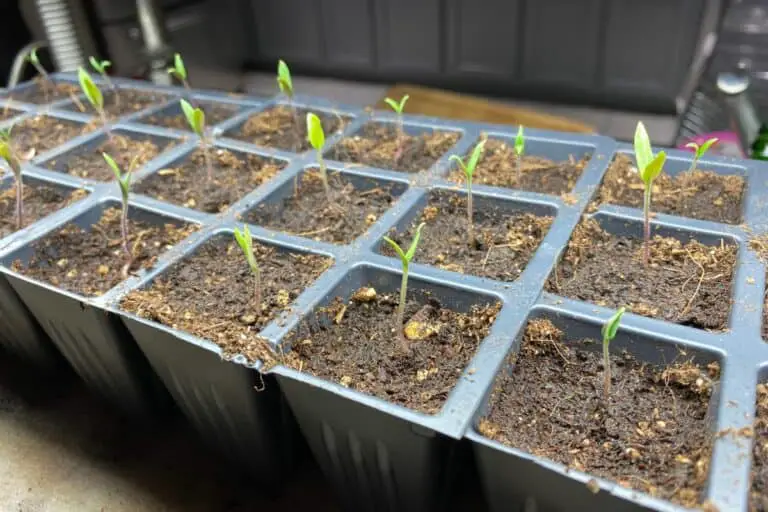
Now that you’ve got newly-germinated tomato seeds, it’s time to prep your seed trays and plant your seeds around 1/8 inch (3mm) to 1/4 inch (6mm) deep. Be sure to keep your soil moist so that the radicle will continue growing, followed by the emergence of the cotyledon leaves, which are the first leaves to break the surface of the soil.
Assuming you’ve got grow lights, make sure that your lights are very close to the soil, preferably 1-2 inches (25-50mm) above the soil. That way, when the cotyledon leaves emerge, they’ll have plenty of light.
Just make sure to raise your grow lights as the plants grow taller. If you let your seedlings come into contact with the lights (or even the metallic housing), you’ll likely get plant burns on your young seedlings.
What Is the Best Way to Germinate Tomato Seeds?
As far as I’m concerned, the best way to germinate tomato seeds is the way that produces the highest germination rates, and depending on what kind of setup you have at home, the likelihood of success might vary despite the chosen method.
I’ll share my favorite method below to germinate tomato seeds, but I’ll also share 2 other easy-to-use methods. Pick the one you like most and give it a try!
If a proper soil mixture is used—and if the soil can be kept warm and moist for 7 to 10 days—then planting seeds directly in seed pots saves time, but it does not guarantee ideal germination rates. Using paper towels or germinating seeds in water makes it easier to see which seeds have sprouted.
The reason I prefer germinating seeds in soil is that it ends up saving me time, assuming I end up with high enough germination rates. I usually want to see an 80% or higher germination rate among all of my seedlings; otherwise, I get a bit disappointed.
But if you don’t mind adding an additional step to your routine, I recommend germinating in water (as I’ve discussed above) or in paper towels.
The paper towel method is fairly simple:
- Dampen a paper towel and place your seeds on it.
- Fold the paper towel 2-3 times to ensure all seeds are covered.
- Insert the damp paper towel into a Ziploc bag and fasten tightly.
- After 3-4 days, take out the paper towel at least once per day to check for radicles.
- Once you notice radicles, remove those seeds and plant them that day.
- Allow the other seeds to remain in the damp paper towel until you see radicles emerging from all of them.
Much like the water method, you’ll need to use different, clearly labeled plastic Ziploc bags if you’re attempting to germinate different varieties. Don’t attempt to germinate several varieties in the same Ziploc bag. You’ll quickly lose track and find yourself wondering which seeds are which.
One final note about planting and growing newly germinated tomato seeds:
Early on, I attempted to grow my own seedlings without heat mats, and I soon realized that that was a huge mistake.
Can You Grow Tomato Plants in Water?
If you’re interested in growing tomato plants in water–what most gardeners refer to as hydroponic gardening–I’d encourage you to seek out specialized advice about hydroponics and tomato plants. Tomatoes can easily be grown using hydroponic methods, but I don’t do that because I don’t have extra space or additional time to practice hydroponic gardening.
However, I grow new tomato plants in water every year using a process known as tomato cloning.
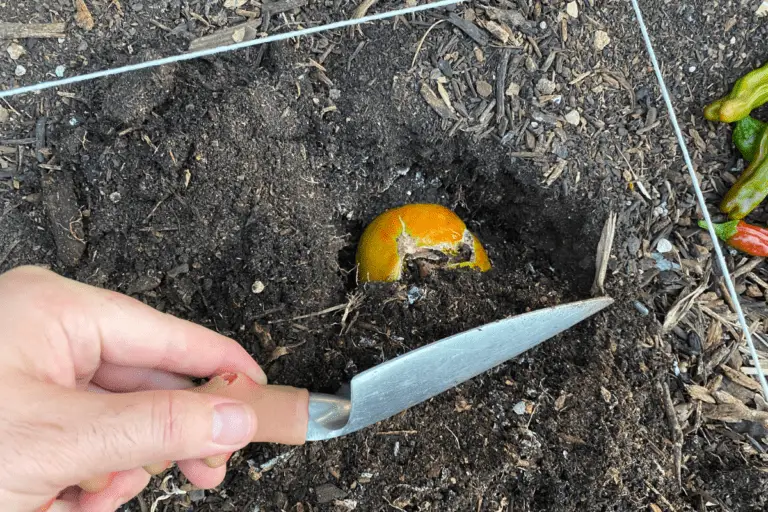
Tomato cloning involves cutting off one of the sucker branches (called clones) that grow out of the joint between the main stems and the leaf branches. These stems have everything a new plant needs, so if you cut them off and put them in water, they’ll create new root systems within 7-10 days.
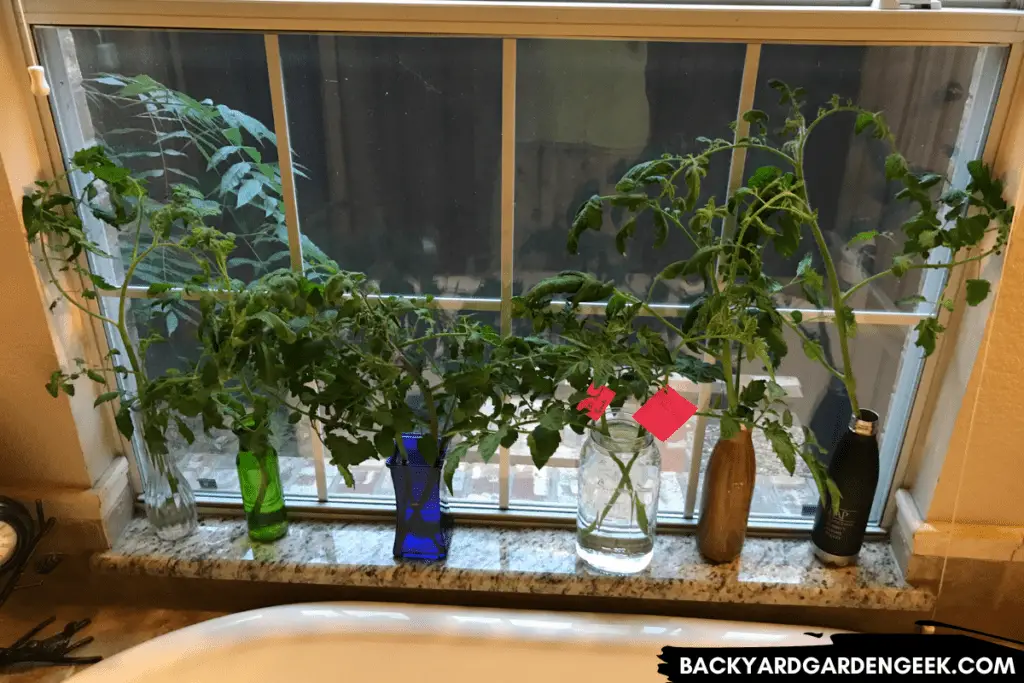
At about the 2 week mark, you can take these cuttings and plant them in your garden, ensuring that they’re watered well for the next 3-4 days. Once these clones get established, they’ll produce the exact same plant as the plant they were taken from, whether that plant was an heirloom or a hybrid.
If you’ve got a long growing season in your region (like we do here in Texas), you can cut off sucker branches as late as June or early July and get a small fall harvest. For shorter growing seasons, you’ll want to cut off suckers as early as possible in order to get additional tomatoes before the first frost hits your region.
Generally speaking, I find this method works best with cherry tomatoes since small fruit ripens much faster than larger varieties.
The nice thing about cloning is that it doesn’t cost you anything except some additional time.
So whenever you go out to your garden, clip off a sucker branch, place it in some water until roots have formed, then plant it in your garden. At worst, nothing much will happen. At best, you’ll have an entirely new tomato plant and more tomatoes a few months from now!
Additional Information
If you’d like to learn more about caring for tomato plants, especially once bugs inevitably show up, I recommend taking a look at these related articles: