Drainage 101: Drilling Holes in Raised Beds and Containers
Raised garden beds are a popular choice for gardeners who want to improve soil quality and reduce weed growth. Many are open at the bottom, but some kinds aren’t.
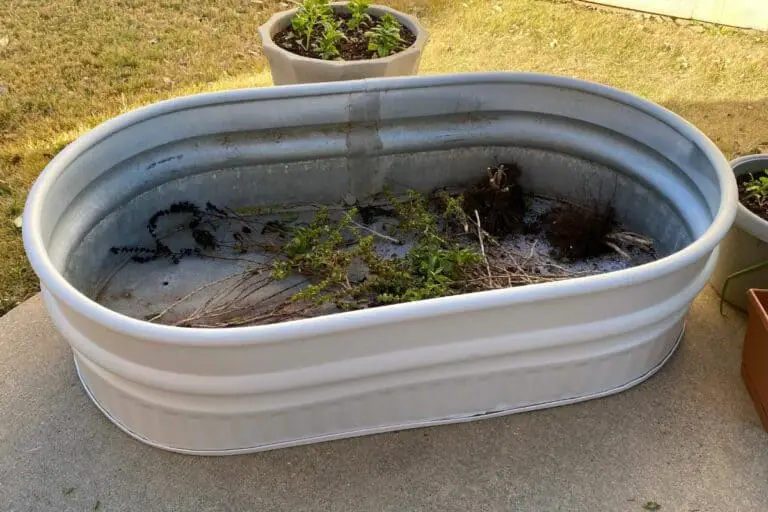
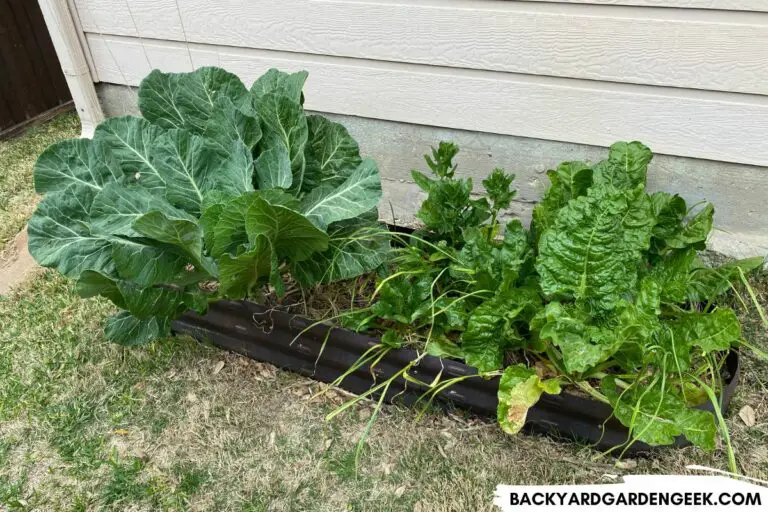
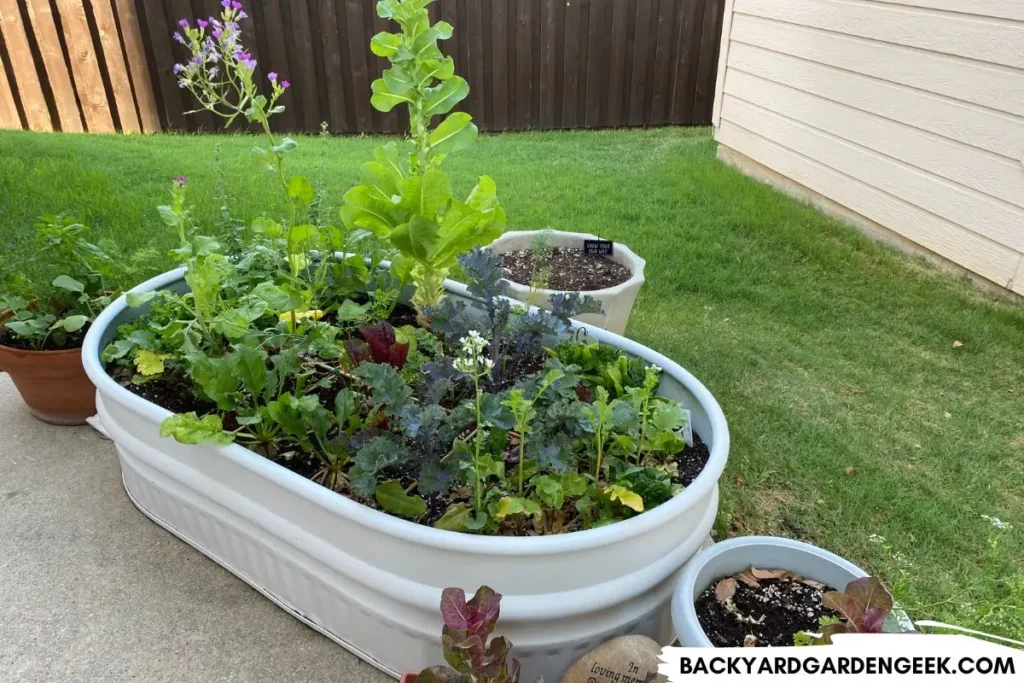
One of my favorite raised beds is a converted water trough from Tractor Supply Company. I’ve also converted paint buckets, plastic bins, and ceramic and terracotta pots into garden containers for my driveway and patio.
But if you’ve got a raised bed or containers that are enclosed at the bottom, you’ll have to give some thought to drainage. Should you drill holes in them?
Drainage holes should always be drilled in the bottom of raised beds, planter boxes, or pots, essentially all garden containers that get any rain whatsoever. Without drainage holes, plants will be exposed to excess water, resulting in waterlogged root systems, root rot, and eventual plant death.
The last thing you want is for your raised beds, planter boxes, driveway containers, garden-repurposed paint buckets, or patio pots to overflow with water, so in this article, I’ll look at the following important topics:
- why exactly you need drainage holes in your gardening containers
- how many holes you need to drill in your gardening containers
- tips for drilling holes in metal beds, wooden planter boxes, plastic buckets and bins, and terracotta and ceramic pots
By the time you finish this article, you’ll have all the info you need when it comes to preparing your raised beds, planter boxes, and driveway and patio containers so that you can grow the best plants possible in your yard, whatever you’re growing them in!
Do I Need Drainage Holes in Raised Beds and Planter Boxes?
The reasons why your plants do best in raised beds with good drainage–and in planter boxes and containers of all kinds that drain well–is that excess water will create unnecessary stress for your plants.
Waterlogged soil can cause a variety of problems for your plants.
Waterlogged plants are often oxygen-starved plants, and heavy rains or overwatering can contribute to waterlogging, which is why proper drainage is so important.
Excess water can lead to decreased nutrient availability and root function, which can cause your plants to struggle to grow and eventually die.
One of the major problems with waterlogged soil is root rot. Root rot occurs when the roots of your plants are damaged by all kinds of fungi that thrive in moist soil. The damaged roots can’t absorb nutrients and water, leading to stunted growth, wilted leaves, and eventual death.
Waterlogging can also contribute to the growth of mold and other harmful microorganisms in your soil. Mold thrives in moist environments and can lead to plant decay.
In addition to these problems, waterlogged soil will always reduce the overall productivity of the plants you’ve got in your raised beds, planter boxes, or gardening containers and pots. Plants can’t remain healthy when their roots are waterlogged!
Waterlogging is not as big an issue for backyard gardens (since you can intervene and help) as it is for forest ecosystems (which you can’t help), but the effects on plants are similar.
At the molecular level, the plant’s biological processes slow down considerably as the plant goes into emergency mode to deal with the environmental problems.
Meanwhile, plants experience “oxidative stress,” as one group of researchers called it, and although they’ll produce “antioxidative enzymes” to deal with the environmental stressors, they’ll experience all kinds of developmental problems that healthy plants wouldn’t otherwise face.
When you drill drainage holes in the bottom of your raised garden beds and other gardening containers, you protect your plants from excess water caused by thunderstorms and rainy conditions.
I know this from personal experience. I took a few indoor plants outside last year so that they could get some direct sunlight. Unfortunately, I forgot about them and left them on my patio overnight.
That night, it stormed heavily, and when I went outside in the morning, my pots were completely filled with water, and soil had spilled out the sides of each of them.
If something like this ever happens to you, here’s what you should do:
- Grab the pot with one hand. Place the other hand on the rim of the pot, then tip the pot carefully. The water will spill out, but the soil will be kept in place.
- Hold the pot in that position for 10-20 seconds to make sure you’ve poured out as much water as possible.
- Place the pot either in direct sunlight (for plants that like that sort of thing) or in a climate-controlled space to encourage water evaporation.
Obviously, you can’t do this sort of thing if you’ve got a waterlogged raised bed, so please follow my directions below to ensure you drill all necessary drainage holes in your beds and containers.
Assuming you’ve got good drainage in your raised beds, you can get amazing harvests out of them. Check out these related articles if you’d like to see what I’ve done with my raised beds:
- 12 Reasons Why Vegetables Can Grow Better in Raised Beds
- 32 Must-Try Vegetables for Your Raised Garden Beds
- Growing Plants in Cinder Block Holes: A Step-by-Step Guide
- Pros and Cons of Raised Garden Beds: Know Before You Grow!
How Many Holes Should I Drill in Raised Beds, Planters, and Pots?
Without adequate drainage, excess water can accumulate in your raised beds and containers, which is why drilling drainage holes is crucial to helping your plants thrive.
So that begs the question: How many holes should you drill?
There’s no single answer to this question since the number of holes you need depends entirely on the size, shape, and type of container you’re using.
As a general rule of thumb, smaller containers should have at least 1 drainage hole, while larger containers may need many more than that.
My approach is to think of things in terms of circumferences and diameter. But the good news is you don’t have to do much in the way of measuring.
Here’s what I do: For every 6×6 inch square (36 square inches), I’ll put in at least one 1/2 inch drainage hole.
For example, if I’ve got a small container that’s less than 6 inches in diameter, I’ll put a drainage hole in the center of the bottom. If I’ve got a larger container, such as a 12-inch pot, I’ll drill at least 2 drainage holes (sometimes 3).
I’ve got a large metal raised bed on my patio. I bought it at Tractor Supply Company, and it’s roughly 2 feet by 4 feet (.6 by 1.2 meters) or 8 square feet total.
For a bed that’s 2 feet by 4 feet, you’ll have 1152 square inches. If I place a drainage hole every 36 square inches, I’d need to drill 32 drainage holes total in the bottom of my raised bed.
In this instance, I drilled 40 just to be on the safe side and to ensure that water in the bed drains properly.
Please remember: It’s far better to drill too many drainage holes than too few of them.
Drilling drainage holes in your raised bed is a simple and effective way to prevent waterlogging and improve soil health, but depending on the materials you’re using (wood, plastic, metal, terracotta, or ceramic), you’ll need to use different methods to help your plants do their best.
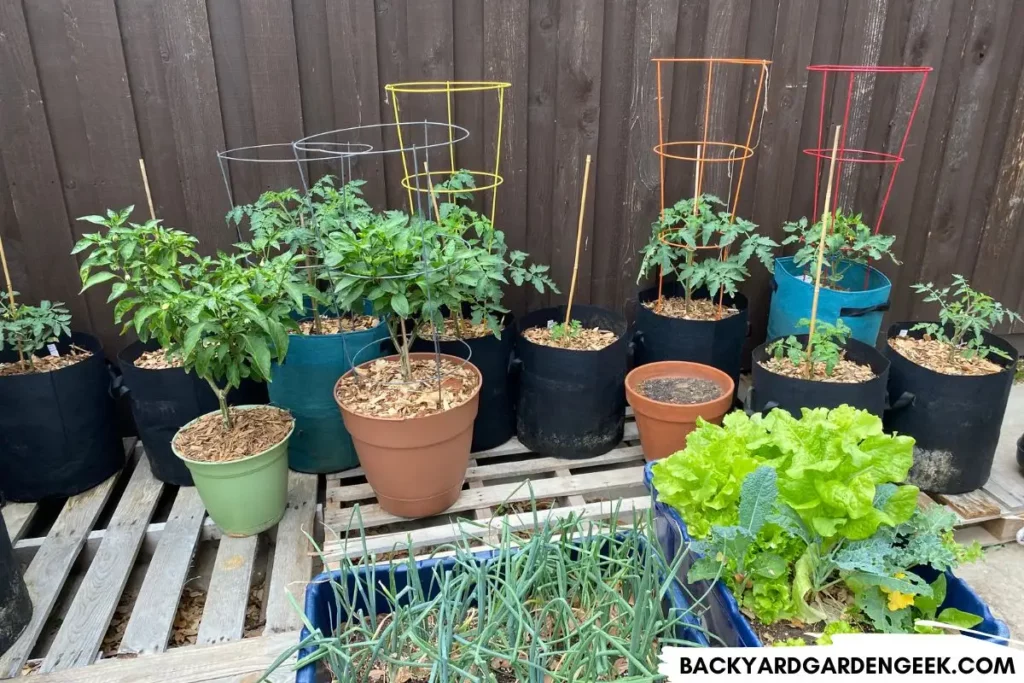
Take, for instance, the success I’ve had growing tomato plants in paint buckets.
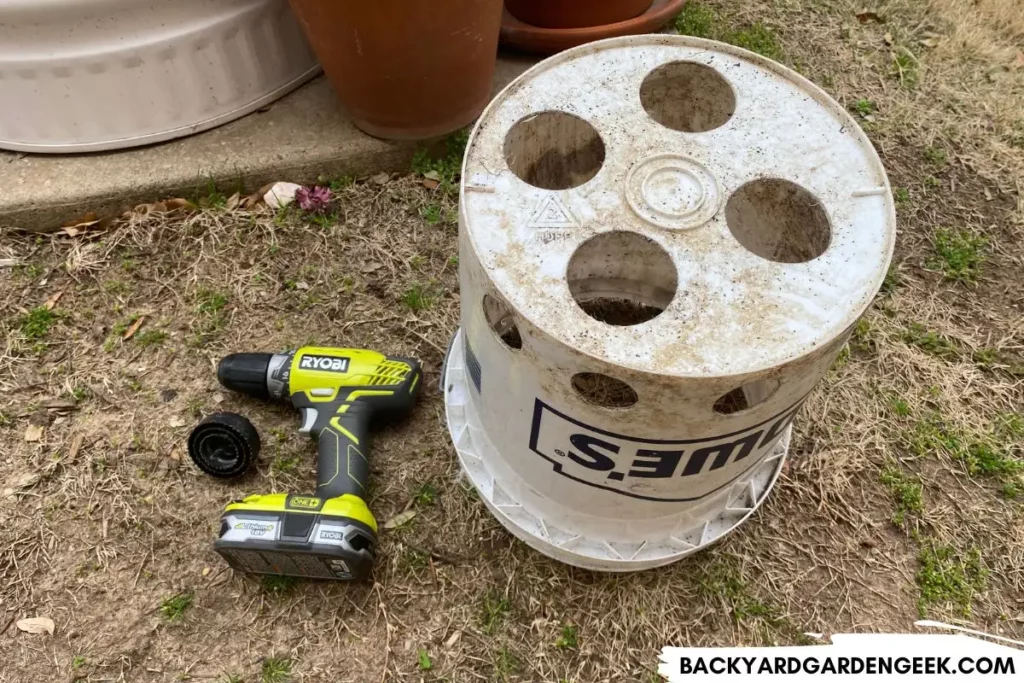
Paint buckets are typically 5 gallons, and when filled with soil, you can grow tomato plants in them. But I wanted to grow indeterminate tomato plants in my paint buckets, and I thought that 5 gallons might not be large enough to give me the kind of harvest I was looking for.
So here’s what I did: I decided to partially plant my buckets in my native soil so that the plants’ roots could extend through the soil in the bucket and down into the native soil in my yard.
To do so, I did the following:
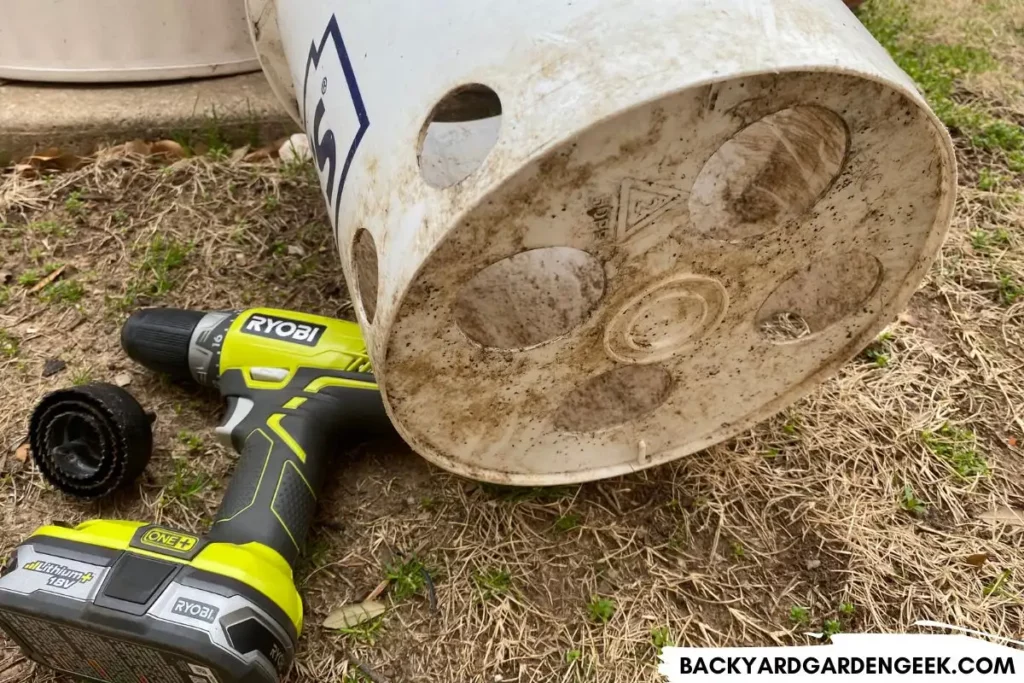
- Using a hole saw, I drilled four 2-inch holes in the bottom of the bucket along with several 1-inch holes around the lower edge of the bucket.
- I then cut out a circular hole in my lawn that was 2 inches deep and exactly as wide as the perimeter of my paint bucket.
- After doing that, I placed the paint bucket in the hole and made sure the soil was snugly packed all around the bucket.
- I finished the process by filling the bucket with soil, then adding my tomato seedling and putting a nice layer of mulch around the base of the plant.
Using this method, I managed to grow more tomatoes than my family could eat and ended up giving away tomatoes to family and friends throughout the growing season.
With that in mind, let’s look at the best ways to drill into each of these materials!
Tips for Drilling Holes in Raised Beds, Planters, and Pots
Before I get into the details about each kind of material, here are a few overarching suggestions for drilling your holes without damaging your raised beds and containers.
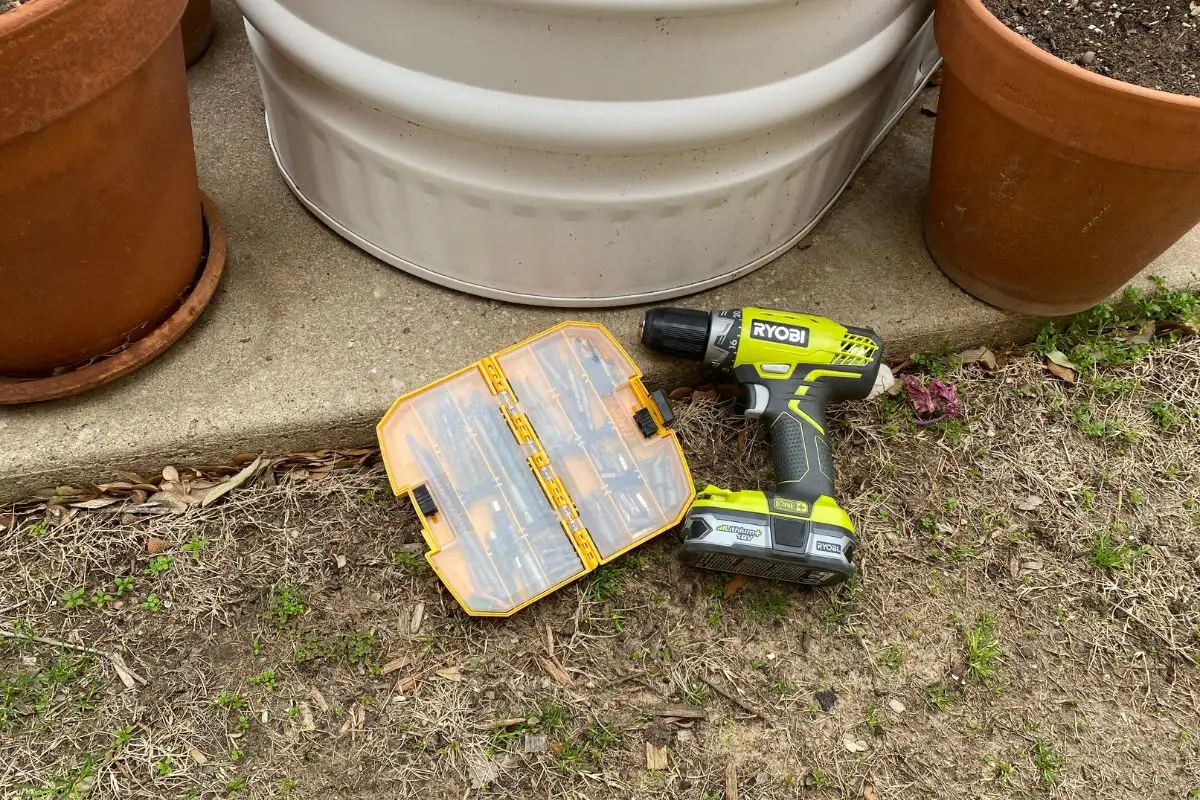
- Choose the right tools: You’ll want to have a power drill on hand for any drilling you need to do. I own this Ryobi 2-drill set, and I love it!
- Choose the right size of drill bits: The size and type of drill bit you’ll need depends on how many drainage holes you want and how wide you’d like them to be. As a general rule, I use a 1/4-inch drill bit for smaller containers and a 1/2-inch drill bit for larger raised beds.
- Choose the right placement of holes: You should drill drainage holes at regular intervals along the bottom of your garden bed, preferably 1 every 6 inches (15.2 cm). The number of holes you need will depend on the size of your garden bed.
- Drill the holes evenly: You’ll want to space your holes relatively evenly to make sure excess water drains out of your beds and containers properly. You can measure and mark the spots where you want to drill the holes, but this isn’t an exact science, so you can just estimate where they need to be.
When it comes to drilling holes in various materials, here’s what I do for each of them:
| Ceramic | Only use glass, ceramic, and tile drill bits on ceramic pots since other drill bits can shatter them. This Bosch drill bit set will do the trick. You can also try diamond drill bits since those will work too. Here’s a quick YouTube video if you want to see someone drill into a ceramic pot. |
| Metal | Drilling into metal is pretty simple as long as you’ve got a good set of metal drill bits. Just don’t start off drilling holes with a 1/2 inch drill bit. Instead, begin with a 1/4 inch drill bit. Once you’ve got a hole, you can enlarge it with the larger bit. Here’s a helpful YouTube video if you’re interested in doing so. |
| Plastic | You don’t have to buy any special drill bits to drill into plastic containers, tubs, or paint buckets. Any drill bit will do! |
| Terracotta | Much like ceramic pots, you need to be careful drilling into terracotta since you can easily crack and break your pots. Select a diamond drill bit, then drill into the bottom of your pot at a 45 degree angle. Here’s a YouTube video showing what this looks like. |
| Wood | Much like plastic, you don’t need special drill bits to drill holes in wood. If I want larger holes, I’ll often start with a smaller drill bit (1/4 inch), then enlarge that hole with a larger drill bit (1/2 inch). |
If you’re interested in learning more about how I’ve installed my raised beds, take a look at these articles:
- 9 Easy Steps to Build Raised Garden Beds on Your Grass Lawn
- 18 Best Materials to Put in the Bottom of Your Raised Beds
- Putting Raised Beds on the Patio: Should You Do It?
- Should You Remove Grass Under Raised Beds?
- Using Topsoil in Raised Garden Beds: Can You Do It?
Methods to Improve Drainage in Your Raised Garden Beds
Drilling drainage holes is not the only way to improve drainage in your raised garden bed. There are several additional methods that can help with water retention and drainage.
One option is to use soil amendments such as vermiculite or perlite. These materials can help with denser soils, making it easier for water to pass through your soil and thus preventing waterlogging.
Just make sure you use the right type of soil amendment for your specific soil type, so do your research before adding these amendments to your raised beds.
Hugelkultur is another gardening strategy that can help improve drainage. This method involves burying logs, branches, and other compostable materials beneath the soil. As they break down over time, they’ll release nutrients into the soil, making it more fertile and productive.
Hugelkultur can help improve soil structure and drainage and reduce the need for chemical fertilizers. It’s also a very inexpensive way to fill new raised beds.
Covering your garden beds with thick layers of mulch can help with water management in general since mulch keeps soil from drying out and retains moisture very well.
You can use a variety of materials for mulch–including leaves, straw, or shredded bark–but my favorite is wood chips. If you live near areas where tree trimmers work, you can get piles of free wood chips by using the getchipdrop.com website.
In addition to these alternative methods, choosing the right location for your garden bed can help with drainage. Avoid low-lying areas that are prone to waterlogging and instead choose areas of your property that get enough sunlight for proper plant growth.
By using one or more of these alternative methods, you can help improve drainage in your raised garden bed and promote healthy plant growth. Choose the method that works best for your specific needs and enjoy a thriving and beautiful garden.
As I’ve noted above, drilling drainage holes in your raised garden beds is a simple and effective way to prevent waterlogging and improve soil health.
By following the tips outlined in this article, you’ll be able to drill drainage holes in raised beds, planter boxes, containers, and pots of all shapes, sizes, and materials.
More About Raised Beds
If you want to keep learning about raised bed gardening, I recommend these related articles:
- 23 Plants You Shouldn’t Grow in Raised Beds
- Filling Raised Beds with Just Compost: Should You Do It?
- How Deep Should Raised Garden Beds Be for Tomatoes?
- Landscape Fabric Under Raised Beds: Is It Necessary?
- Top 10 Reasons Why Concrete Blocks Are Good for Raised Garden Beds
- What Plants Grow Well in Cinder Block Holes?