Full Sun or Partial Shade: What’s Best for Raised Beds?
If you’re building or installing raised garden beds this year, you might be wondering where you should place them in your property.
This is no small matter because if you end up needing to relocate the raised bed later on, you’ll have a big headache on your hands!
And one of the primary reasons for relocating raised beds has to do with sunlight.
So what should you do about your raised beds? Should you put them in full sunlight or partial shade?
Most plants need at least 5-6 hours of sunlight to thrive, so placing raised garden beds in full sunlight makes it possible to grow practically all popular garden varieties. When gardening in partially shaded raised beds, care must be taken to select plants that’ll grow well with less sunlight.
Of course, this brings several questions to mind:
- Partially shaded raised beds will provide protection during the hottest summer months, but is it worth giving up the flexibility to grow just about anything in order to get a little added protection during the summer heat?Do plants need all the sunlight they can get?
- Does this mean that the only good raised beds are the ones that get full sun?
As you can imagine, many gardeners don’t have large, wide-open properties and plenty of space to place raised beds.
Some people do have such properties. But many others (including me) have to do the best with what they have, especially if what they have is not all that much. I lived in a somewhat expensive suburban area outside Dallas, so my property is only .25 acres (or .1 hectare for readers who live outside the United States).
I’ve currently got 8 raised garden beds in my backyard, and I made some big sun-related mistakes when I installed the first few.
But here’s the good news: If you’re thoughtful about your raised beds and if you know the mistakes to avoid, you can get amazing harvests out of even the smallest backyards.
My goal with this article is to provide the information you’ll need to make those kinds of informed decisions.
And my hope is that this’ll help you determine exactly where to place your raised garden beds so as to maximize your growing potential.
One final thing before we get going: If you place your raised garden beds properly the first time, you’ll never have to go through the headache of relocating them.
With that being said, let’s look at the things you’ll need to consider when selecting the location of your new raised beds.
Placing Raised Beds in Your Yard? 6 Pro Tips
When I installed my first raised bed a few summers back, I thought I had a winner. There was a small strip of useless yard on the north side of my house that got plenty of sun. I had a neighbor who was getting rid of some relatively new concrete blocks
My house faces east, so I thought that that would be a great place to grow plants in a raised cinder block bed. What I hadn’t done was consider what might happen to the sun when the fall and winter months arrived.
Sure enough, as the year went on, the sun dipped in the sky ever so slightly due to changing seasons, and the north side yard was now entirely in the shade.
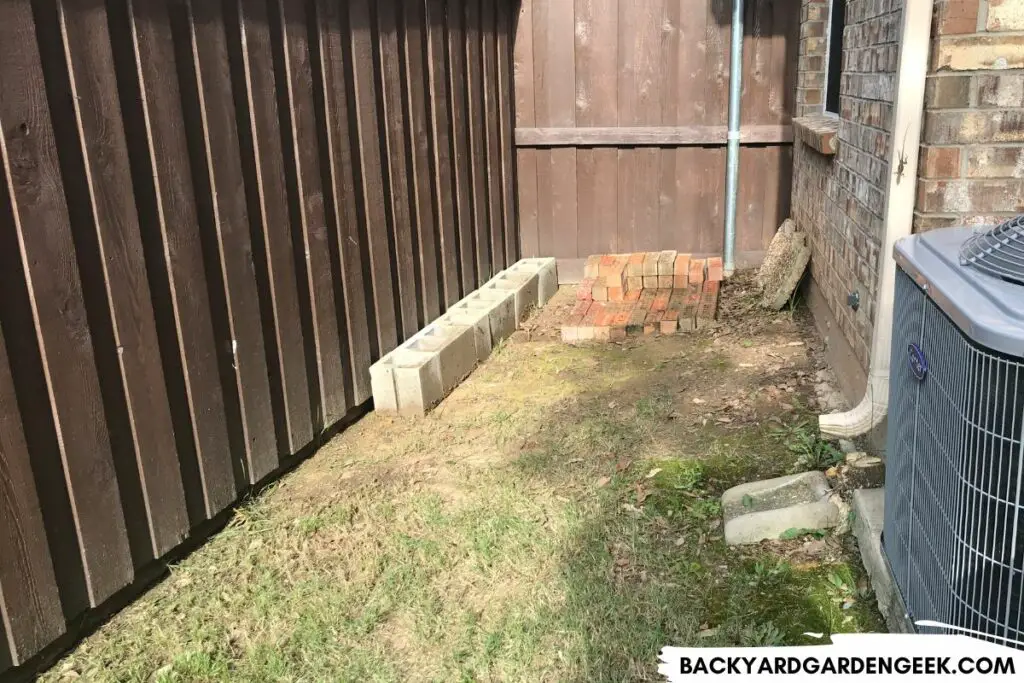
It turns out that that area of my yard only gets full sun from May through September. This isn’t necessarily terrible since there’s lots I can grow over there during the summer, but it’s certainly something I didn’t plan for.
To avoid making the same mistakes I made, pay close attention to the information below before installing your first raised garden bed:
1. Pay Attention to the Sun
You can’t decide how much sun you want your raised bed to get if you don’t understand the sunlight profile of your property.
What I mean by “sunlight profile” is this: You’ll need to understand which areas of your property get full sun or partial shade throughout the year.
That last part is important. Just because part of your property is in full sun right now, that doesn’t mean that that part of your property will be in full sun 4-6 months from now.
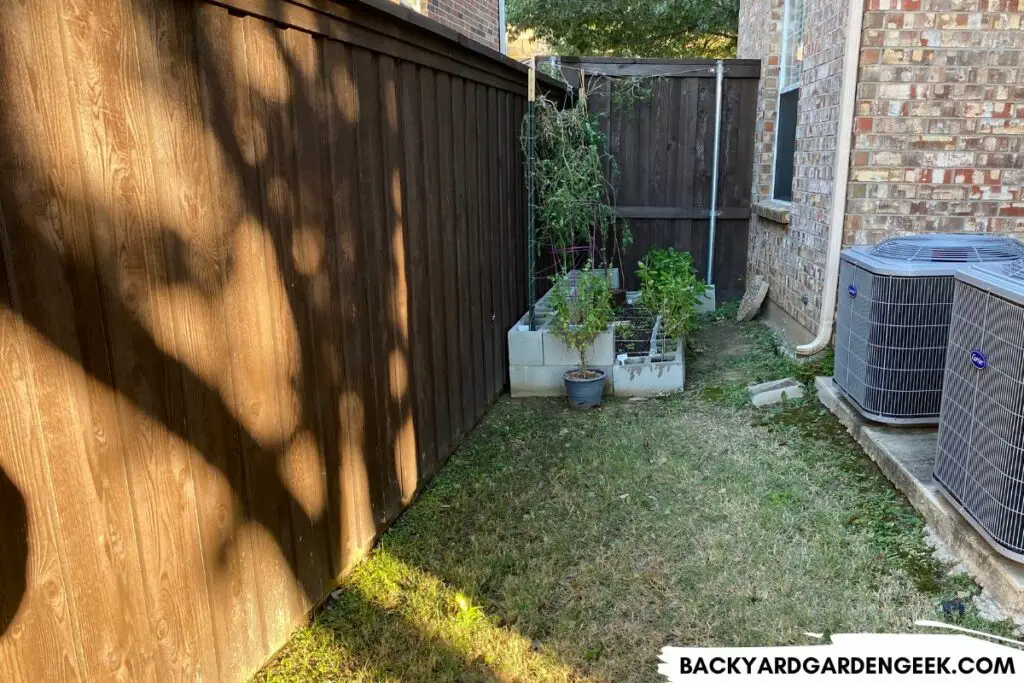
I recommend doing a sketch of your property, then making notes as the year goes on if you’re concerned about where exactly to place your raised beds.
Because if you’re not careful, you might place a bed in an area that gets sun at certain times of the year, then shades at other times of the year.
2. Create a Sunlight Profile of Your Property
Let me say a few more words about tracking.
I’ve used grid paper whenever I make a sunlight profile of my yard, which I’ve done at 3 different houses.
Each grid represents either 1 foot (.3 m) or 3 feet (.9 m) depending on the size of the property. After I go outside and make some basic measurements using my tape measure and my stride (which is roughly 3 feet).
You don’t need to be 100% accurate when making a sunlight profile. You just need a good approximation of your property.
As you’re making the measurements, sketch out your property on the grid paper. Once you’ve done that you’ll have the template you need to start making notes throughout the year. Don’t lose this paper!
Here’s the key to making the best sunlight profile: Set a bi-weekly reminder in your phone or calendar that reminds you to take a look at your yard once every 2 weeks.
If you don’t notice any major changes, wait for the next reminder. If you notice that sunlight or shade is creeping into certain areas of the property, make a note of it.
You can do this on a monthly basis instead of a bi-weekly one, but bi-weekly notes will give you the best sense of where sunlight is on your property.
3. Consider Seasonal Sunlight Changes
As you’re creating your sunlight profile for the first time, please be aware that areas that are close to structures (house, garage, fences, playsets) and large natural objects (trees and large shrubs) are going to be more susceptible to changes in sunlight and shade.
You’ll want to be particularly careful with fence lines, unless you’re lucky enough to have a chain link fence on your property.
(I say “lucky” because people underestimate the humble chain link fence. Chain link fences are not only great for saying hi to neighbors as they walk by. They’re also fantastic for gardening since they don’t block the sunlight and also function as superb trellises for your larger vining plants.)
Fences are not necessarily bad for gardening. In fact, if you’ve got a strong enough fence, you can hang a cattle panel on it like I’ve done and grow all kinds of plants along the fence because of it.
But they can cause problems for you if you’re building raised beds along them. As long as you know exactly what kind of sun you’ll be getting there, you won’t be surprised, and you can plan ahead to grow plants that’ll thrive in those areas.
4. Determine Raised Bed Materials
When it comes to sunlight and shade, I think there’s something to be said for a careful consideration of the kinds of materials you’ll want to use for your raised beds.
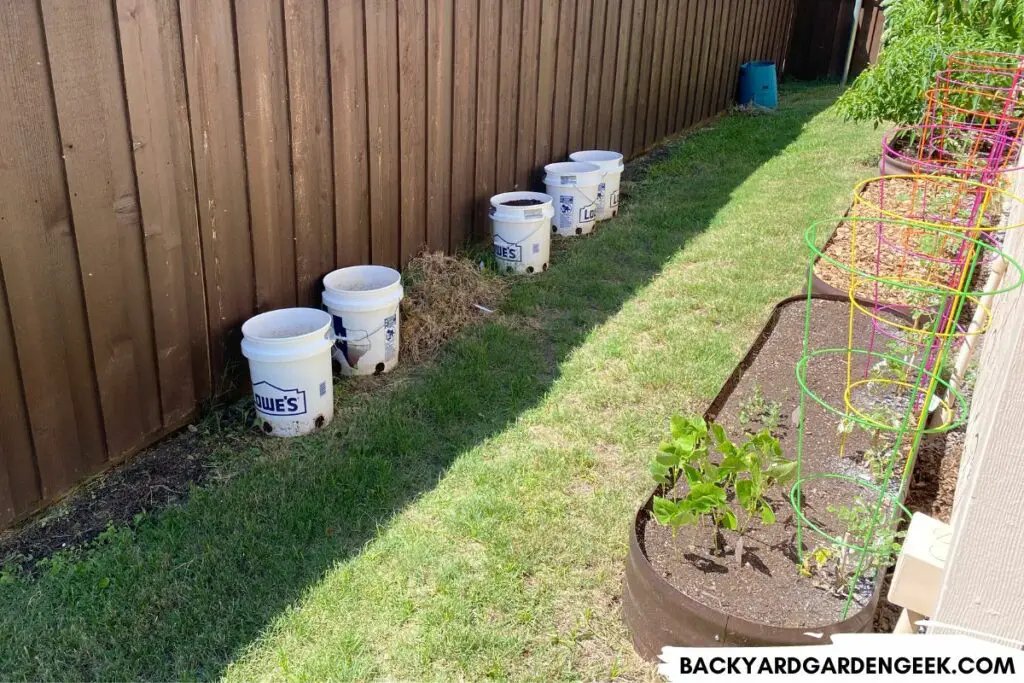
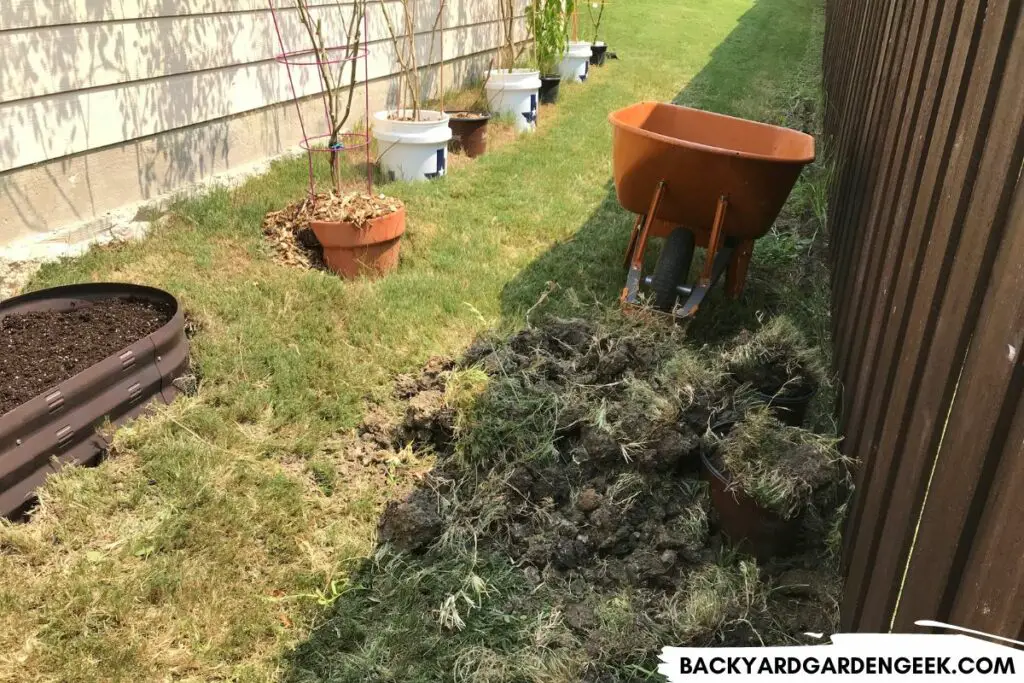
I’ve got an area behind my detached garage where I’ve been able to grow all kinds of veggies. But I wanted to install a few beds along my fence line.
Here’s what I realized: The native soil in that area doesn’t get much sun at certain times of the year and thus the clay soil remains pretty moist. Anything that sits atop that soil is going to come into contact with soggy clay for at least 4-5 months out of the year.
The ground is also slightly sloped, which makes raised bed gardening a bit more challenging.
I knew that this would be a terrible place for wooden raised beds since that wood would likely rot in 4-5 years.
I also didn’t have a ton of room due to the narrowness of the area, so I needed something relatively narrow.
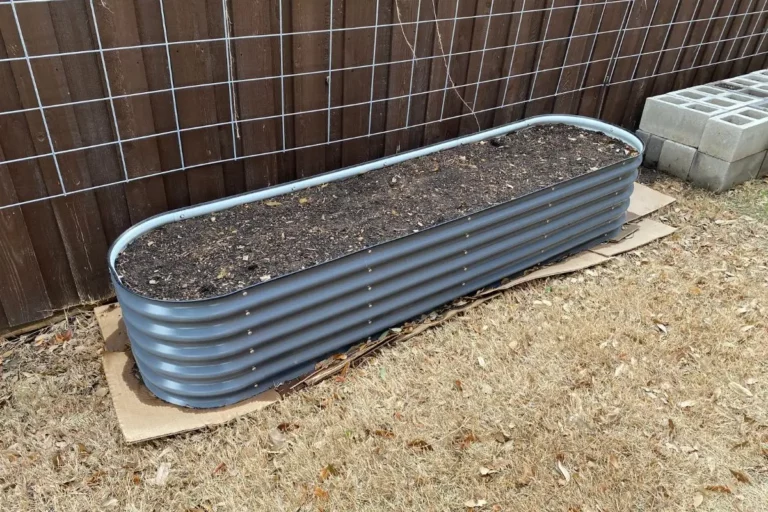
I ended up choosing these LuxenHome metal raised beds because of their slim profile. They’re approximately 66 inches by 20 inches (168 cm by 51 cm), and they fit perfectly in my side yard.
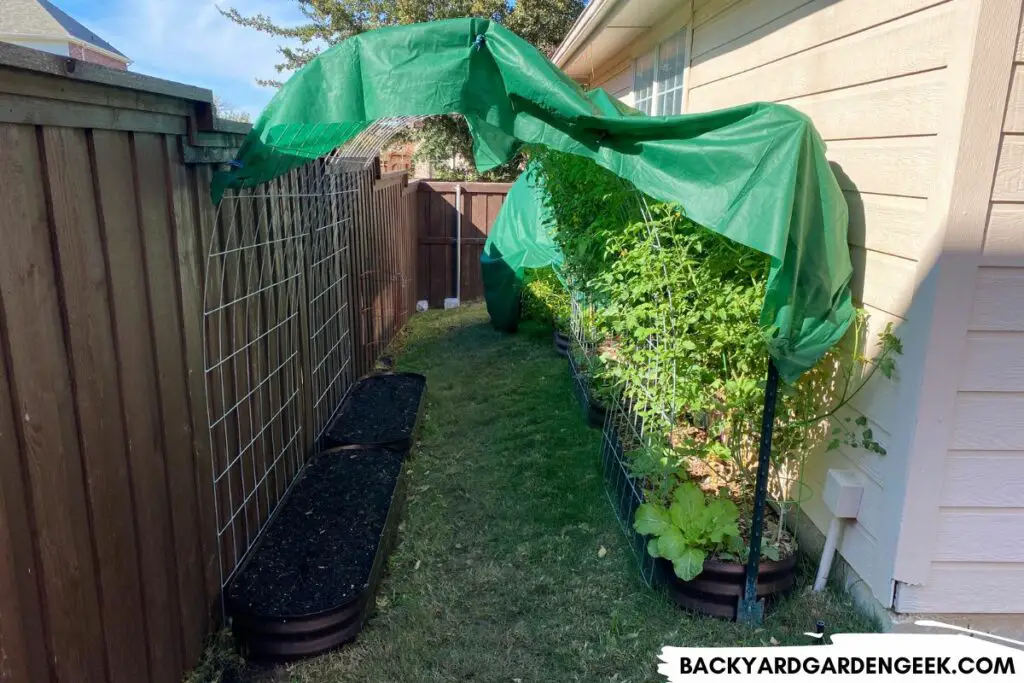
I’ve used them for years, and although the sheen fades over time, the beds are going strong despite the harsh Texas summers.
5. Take Note of Water Runoff Patterns
You’ll want to make sure that your raised beds (as well as the areas around your raised beds) get good water drainage, so I want to mention two important things:
First, as a practical matter, you need to make sure your raised beds aren’t going to impede the way that water runs off your property. If you place beds in an area where the water wants to run, you’re going to create a soggy mess on your property.
At my last house in New Jersey, I had an area of my yard that was perfect for raised beds, but it was also the area of my yard where all of the water would run off whenever it rained.
Before installing my raised beds, I put a french drain in the ground with a pipe that funneled the water out of my yard and under a nearby fence.
It took a few hours of work to get it all in place, but once I did, I built a beautiful wooden raised bed in an area that had previously been a little waterlogged.
If I hadn’t paid attention to the water runoff patterns on my property, that bed would have caused major headaches!
6. Determine Necessary Depth
Do you have mobility issues? Are you gardening on a sloped part of your yard? Do you have hard-packed clay as your native soil?
Questions like these will help you determine what kind of raised garden beds you want to build or install.
You don’t need much to garden effectively in raised beds since 6-8 inches is good enough to grow all kinds of beautiful plants. But the height of the raised garden bed will determine the best materials to fill it with and how much effort you should put into getting rid of the grass underneath.
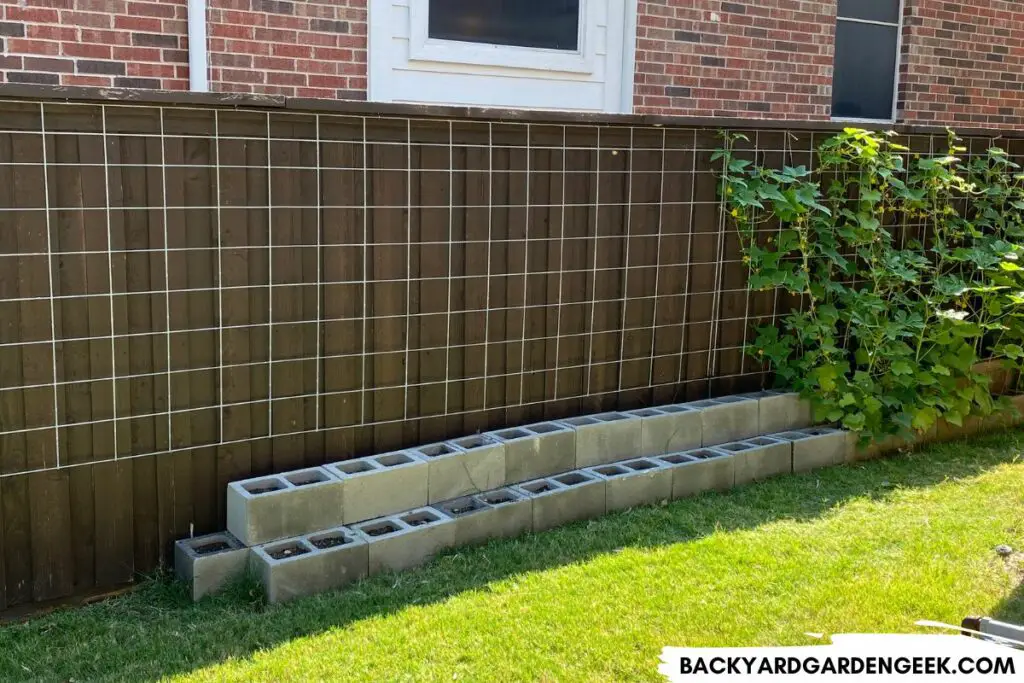
If you want to grow plants on your patio, converted watering troughs might be your best bet. If you’ve got sloped ground, a taller raised bed is going to be much better since it’ll help you account for the slope.
And if you’ve had some health issues recently, you’ll be better off investing in tall raised beds, like those sold by Birdie’s or Vego Garden. They’re quite expensive, but it’s an investment in gardening that’ll last you 20+ years.
And if you compare these prices to the price of what it would take to build a raised bed out of lumber (then rebuild it every 7 or so years), you might find that they’re actually not all that more expensive than wooden beds.
If you consider the above recommendations, you’ll not only have a better sense than I originally did of what’ll happen on your property in terms of the available sunlight.
You’ll also avoid the mistakes I made when I first started putting raised garden beds on my property. And that’ll save you lots of time in the long run!
Can Raised Beds Get Too Much Sun?
I’ve heard this question many times because I live in Texas.
I love the ability to grow veggies nearly all year long, but Texas summers are brutal, and the sun will bake plants if gardeners in my area aren’t careful.
As a general rule, raised beds can’t get too much sun, but full sunlight causes the soil in certain kinds of raised beds (such as concrete blocks) to dry out much faster than raised beds that get partial shade. When gardening during hot summer, care should be taken to water such beds frequently.
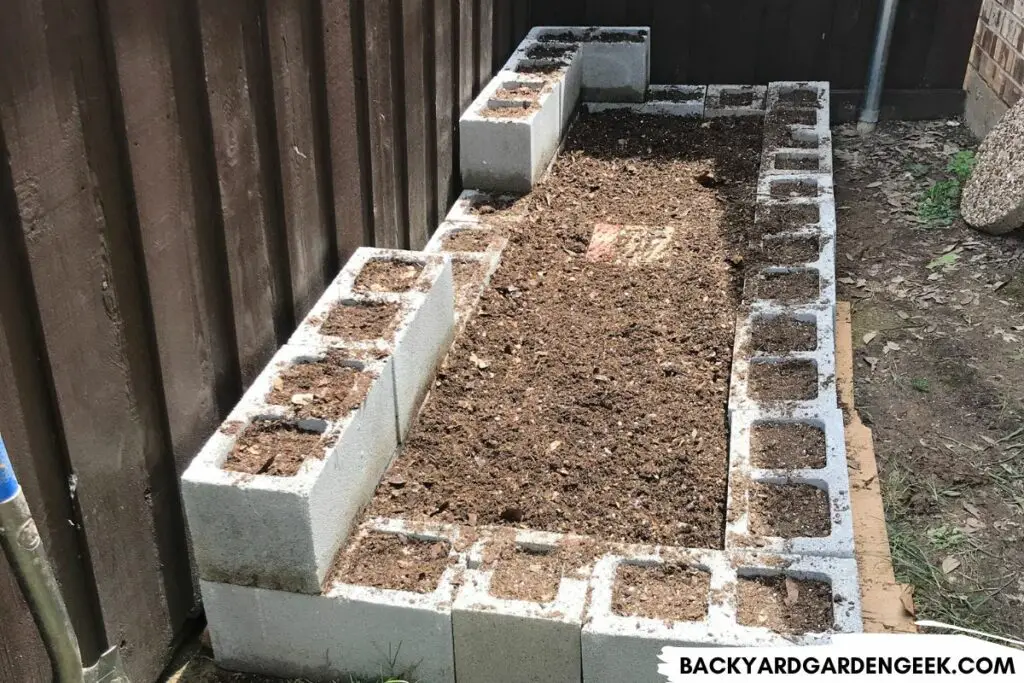
I like growing plants in concrete block raised garden beds. They’re heavy, but they’re cheap, and they’ll last forever. I’m particularly fond of growing additional plants in concrete block holes since those spaces are perfect for all kinds of plant varieties.
But concrete blocks can be tough on plants if you live in a region with brutal summer temperatures.
In those cases, I’d recommend either placing your raised beds in an area of your property that only gets 6-7 hours of sunlight per day or choosing a different material.
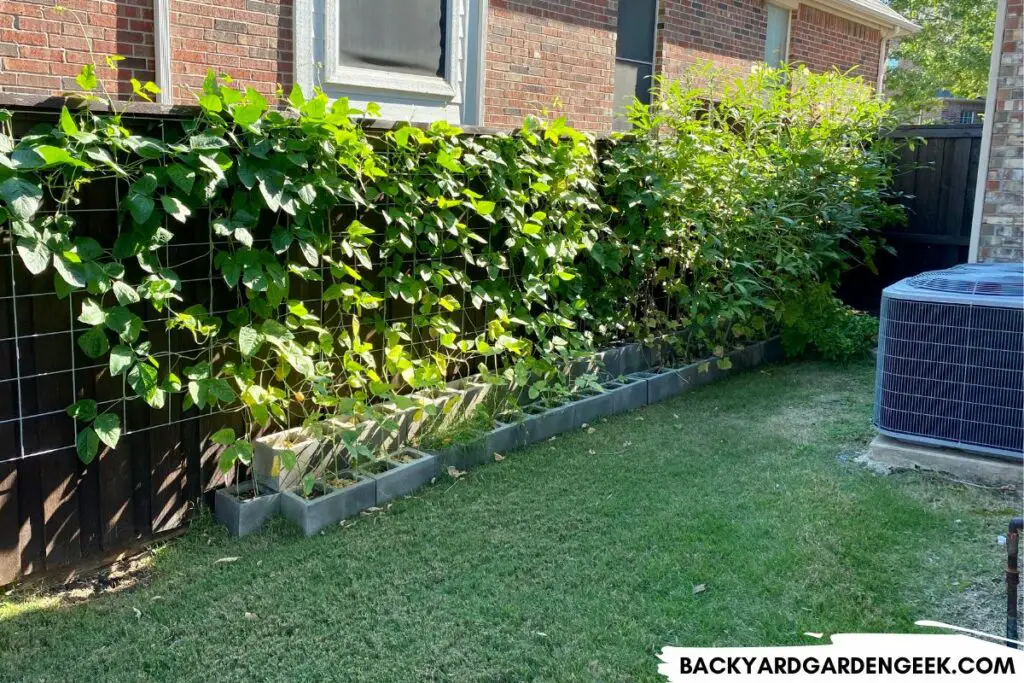
If your concrete block raised beds gets full sunlight all summer long, you’re going to have to water your plants literally every day since the concrete will absorb the heat, and anything planted in the concrete block holes will get baked if not watered very consistently.
Additional Information
If you’ve enjoyed reading about raised garden beds, you might find these related articles interesting:
