When Should I Transplant Tomato Seedlings? Expert Tips
Like most gardeners, I want to grow the biggest, most productive tomato plants each year, but in order to do so, I’ve learned to pay close attention to the transplanting and repotting process.
If you transplant your tomato seedlings too early, you risk damaging their fragile root systems. If you transplant them too late, you’ll notice that their root systems have wound around the bottom of your containers, resulting in root bound plants that will take longer to develop and produce fruit.
The key to growing the best tomato plants possible is knowing when and how to transplant tomato seedlings so as to achieve maximum plant growth.
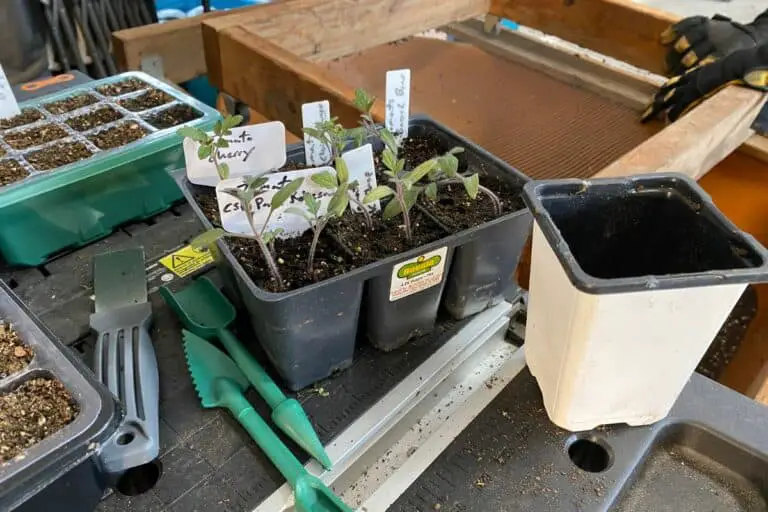
Generally speaking, tomato seedlings grown in 72-cell seed starting trays should be transplanted once they’re 2-4 inches tall (5-10 cm) while tomato seedlings grown in 18-cell trays can be transplanted directly into the garden once they’re 10-12 inches tall (25-30 cm).
In other words, if you’re wondering when you should transplant, repot, or up-pot your tomato seedlings, the answer entirely depends on the height, width, and depth of your seed-starting cells, not to mention the environmental factors that’ll contribute to proper plant growth (warmth, soil quality, moisture, and light).
The smaller the seed cell, the quicker you’ll need to transplant your tomato seedlings. The larger the seed cell, the more time you’ll have before you need to repot or transplant them.
Below, I’ll start by covering why transplanting tomato seedlings is so important. I’ll then give a detailed breakdown of when exactly you should transplant your seedlings to maximize plant growth, which is largely dictated by the overall volume of your seed-starting cells.
Why Should I Transplant Tomato Seedlings? Understanding the Basics
If you’re anything like me, you probably want to get a headstart on the tomato growing season by planting your tomato seeds as early as possible, either inside your house or in garages, sheds, or greenhouses.
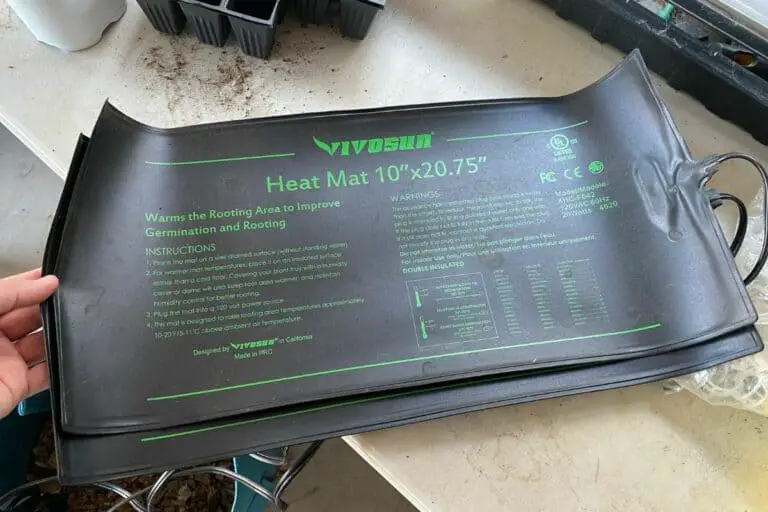
In such conditions, tomato seeds will germinate more successfully if you’re using heat mats, but they won’t need sunlight to germinate. However, once the seedling’s first little leaves (known as cotyledons) emerge from the soil, you’ll need to keep a close eye on your plants so that you’re ready to pot them up at exactly the right time.
Please don’t try to up-pot your tomato seedlings if they don’t have at least 2-4 true leaves on them, not counting the cotyledons.
At this point, the plant’s root system is in a very fragile state. As I’ve explained in this article on how tomato seeds and seedlings develop, the tomato seed sends out its first root (known as a radicle) shortly after successful germination, and this radicle forms the basis of the plant’s growing root system.
If you damage the roots when they’re newly formed, you might accidentally kill your seedling.
But let’s assume that you’ve waited too long. Maybe life got busy in the past week or two, and you didn’t have any time to devote to your seedlings. Maybe you simply forgot about them for a bit due to things going on at work or home.
Whatever may have happened, if you let your tomato plants remain too long in the same container, their roots will permeate throughout the available soil, then begin wrapping around the pot once as soon as there’s no more soil for further root development.
People refer to plants that have done this as “root bound” plants, and if you want to absolutely maximize your growth, you’ll want to avoid allowing your plants to become root bound.
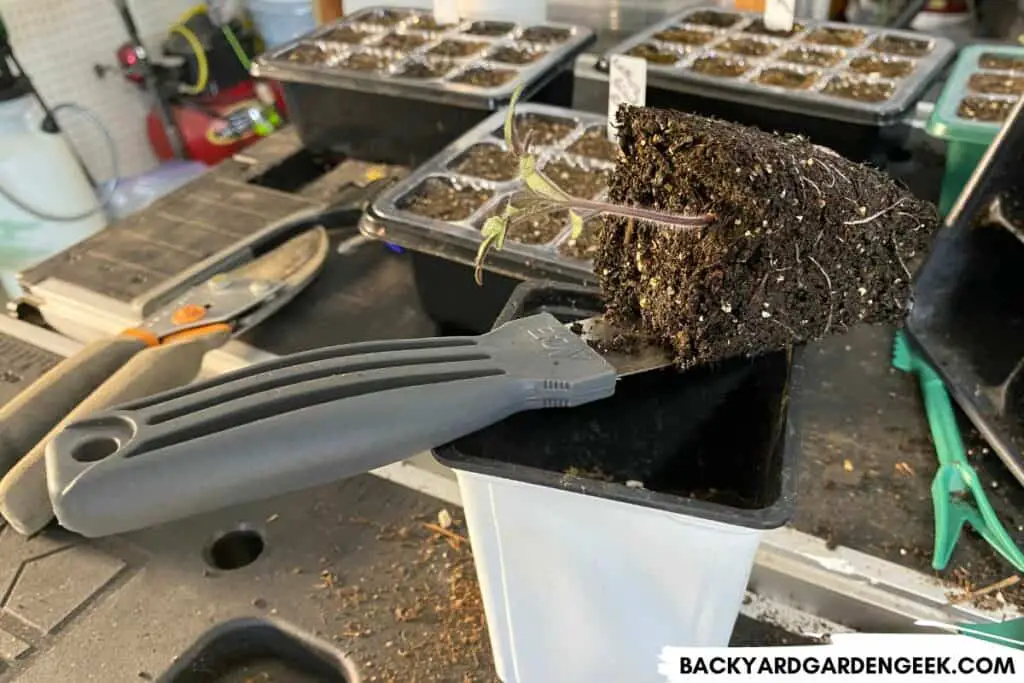
But if yours are a bit root bound, there’s really nothing to worry about. Just follow these steps:
- Turn the plant upside down, place your fingers around the base, squeeze the container, and let gravity drop the base of the plant into your hand.
- Squeeze the root bound area a bit, loosening things up as much as possible without damaging the roots of the plant.
- Repot or place directly in the ground, mound up some soil around the base of the plant, add some mulch to keep the soil in place, and water deeply.
If you’d like to know more about when and how often to water your tomatoes, check out this article I wrote on watering tomato seeds and seedlings. But be careful since you shouldn’t overwater your seedlings. Overwatering can damage plants by choking off their ability to uptake oxygen at appropriate levels.
Long story short, if you follow the instructions above, you’ll easily fix a root bound tomato plant. It’ll lag somewhat in terms of overall growth behind plants that weren’t allowed to get root bound, but within a week or two, it’ll take off and grow just fine.
When Should I Transplant My Tomato Seedlings Into Bigger Pots?
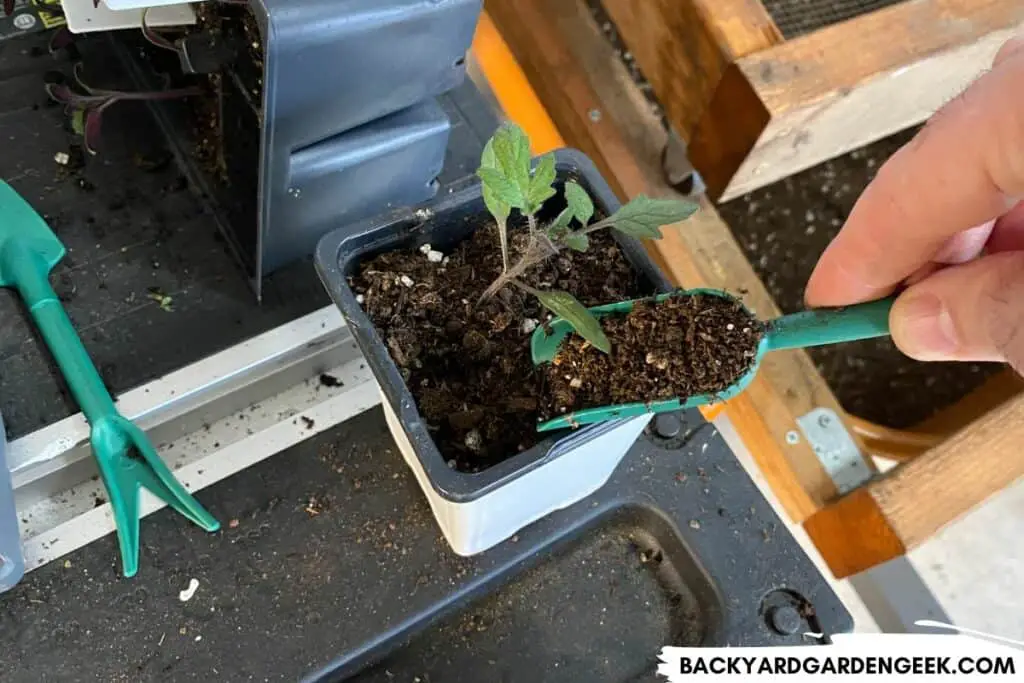
Whether you’re planning to grow your own tomato plants or buy them at a local retailer, you’ll want to make sure you repot or transplant them at just the right time to ensure your plants don’t get stunted in any way.
Before we take a closer look at the kinds of seed starting cells you might be using (or buying at the store), I want to say a quick word about humidity domes since they’ll impact your transplanting process.
When growing your own plants from seed, you’ll want to use quality seed-starting products. I prefer Bootstrap Farmer products because of their overall durability, particularly these products:
- Seeds Trays
- Seeds Cells
- Humidity Domes
Humidity domes can help keep your soil moist, allowing the seed to germinate properly, something I’ve covered in detail in this article on covering and caring for tomato seeds and seedlings.
However, you’ll need to remove your humidity dome before your tomato plants grow tall enough to come into direct contact with the plastic. If you need to retain the dome to help other plants that are growing in the same seed tray–since you might be growing many different plant varieties in a single tray–you’ll want to selectively transplant any seedlings that are tall enough to touch the dome.
Now that that’s out of the way, let’s look at a table showing exactly when you should transplant your tomato seedlings. As you can see below, there’s no single answer to this question since it all depends on the size of the cell or pot you’re currently growing your plants in.
So here are my suggestions for when you should transplant your tomato seedlings depending on the size of the container you’re growing them in. See below for the estimated size and volume of each type of seed cell.
- 200 Cells Per Seed Tray: Transplant your seedlings when they’re 2-3 inches tall (5.1-7.6 cm) with at least 4 true leaves.
- 128 Cells Per Seed Tray: Transplant when the seedlings are 2-3 inches tall (5.1-7.6 cm) with at least 4 true leaves.
- 72 Cells Per Seed Tray: Transplant when the seedlings are 2-4 inches tall (5.1-10.2 cm) with at least 4 true leaves.
- 32 Cells Per Seed Tray: Transplant when the seedlings are 6-8 inches tall (15.2-20.3 cm) with at least 6 true leaves.
- 18 Cells Per Seed Tray: Transplant when the seedlings are 8-12 inches tall (20.3-30.5 cm) with at least 8 true leaves.
Please note that all of the cell inserts found below will fit in a standard 1020 seed starting tray.
U.S. Measurements
| # of Cells | Cell Grid | Cell Width | Cell Depth |
|---|---|---|---|
| 200 Cell Tray | 10 x 20 | .75 in. | 2.25 in. |
| 128 Cell Tray | 8 x 16 | 1 in. | 2.25 in. |
| 72 Cell Tray | 6 x 12 | 1.5 in. | 2.25 in. |
| 32 Cell Tray | 4 x 8 | 2 in. | 3 in. |
| 18 Cell Tray | 3 x 6 | 3.5 in. | 3.5 in. |
Metric Measurements
| # of Cells | Cell Grid | Cell Width | Cell Depth |
|---|---|---|---|
| 200 Cell Tray | 10 x 20 | 1.9 cm | 5.7 cm |
| 128 Cell Tray | 8 x 16 | 2.5 cm | 5.7 cm |
| 72 Cell Tray | 6 x 12 | 3.8 cm | 5.7 cm |
| 32 Cell Tray | 4 x 8 | 5.1 cm | 7.6 cm |
| 18 Cell Tray | 3 x 6 | 8.9 cm | 8.9 cm |
How Deep Should I Transplant Tomato Seedlings?
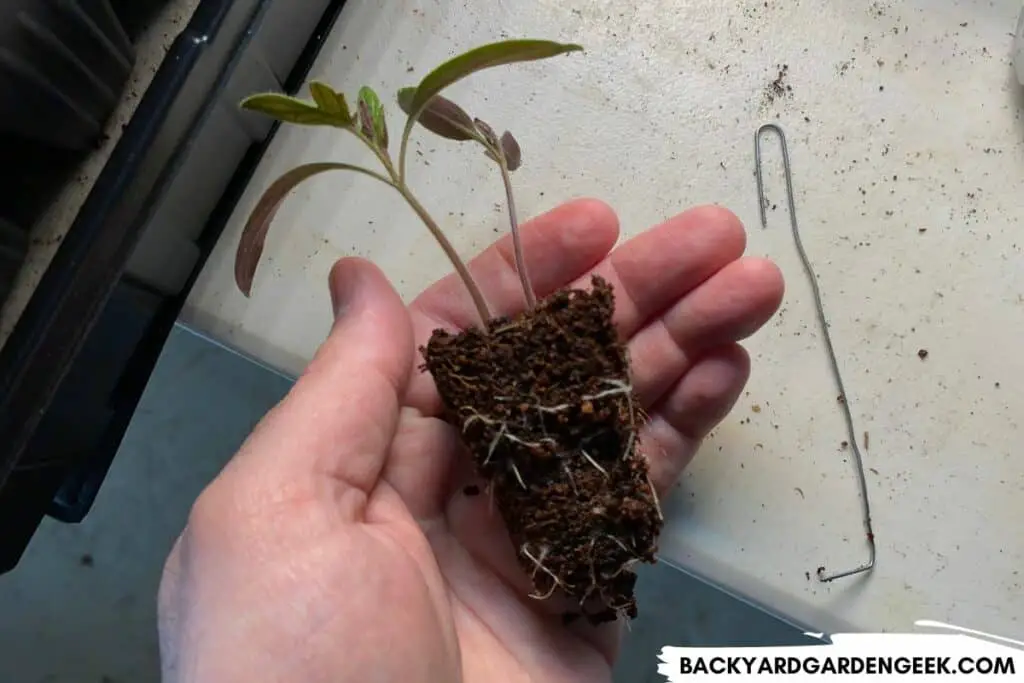
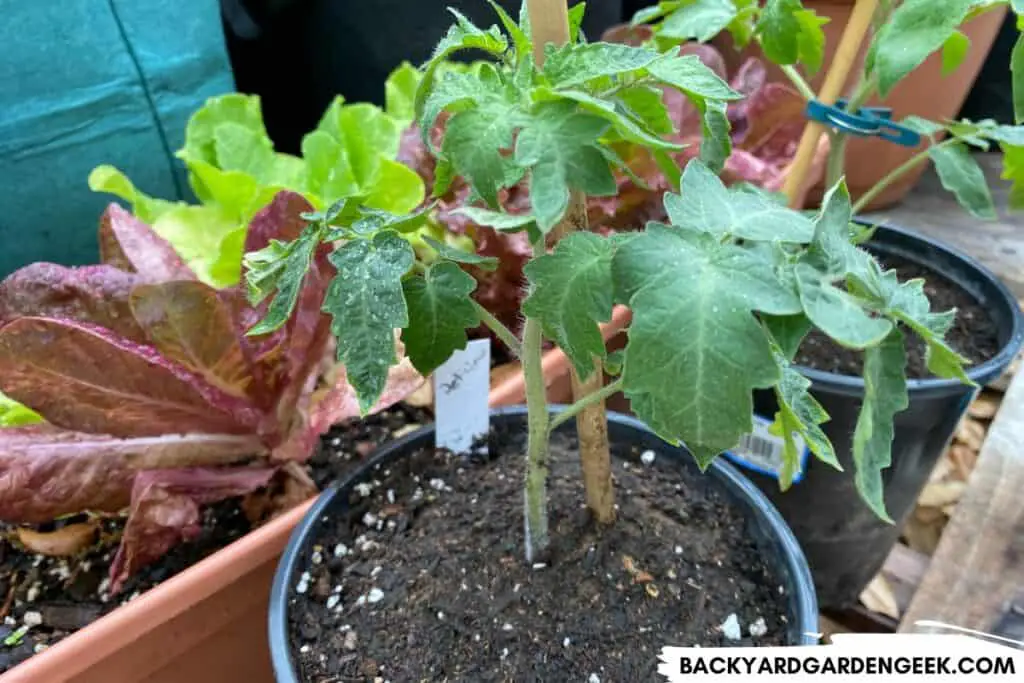
If you look closely at your tomato seedlings, you’ll notice that the stems have countless tiny little hairs from top to bottom. Every one of those hairs has the potential to become a tomato root, which means that there’s no limits when it comes to burying tomato seedlings.
Tomato transplants should be buried as deep as possible, which will cause the hairs along their stems to develop into root systems that’ll help the plant pull as many nutrients as possible from the soil.
When it’s finally time for tomato seedlings to go into your garden, here’s my step-by-step approach to burying tomato seedlings as deeply as possible:
- Once the tomato seedlings are at least 8-10 inches tall (20.3-25.4 cm), take a close look at each of them and cut off the lowest 2-4 branches on each plant.
- Dig a hole in your garden that’s deep enough so that the plant can be buried properly, leaving 2-3 inches (5.1-7.6 cm) between the soil and the lowest remaining branches.
- Mound the soil up a bit against the plant’s main stem, which will encourage further rooting from the stem’s little hairs. To keep the soil in place, I usually cover it with a thin layer of wood chips or compost.
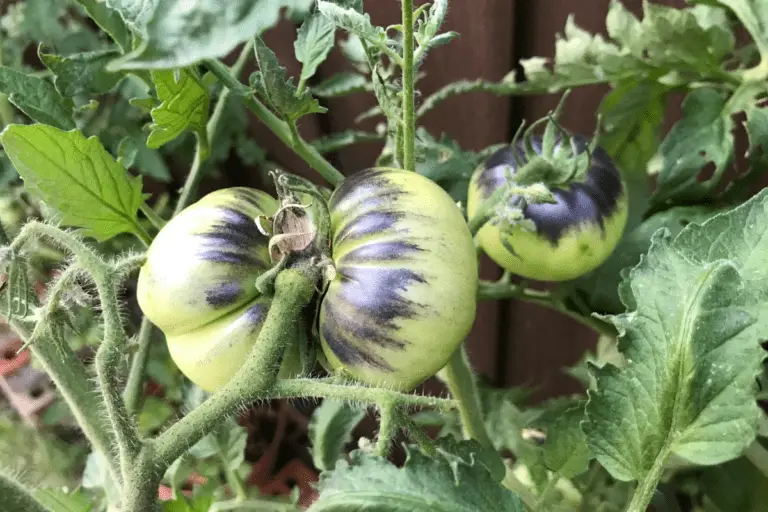
If your tomato seedlings are exceptionally tall because you didn’t transplant them soon enough, don’t worry. Everything’s going to be okay. Take a look at these tomato plants that I grew last year, then waited way too long before transplanting.
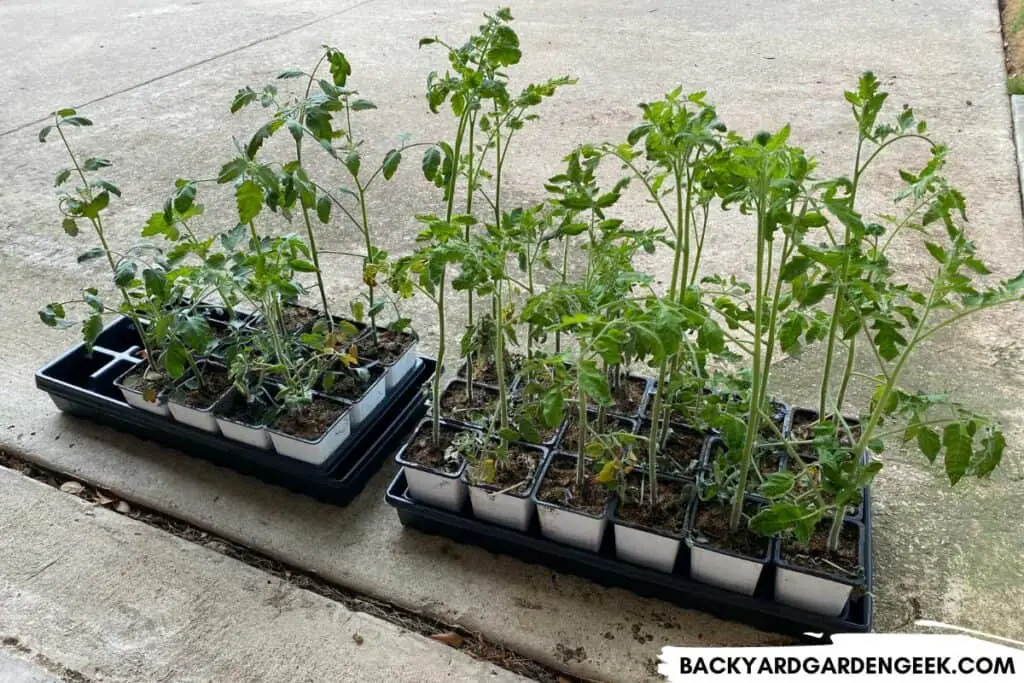
Notice how leggy they’ve gotten and how thin their main stems are? If you transplant a seedling like this without burying it incredibly deep, you’re going to have a very weak plant on your hands.
Instead of transplanting such seedlings like you would other plants, do this instead: Dig a trench that’s 3-4 inches deep (7.6-10.2 cm) and 10-12 inches long (25.4-30.5 cm).
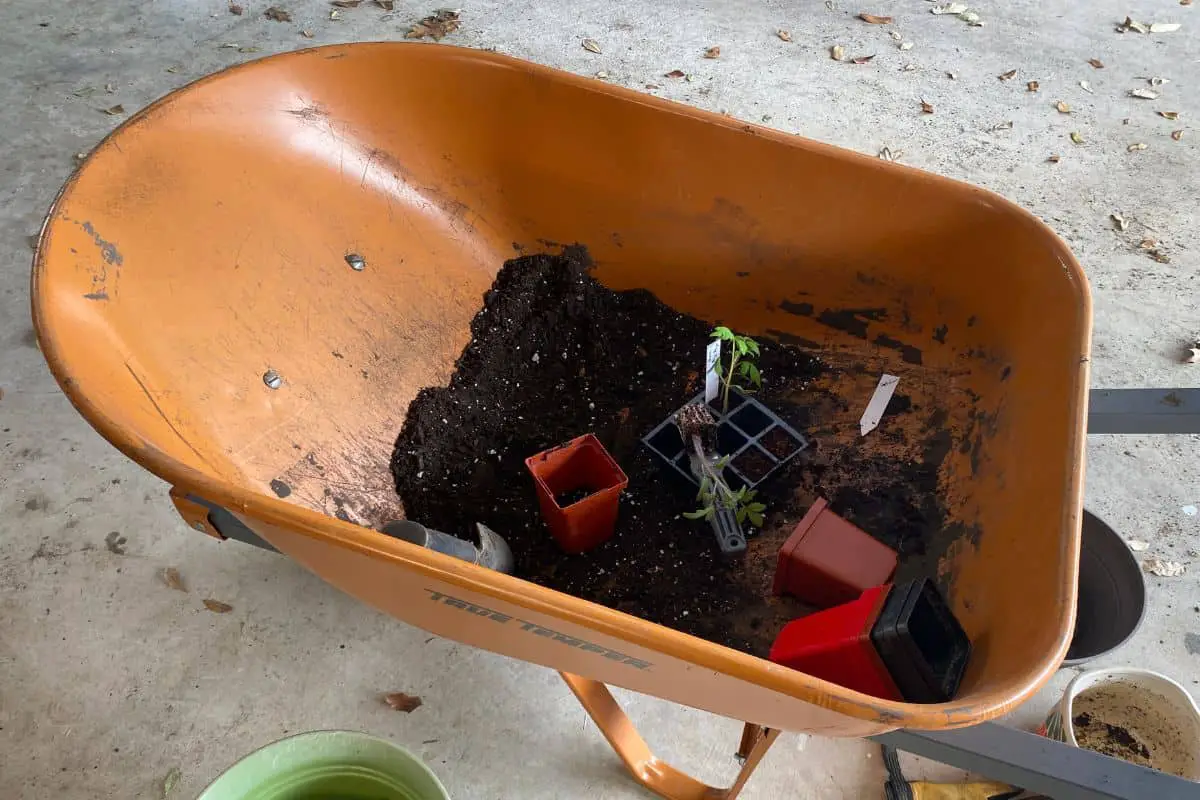
I happened to be installing a new raised garden bed last year, so I didn’t have to dig a trench. I simply filled the bed partially, then lay my plants on their sides.
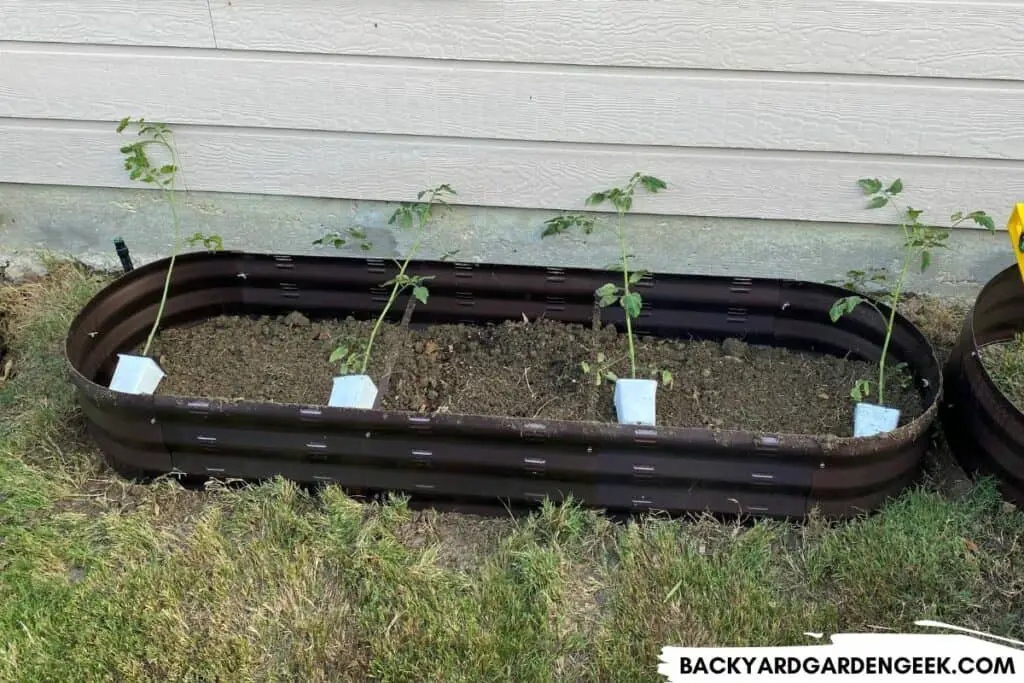
What I aimed to do was to bury almost the entire stem of the plant, but to do so, I had to cut off all of the lowest branches, leaving only the branches at the top 5-7 inches of the seedlings (12.7-17.8 cm).
Your plants are going to look kind of funny when you cut off all of their branches, but buried leaves will rot and can even transmit soil-borne diseases to your plants, so you’ll want to remove them before burying your seedlings sideways.
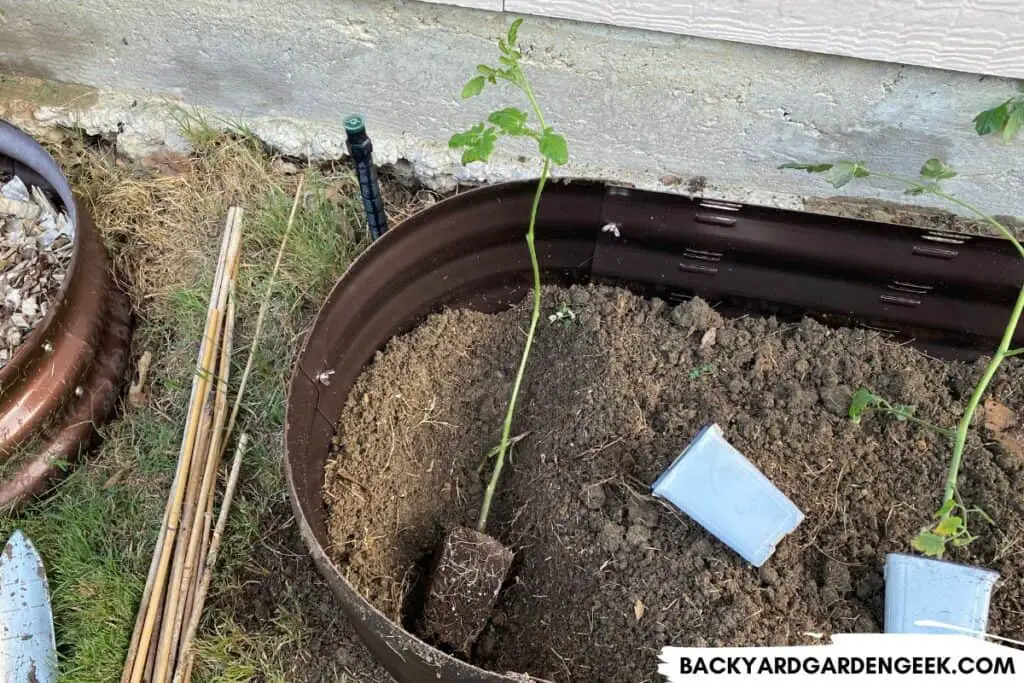
Place a stake of some kind in the ground near the top of the seedling and curve the stem so that the top of the plant (the part that still has the branches intact) is sticking out of the ground.
Bury the entirety of the stem but leave the end of the seedling uncovered.
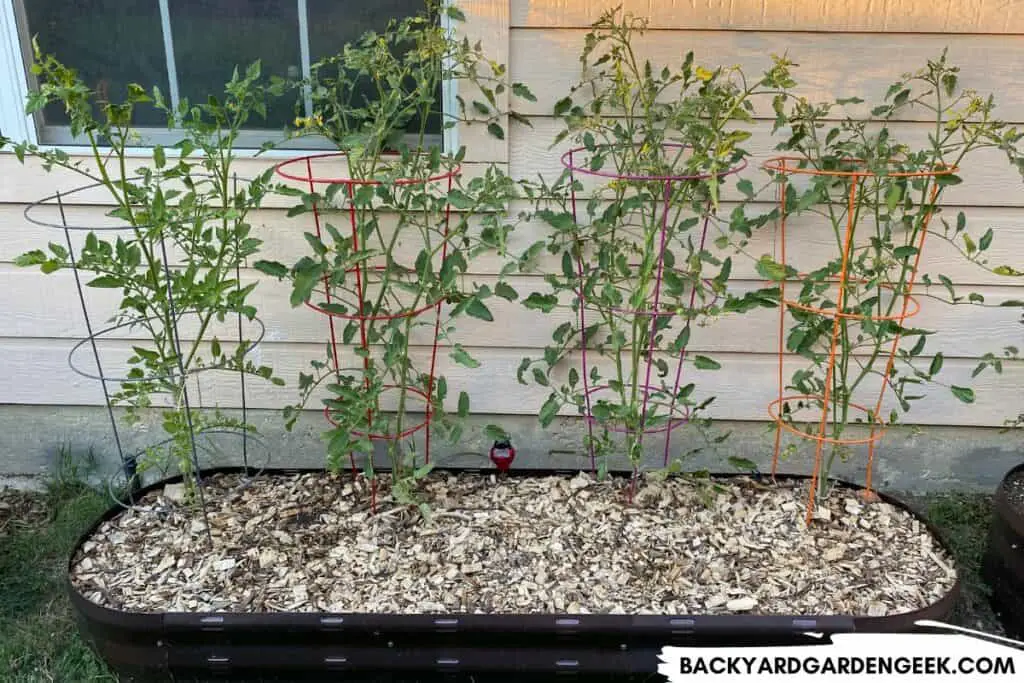
If you follow this approach, you can bury any size seedling with no problems whatsoever.
In fact, once you bury the main stem and curve the end of the plant upward, no one will even be able to tell that most of the plant has been buried sideways in your garden.
Unlike other vegetables, tomato seedlings are incredibly forgiving when it comes to transplanting them into larger containers or into your garden. As long as you do so carefully, ensuring that you don’t damage the plant in the process, you’re almost always going to be successful provided your plants get proper light and moisture.
I encourage you to experiment with different seed-starting sizes. You might find, like I did, that you prefer one size over the other. But generally speaking, the smaller the cell, the more times you’ll have to transplant your tomato seedling before it’s ready to go into your garden.
This is why I now grow most of my tomato plants in 18-cell trays. With so much soil to grow in, I don’t have to transplant my plants into larger containers. I simply let them grow until they’re around 8-10 inches tall (20.3-25.4 cm), then plant them directly in my garden.
Further Reading
If you love all things tomatoes (as I do!), you might enjoy reading these tomato-related articles: