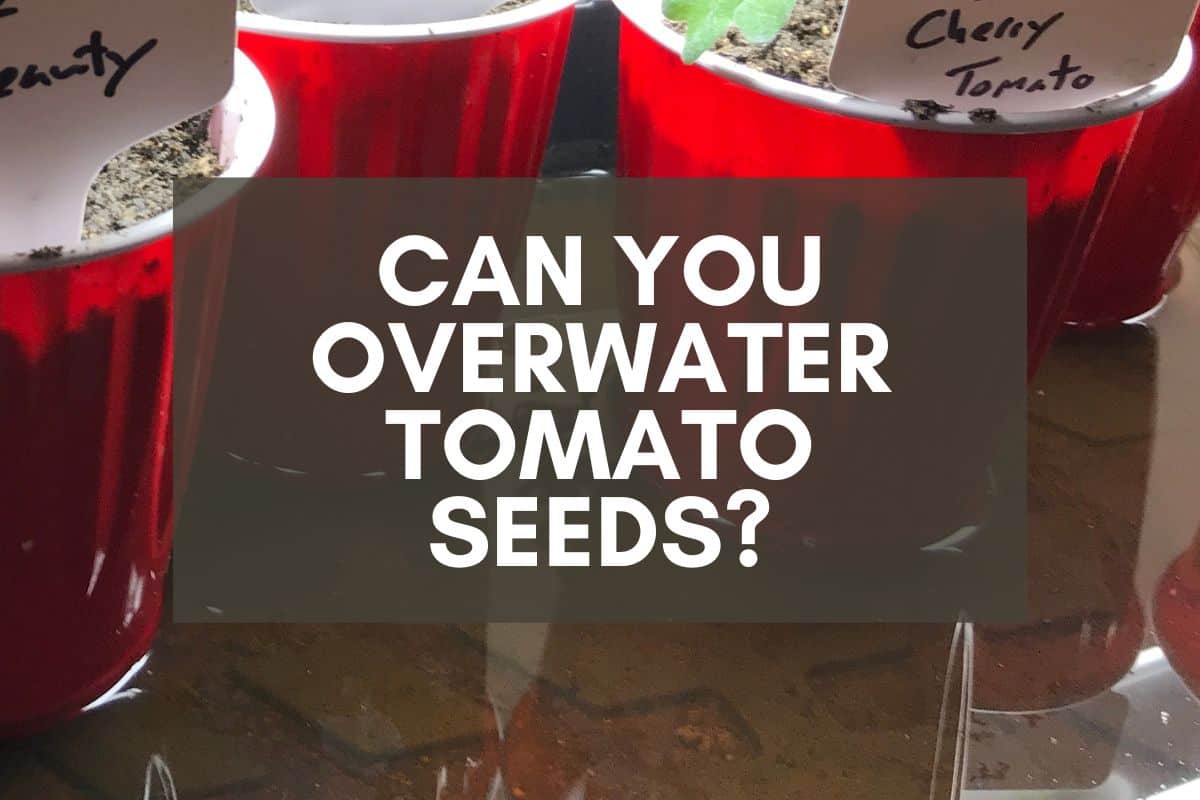
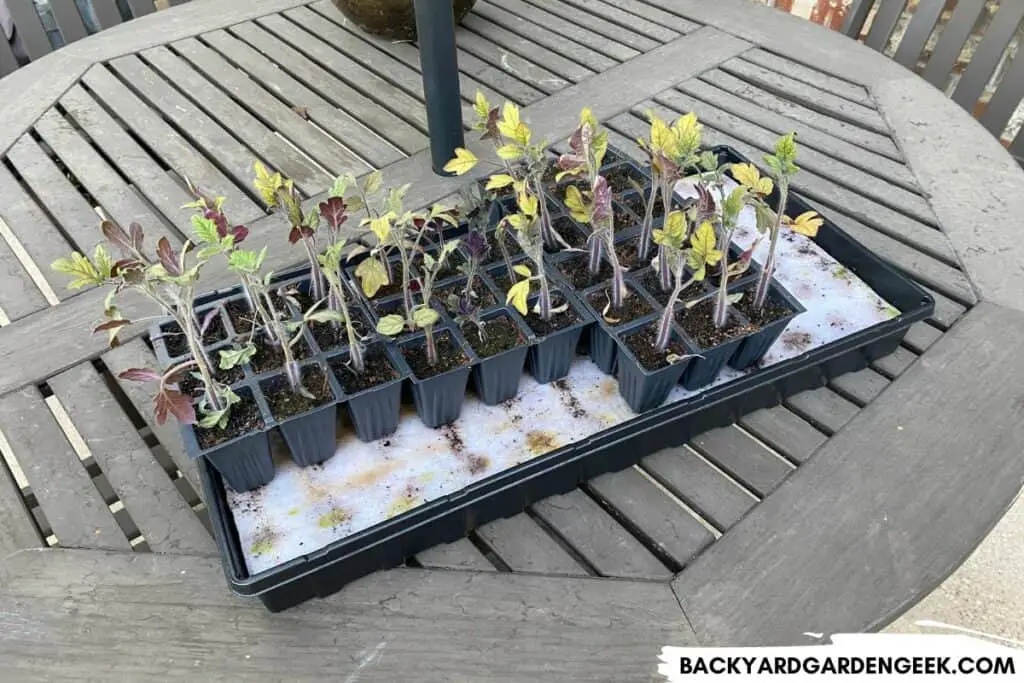
Can You Overwater Tomato Seeds? 6 Tips for Best Results
One of the easiest mistakes to make when you’re relatively new to growing tomatoes from seed is to overcompensate and water them too much. If you’ve ever done this, you know what happens next. The water saturates the seed cell and either runs off the top or pools below, and the soil turns into a mushy mess.
If you do this once or twice, no big deal. Your seeds will be okay. But if you overwater on a regular basis, you’ll make it harder for your seeds to grow and thrive.
So how much water is too much water? And what are some of the best ways to avoid overwatering tomato seeds?
As a general rule, seed-starting soil should be kept moist but not wet. Tomato seeds can be overwatered if too much water is applied too frequently to the soil. Seed soil should instead be slightly wet to the touch but not soaking wet since overly wet soil can encourage mold growth and seed rot.
When I first started growing tomato plants from seed, I had no idea what I was doing, so I used a small watering can to water my seed trays each day. This isn’t necessarily a bad thing. It’s just not the most effective way to encourage seed germination and produce new healthy seedlings.
As you’ll find below, I’ve tried various ways to water seeds over the years without overwatering them, and I’ve landed on a few tried and tested ways to do so.
Overwatered Seeds: 6 Things to Consider
When it comes to keeping seed soil nice and moist, you’ve got a balance you need to keep. Water too little, and your seeds won’t germinate. Water too much, and they’ll have a higher likelihood of rot, not to mention unhealthy seedlings down the road.
So let’s look at some of the strategies you can use to ensure your tomatoes germinate and grow into healthy young seedlings.
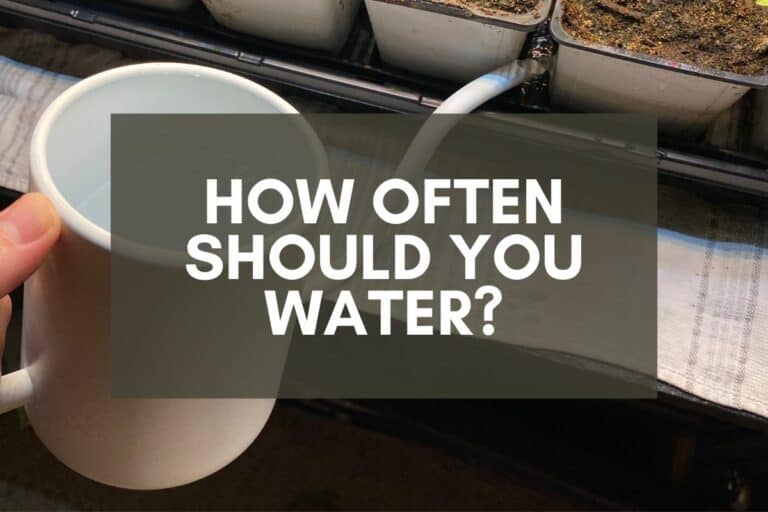
Precision Top Watering
You’re likely well aware about top watering since it’s the most common way to water plants. You find a bottle or can, position it above the soil, and water away.
Unfortunately, this can backfire when it comes to seeds and seed trays.
Early on in my seed growing days, on more than a few occasions, I clumsily top watered my seed tray, soaking all of the seed cells and causing several of them to overflow and run over with water. I also made a mess on a few occasions by pouring the water too quickly, splattering it outside my growing area.
You can certainly top water your tomato seeds, but if you decide to do so, I’d encourage you to get a watering can that allows for precision watering, making it possible for you to carefully top water as much as possible.
My watering can back in the day was a cheap plastic thing I’d picked up at the local home improvement store. Suffice it to say, it watered my plants like a cheap plastic thing.
Over the past year, I’ve tried out a few different watering cans, and I finally found one that I really like: Designed by HB Design Company, the white watering can that I mentioned above does exactly what I need it to do. What I like most about it is that the water comes out in a slow but steady stream because of the curved neck, which means I can do some very precise top watering when the need arises.
(As a bonus, my wife likes it because she says it looks cute, so we leave it near our house plants since she thinks it looks nice on our shelf)
I’ve got another water bottle with a straight neck, and the water tends to shoot out of it. In fact, it’s almost impossible to water accurately so I now only use that watering can outside since it’s so difficult to control.
Simply put, you can top water your seeds, but you need to be very careful when doing so, which is why I no longer use this method when growing plants from seed.
Use a Spray Bottle
This is a fairly simple way to go about watering your plants. Instead of top watering them with a watering can, you fill up a spray bottle with water, then spray the soil with it.
The upside to this approach is that you’ll never oversaturate your plants like you’re liable to do when top watering because you’re not pouring water on your seed trays. You’re spraying the soil with watery streams or mists, which means you can easily determine when the soil has all the moisture that it needs.
But this upside comes with 2 steep downsides having to do with the frequency of watering and the durability of your spray bottles.
First of all, you have to water very often if you’re only using a spray bottle to water your tomato seeds. Misting is great to keep the surface of the soil moist, but to truly moisten the soil, you’ll have to spray it regularly.
And I’m not talking 5 or 6 sprays. You’ll have to spray your seed tray 50 or 60 times depending on how many seeds you’re trying to grow.
Second, I’ve not been impressed with most spray bottles for sale online. I’ve tried 4-5 different bottles, and they’re all made with absurdly cheap parts. After a few weeks, most of them stop spraying like they did when I first purchased them, making them practically worthless.
What I do now is this: There’s an organic cleaner that I buy at the store that comes in a really high-quality misting bottle. When I use up the bottle, I don’t throw it away. I wash it instead. But not once or twice. I wash it 3, 4, or even 5 times to make sure there’s absolutely none of the organic cleaner left in the bottle. I then use that bottle as my spray bottle, and I’ve found that I have incredible success with it.
But if you plan to use this method, you have to wash your bottles really well. Do it a dozen times if it makes you feel better. Just make sure that the bottle is 100% clean before using it to spray your tomato seeds.
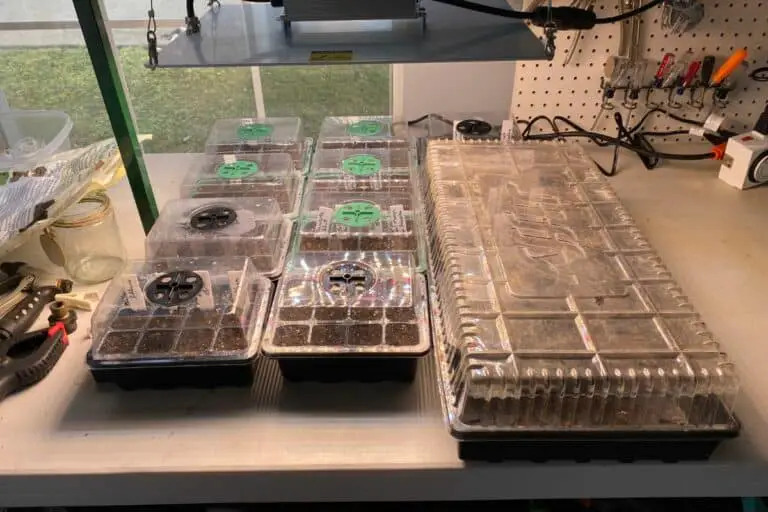
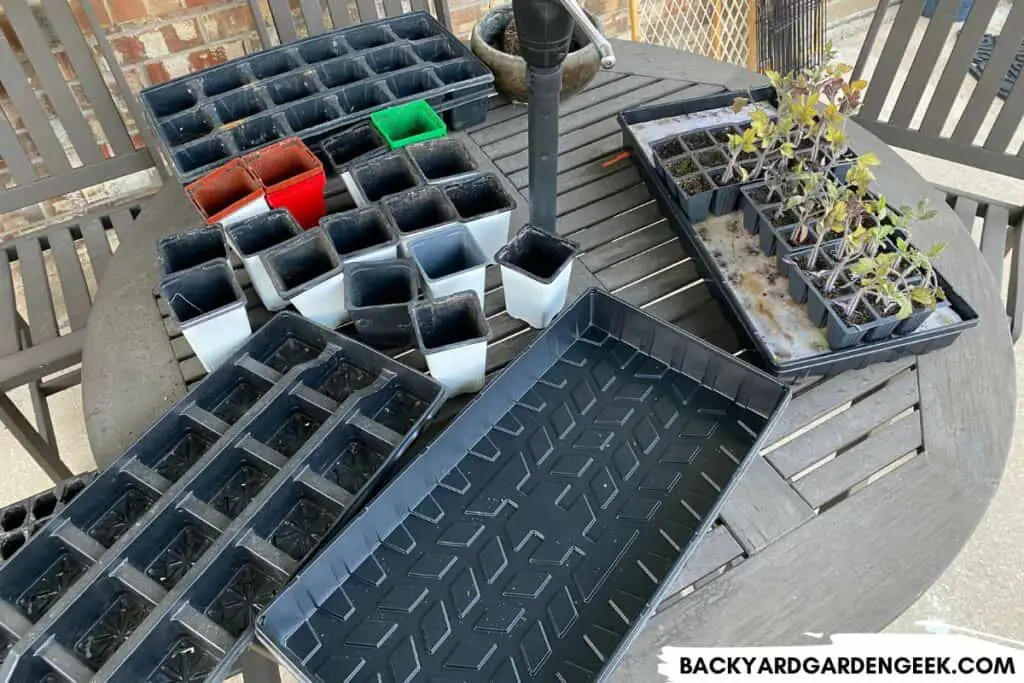
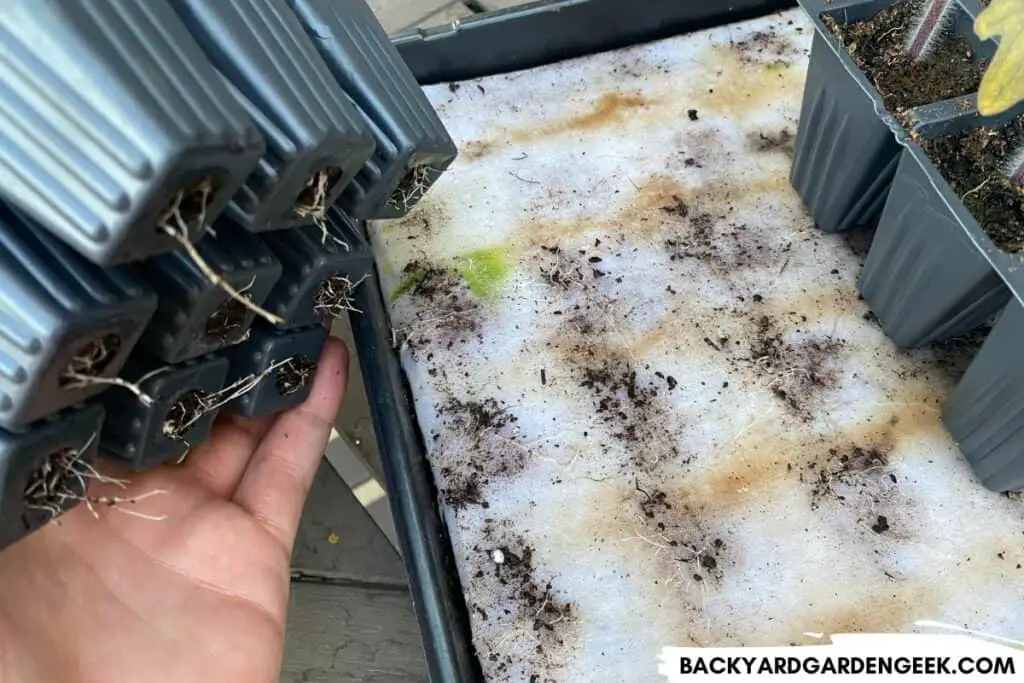
Try a Wicking Material
As I noted above, I’m a big fan of the Burpee Self-Watering System. In fact, I like it so much that I’m willing to pay $25 or so because it’s just that effective.
What separates the Burpee self-watering system from other seed trays is the fact that it uses a wicking material to deliver water to the seed cells.
Here’s how it works. There’s a water tray on bottom with a second plastic tray that sits inside of it. Across the top of that second tray is a wicking cloth, which hangs down over that tray to the lower tray.
When you fill the lower tray with water, the ends of the wicking cloth absorb the water, which eventually saturates the cloth. Your seed trays sit atop the cloth. When the cloth wicks up the moisture from the lower tray, the soil then sucks the water out of the cloth, keeping it nice and moist.
And this is my favorite part: if you use the seed-starting system, you never actually water the soil itself. All you do is make sure to fill the bottom of the tray with water so that the wicking cloth can do its work and keep your seed-starting soil nice and moist.
What’s nice about this method is that you don’t necessary need to buy a seed-starting system if you have the right supplies at home. Assuming you’ve got trays for water and seeds, you can place a cloth in the water tray and drape it over the edge into a container filled with water. The cloth will suck up the water and pull it into the seed tray, and the soil will pull it out of the cloth.
Whether you buy the Burpee product or come up with your own homemade system, it’s the exact same process. Burpee just makes it incredibly easy by providing everything you’ll need to do so.
Water from the Bottom
One of the primary reasons why I love the water wicking method is that, generally speaking, I prefer bottom watering when it comes to tomato seeds…or any seeds for that matter.
When you water from the top, it’s easy to overwater your seeds, pouring too quickly or too much and over-saturating or even flooding your seed tays.
When you bottom water, you add the water to a water tray, and the soil pulls the water up from the bottom, allowing it to reach the plant’s roots that way.
Generally speaking, this is a much more controlled way to water your seeds because every single seed tray or pot pulls the water from the water tray. It’s not like one seed cell is getting flooded while other cells dry out or one pot is getting overly sprayed while another pot doesn’t get as much moisture. It ends up being a more uniform seed growing experience.
But when it comes to bottom watering, there are two things in particular you need to watch out for.
First, this may sound obvious, but you’ve got to to make sure your soil stays moist, so if it looks like it’s drying out, fill your water tray filled with just enough water to reach the holes in the bottom of the seed cells or pots. If your water tray is dry, your plants will eventually dry out as well.
Second, you can cause problems when bottom watering if you fill the tray too high with water. What’ll happen is this: The water will force itself out of the tray and into your seed containers, filling them up as high as the water level in the tray and leaving them overly saturated. You don’t want this to happen since the soil will go from moist to extremely wet in no time at all.
Most seed cells and growing pots have small holes at the very bottom, so when you fill your seed tray with water, fill it only 1/4 to 1/2 inch high (6-12 mm).
That way, there’s enough water in the water tray for the soil to siphon it up, but there’s not enough water to flood the bottom of your seed containers.
Incorporate Heat Mats
There’s one other thing to keep in mind when watering your tomato seeds: Heat mats will help a bit if you ever unintentionally overwater your seeds.
As every schoolchild knows, water will evaporate, given enough time and the right temperatures. If you unwittingly overwater your tomato seeds or put too much water in your water trays, heat mats will encourage the evaporation process by slightly heating up the plastic trays and the water that’s in them.
You can put your water trays and seed containers in direct sunlight to speed up the evaporation process, but be careful not to let them dry out too much. Tomato seeds don’t need sunlight to germinate. They just need moisture and heat.
Of course, if you fill your water trays with way too much water, you might want to take the time to remove your seed containers and dump out some of the excess water. But this can be kind of annoying, not to mention messy, so I prefer watering with precision from above or, better yet, filling up the tray with just the right amount of water for my plants.
If you’ve never used heat mats, check out my article on using heat mats to germinate tomato seeds. You’ll find all you need to know there!
Once tomato seeds germinate, the tomato seedlings don’t need additional heat from heat mats, but when you’re attempting to germinate your seeds and get them growing, you’ll definitely want to invest in good mats.
Keep a Grow Light Above the Soil
When it comes to growing tomatoes from seed, I always position a grow light directly above my soil, usually 1-2 inches above (2.5-5 cm).
Grow lights aren’t necessary when it comes to seed germination. However, many grow lights will put off small amounts of heat (even LED ones), and that heat can actually help with the germination process since it’ll slightly raise the temperature of your seed-starting soil.
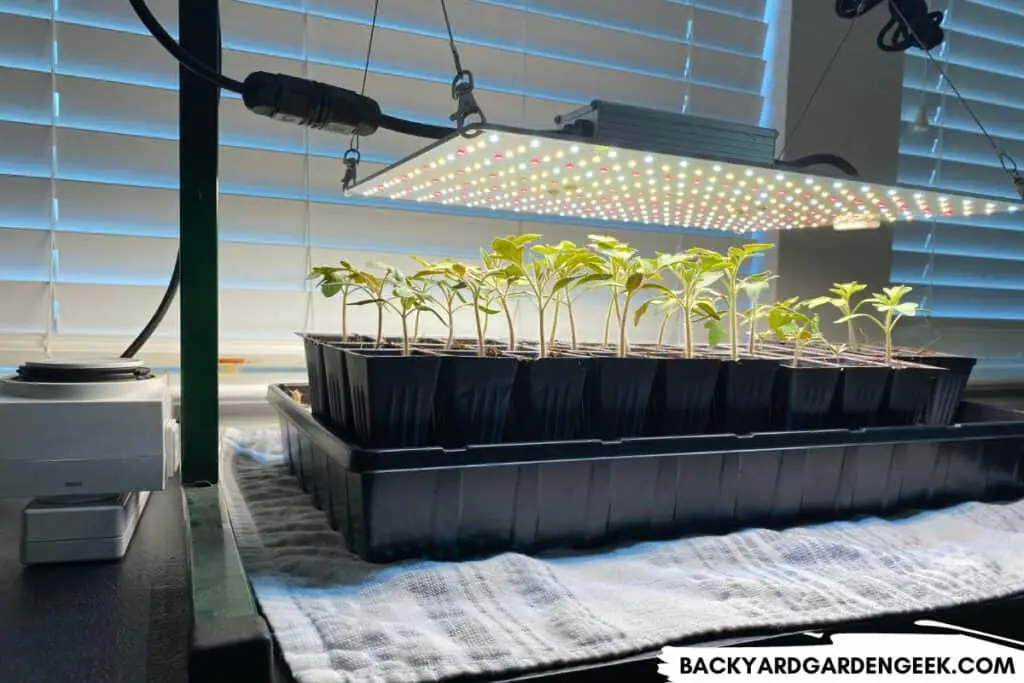
It can also help with your watering situation if you’ve accidentally overwatered your seed trays since it’ll speed up the osmosis process, helping turn that excess water into water vapor over the course of a few days.
Just remember that we’re talking a bit of supplemental help. Grow lights aren’t going to do much if you’ve flooded your seed trays, so do your best to water carefully, whether you’re top watering or bottom watering.
I’ve written about identifying tomato seeds and seedlings, growing tomato plants from hybrid seeds, germinating refrigerated tomato seeds, and even germinating tomato seeds in water and planting whole tomatoes in your garden. Simply put, I like to experiment.
Some experiments work. Others don’t. But each time I try something new, I learn a ton, which helps me become a better gardener along the way.
If this is your first time growing tomato plants from seed, I hope you’ll do the same. Try growing varieties you’ve never grown before. Try germinating seeds in new ways. Just keep trying, and when you fail at something (which will inevitably happen), figure out what went wrong and learn from it.
Trust me: You can do this. If you’ve overwatered your seeds, no big deal. Just follow the instructions listed above and try watering in different ways. Over time, you’ll find the method that works best for you, and you’ll learn how to grow amazing plants along the way.
Additional Information
If you’d like to read more about caring for tomato seeds and seedlings, here are some related articles you might be interested in reading: