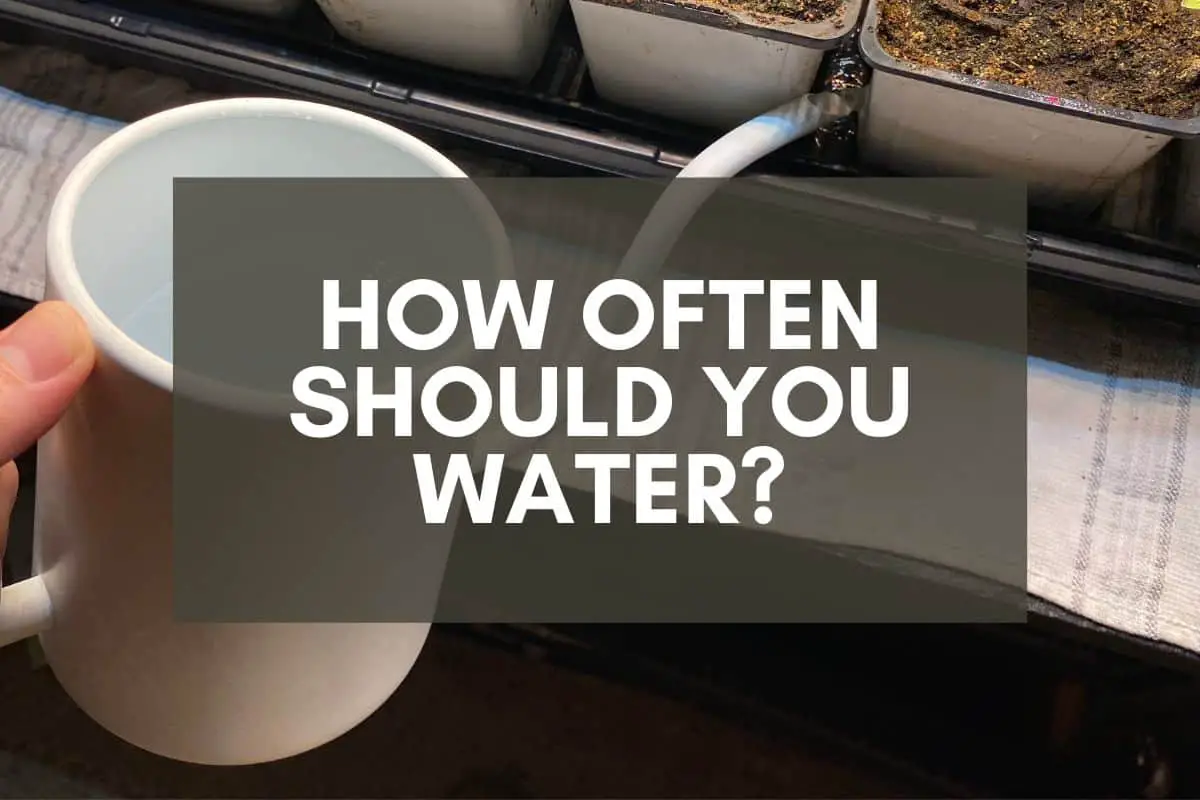
How Often Should You Water Tomato Seeds and Seedlings?
When it comes to growing tomatoes from seed, the most important thing you can do is to make sure you’re giving your seeds and seedlings the appropriate amount of water in an appropriate way at an appropriate time.
The goal is to water them just enough to encourage germination and healthy growth but not so much that you saturate the soil, creating a soggy mess for your plants to germinate and grow in.
But what is an appropriate amount of water, and how often do seeds and seedlings need such watering?
In other words, how do you know if you’re underwatering them, overwatering them, or watering them just enough?
As a general rule, tomato seeds and seedlings need a light watering once every 3-4 days since they do best in soil that’s consistently moist and around 75°F (23°C). Care should be taken to water enough to keep the soil moist while avoiding overwatering, which can harm developing plants.
I’ve said that you should water your plants “just enough” so that they get everything they need without getting too much, but it’s important to understand that “just enough” isn’t a one-size-fits-all formula. In fact, how often you water your tomato seeds and seedlings will depend on all kinds of environmental factors, such as:
- Where are you growing your plants?
- What’s the temperature like in your growing area?
- What kind of soil are you using?
- What seed-starting supplies are you using?
- How much natural or artificial sunlight are your seed trays getting?
But even though there’s no perfect, one-size-fits-all method to follow, you’ll benefit from knowing general guidelines as well as the ins and outs of watering tomato seeds and seedlings.
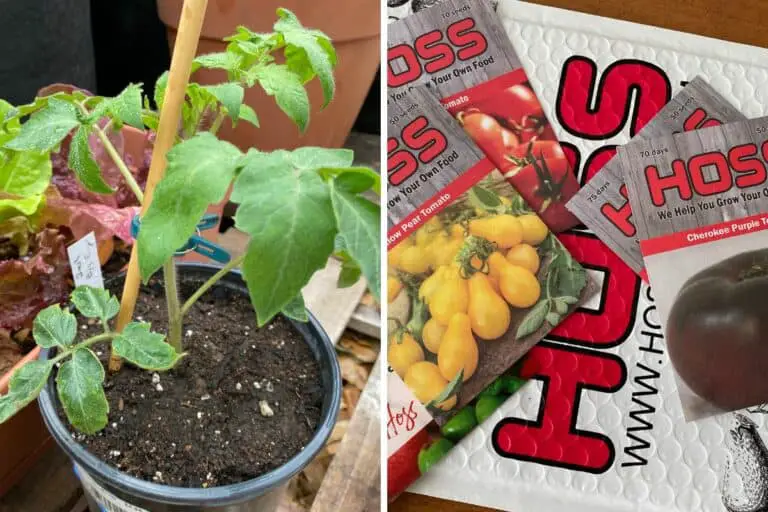
I’ve been growing tomatoes from seed for 10+ years, and I’ve made all kinds of mistakes along the way.
My goal with this article is to provide everything you need to know to give your seeds and seedlings all the water they need to thrive without giving them so much that you unintentionally stunt their growth.
There are many advantages to growing your tomato plants from seed versus buying them at your local garden center, so let’s look at ways to ensure that you’re watering your seeds and seedlings just right.
How Do You Know When Tomato Seeds and Seedlings Need Water?
As I suggested above, there’s a spectrum when it comes to watering seeds and seedlings.
On the one hand, if you water too little, your soil will be dry, your seeds won’t germinate, and your seedlings won’t develop healthy root systems. On the other hand, if you water too much, your soil will be waterlogged, your seeds won’t get the oxygen they need to germinate properly, and your seedlings will likely yellow and begin losing leaves.
The key is to water just enough so that the soil is not too dry but not too wet either. You want a nice moist soil like this Pro Mix variety, the kind that would retain its shape if you picked it up and squeezed it together.
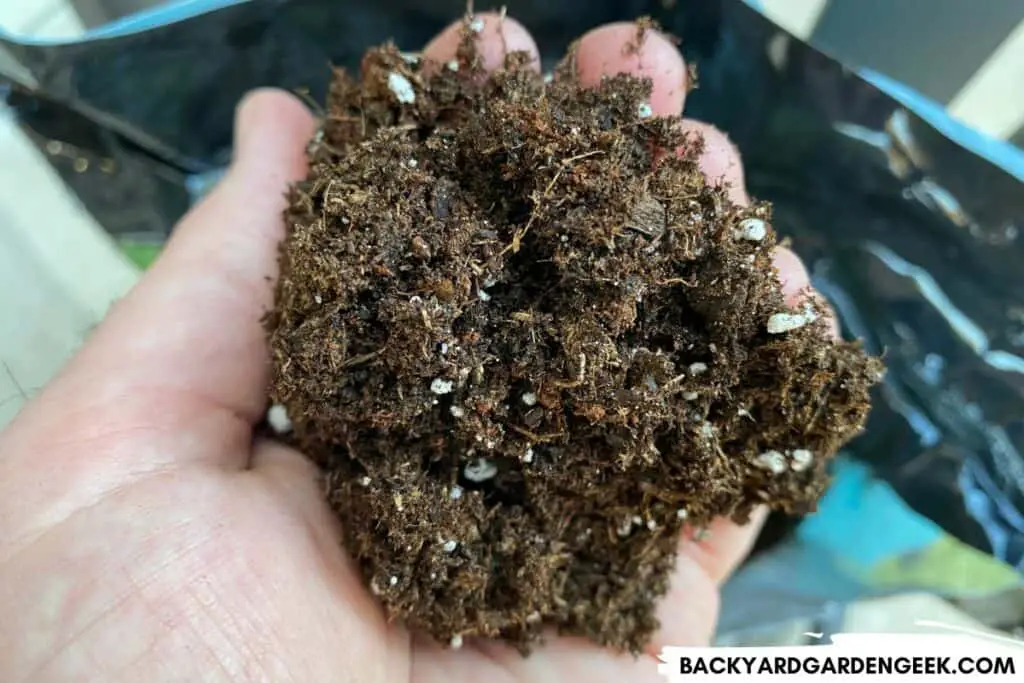
In this kind of soil, seeds will germinate yet have access to plenty of oxygen, and seedlings will develop healthy, robust root systems that give them the energy they need for proper growth.
With this in mind, I’d like to take a closer look at the supplies I use to germinate and water my seeds and the characteristics of good seed-starting, then discuss several things you can do to ensure you’re watering your plants just right.
Seed and Seedling Supplies
As I suggested earlier, you want to water consistently enough to keep the soil moist so that your seeds have a chance to germinate properly.
There’s all kinds of ways to water your tomato seeds, but my favorite strategy involves a two-step process: I start my seeds in seed trays, then use a wicking method to ensure as consistent a watering as possible.
What I’ll do below is to explain my process in as much detail as possible, then share some info about the top-watering methods I’ve used in the past, which worked okay but didn’t work as well as I had hoped for.
Here’s how my current process works:
For starters, the most important part of my process is the water tray. I rarely water my seeds or seedlings from above, like I did when I was a beginning gardener. Instead, I use a bottom-watering method by filling the water tray with water and letting the soil in my seed trays siphon up the water from below.
When it comes to seeds that haven’t yet germinated, I try not to fill the water tray more than a half inch because I don’t want to oversaturate the soil. If I’m growing my seeds inside, I typically refill the water tray once per week. If I’m growing them in my garage or shed, I might have to refill the tray two times per week due to higher rates of evaporation.
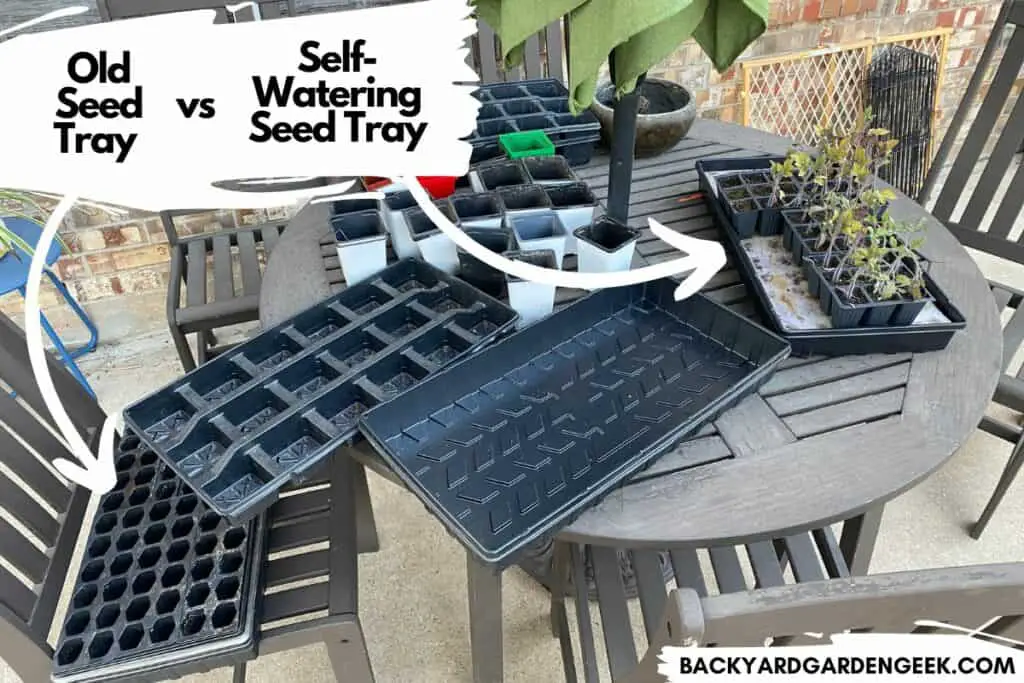
My new go-to seed starting product is the Burpee self-watering system, which delivers water to the seed tray via a wicking cloth.
Inside the water tray, there’s a plastic insert, and a thin cloth lays across the insert and hangs down into the tray. You simply place your seed trays on top of the insert, then fill the water tray with water.
When you do so, the cloth will wick the water out of the water tray and get saturated. That moisture is then pulled from the wicking cloth into the seed trays by the soil and eventually the plants’ roots too.
Pro tip: Don’t use the plastic dome. It’s clumsily made, and you don’t need it. Also, be sure to cut your 72-cell tray into 8 9-cell pieces. It’ll be much easier to get your seedlings out that way.
Once the tomato seeds have germinated, I let these seedlings grow in the seed tray until they’re about 3 inches tall and have 4 little branches on them. By this time, the first little leaves (known as cotyledons) have usually started to die off, and this tells me that it’s time to pot up so that the developing seedlings have enough space to grow into healthy young plants.
Two detrimental things will happen if you leave the seedlings for too long in the Burpee seed trays:
First, they will begin to exhaust the available nutrients in each small seed cell. When this happens, the leaves of the seedling will get very yellow, and they might even shed one or both of their lowest tiny branches.
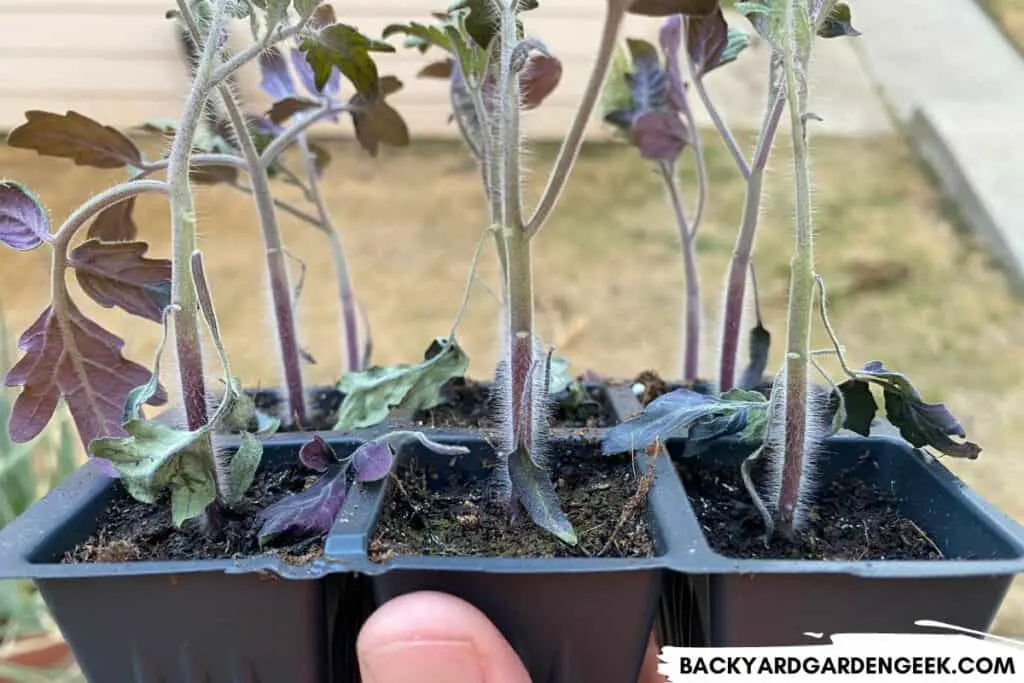
This is a sign that you need to pot up your seedlings immediately. If you wait any longer, you’ll stunt your plants’ growth by depriving them of the nutrients they need.
Second, as the tomato seedlings get taller and bigger, so will their root systems. As the roots extend, they’ll run out of room in the small seed cell and begin twisting around the perimeter, causing the plant to become root bound, as it’s called.
They can also climb through the bottom of the seed cell and get stuck to the wicking cloth, so when it comes time to remove and pot up the plant, they’ll get pulled off in the process. This isn’t a huge deal, but it certainly doesn’t help your plant grow to its fullest possible extent.
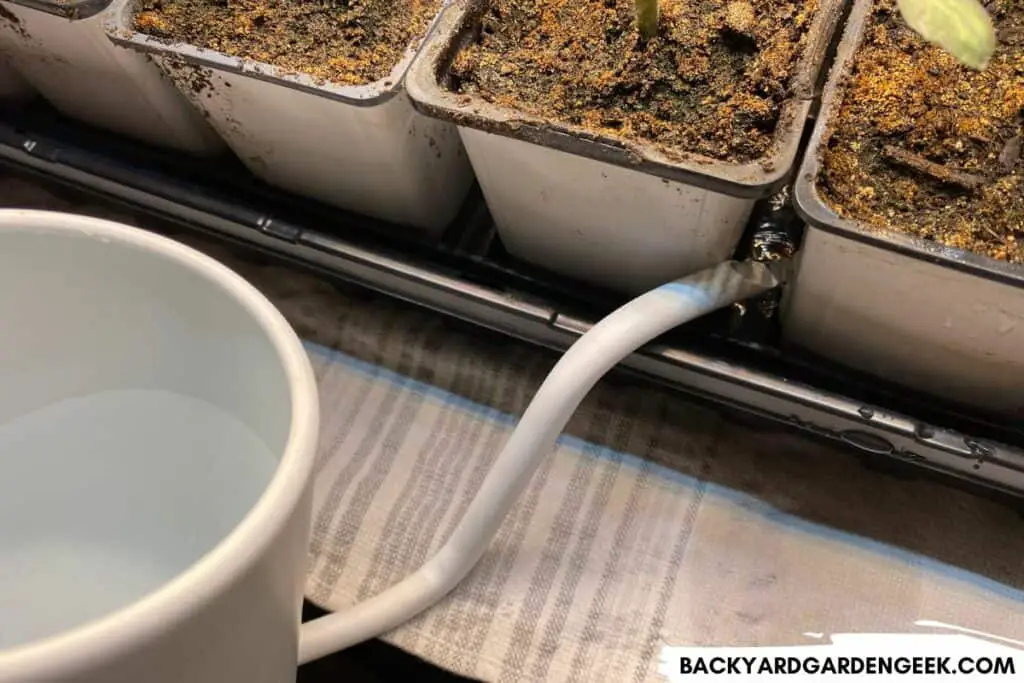
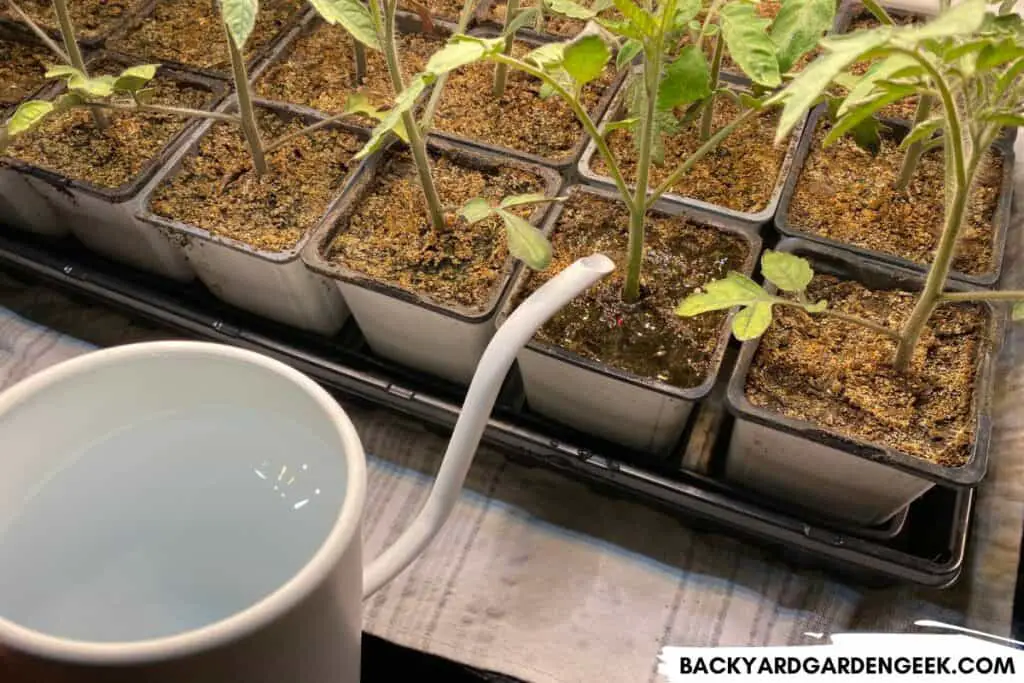
What’s nice about the wicking method, when done properly, is that it makes watering a cinch. All you have to do is ensure the wicking cloth is always moist, which will happen if there’s water in your water tray.
So just keep the water tray filled with a half inch or so of water, and the wicking cloth will have all the water it needs to keep your soil nice and moist. Even if you’re not using the wicking method, bottom watering will result in more consistent watering for all of your seeds and seedlings.
One more thing: Seeds don’t need sunlight to germinate, but once seeds have germinated and produced cotyledon leaves, they’re going to need plenty of light. Check out the link above if you’d like to learn more about the LED grow lights that I use and the ways to make sure your tomato seedlings get all the light they need.
Seed-Starting Soil
When it comes to growing tomatoes from seed, you’ll do best if you use a nice seed-starting mix that’s light and airy.
Last year, I did an experiment and attempted to grow tomato plants in soil that came directly from my garden, with no amendments whatsoever. I grew another set of tomato plants in a seed tray that was filled with a nice seed starting mix.
You can probably imagine what happened next: I had abysmal germination rates when attempting to grow plants in unamended garden soil. The soil was fairly dense, and it didn’t retain water very well in seed trays, which meant that the seeds didn’t really have what they needed to germinate and grow properly.
Fortunately for me, I had a second tray filled with tomato seeds that I’d planted in great seed-starting mix. My germination rates with those plants were fantastic (around 95%), and the experiment confirmed for me that it was worth purchasing quality seed-starting soil each year.
Of course, if you’re willing to amend your garden soil, you can definitely use that soil to grow seeds. But you’ve got to amend it.
I recommend doing so with either coconut coir or peat moss, adding some perlite and vermiculite as well, plus a little touch of Osmocote slow-release fertilizer. Here’s what I do:
| Soil | Coconut Coir | Perlite | Vermiculite | Fertilizer |
|---|---|---|---|---|
| 2 parts | 4 parts | 1/2 part | 1/4 part | Osmocote |
| 4 parts | 8 parts | 1 part | 1/2 part | Osmocote |
| 6 parts | 12 parts | 1 1/2 parts | 3/4 part | Osmocote |
| 8 parts | 16 parts | 2 parts | 1 part | Osmocote |
What’s nice about great soil is that it can handle overwatering better than poor soil can, maintaining moisture to some extent even if you forget to water when you should have or unintentionally watered a little too much.
But whatever method you end up using, you’ll get the best germination rates if you place heat mats underneath your water trays. These mats will ensure that the water remains warm, which will encourage germination.
Watering Methods
I mentioned the wicking watering method above because it’s my favorite when it comes to growing tomatoes from seed, but there are two other popular methods I want to say a few words about:
- Top Watering
- Bottom Watering
When most people think about watering, they think about top watering. When you top water, you take a watering container, and you wet the plants from the top. This works fine with larger plants, and even larger seedlings too, but I think it’s an inadequate way to water tomato seeds. It results in inconsistent moisture levels, which can hurt your germination rates.
On the other hand, bottom watering is much like the wicking method in that you add water to the water tray instead of watering the plants directly. The downside to bottom watering your tomato seeds is that you can unintentionally fill your water tray too high with water and overwater the seed trays, making the soil overly soggy.
Of these two approaches, bothering bottom watering is a much more consistent and effective watering method, but if you’ve got the supplies on hand to use the wicking method, that’s the best way to get the highest germination rates out of your seeds.
Once your seeds have germinated and your seedlings have grown at least 4 to 6 inches tall, you can do either top watering or bottom watering if you’ve already potted up the seedlings from the original seed tray into 3-4 inch pots. At that point, the soil won’t dry out as fast because there’s just so much more of it.
I still recommend bottom watering, even if you’ve already potted up your tomato seedlings, but either approach works because the plants will be stronger and have more developed root systems at this point.
Can You Overwater Tomato Seeds?
The goal when it comes to watering seeds is to achieve a balance between dry and wet. This is why I refer to the perfect kind of soil as moist: It’s neither overly dry nor overly soggy.
Tomato seeds can be overwatered due to excessive top watering or bottom watering. At this point, the soil becomes so soggy that the seeds can’t get the proper amount of oxygen, which can negatively impact germination rates.
I’ve written about ways to avoid overwatering your tomato seeds. Check out that article if you’d like to learn more about when and how to water to get the best results.
How Do I Make Tomato Seeds Germinate Faster?
There are three key ingredients to getting the best and fastest germination rates: quality seeds, moist soil, and warm temperatures.
You can germinate seeds in various ways, but if you have this combination, you’ll likely have high germination rates.
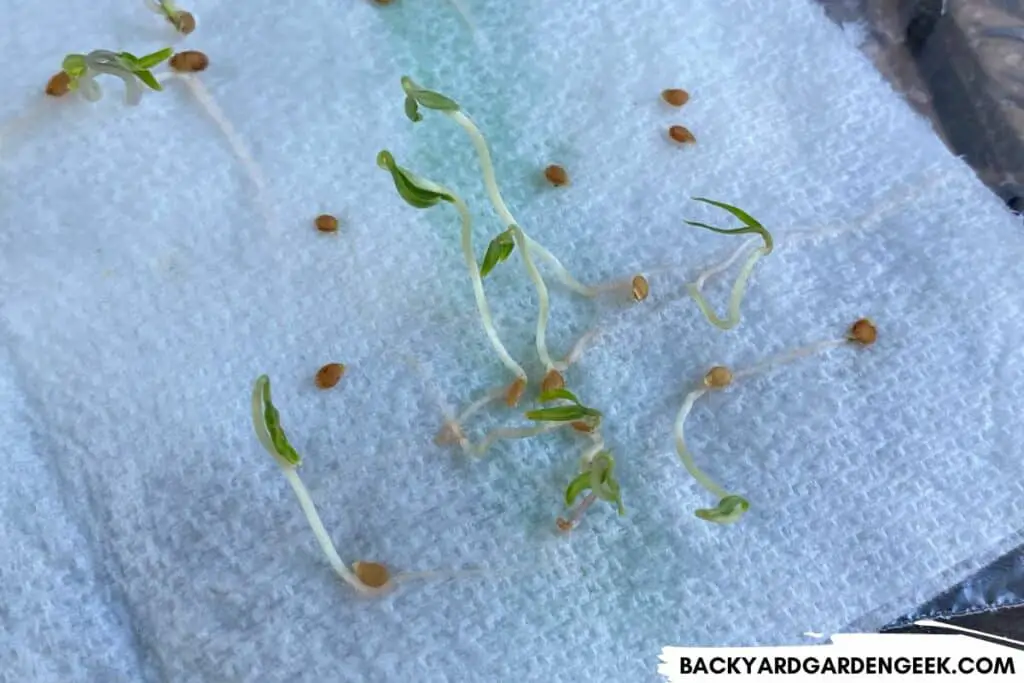
The fastest but most time-intensive way to germinate tomato seeds is the paper towel method. Instead of planting seeds directly in soil, seeds are instead placed in voiced paper towels and sealed up in small plastic bags, then left in a temperature controlled environment.
Here’s a quick step-by-step guide to what you do:
- Use 1 plastic bag per tomato variety. Don’t try germinating multiple tomato varieties in a single bag. You’ll just make your life harder by doing so.
- Label your bags beforehand using a Sharpie marker. This is much easier than trying to label them once you’ve got paper towels and seeds inside.
- Moisten a paper towel. Don’t wet it completely. Just wet it enough so that, when folded over and placed in the bag, the paper towel has enough water to get completely saturated.
- Wait 3-4 days, then check your seeds. After that, check them once per day.
- Once they germinate, use tweezers to carefully remove them from the paper towel and place them in a seed tray filled with good seed-starting soil.
What you’re looking for ideally is a seed that has sprouted and produced its first root (the radicle), which is a precursor to the growth of the stem and its cotyledon leaves. I’ve written about what tomato seeds look like at this point in case you’re interested in learning more about it.
Once you see the radicle, you know that you’ve had a successful germination, and you can plant the seed in soil.
If you wait too long to check your seeds, what’ll happen is this: The seed will produce its radicle, then produce its stem and cotyledon leaves there in the paper towel.
Once that’s happened, your seeds are still fine, but you’ll need to be very careful when planting them, or you’ll damage the main stem and kill the tiny seedling. In these instances, I use a pair of tweezers to remove the seed from the paper towel and carefully plant it in soil, allowing part of the main stem and leaves to sit above the soil line.
My seeds have done just fine in these situations, but as I said earlier, you’ll have to work slowly, and in some cases, the seed will stick to the paper towel, and the main stem will get damaged when you attempt to separate them. But if you’re careful, your little seedlings will begin looking normal after they’ve been in soil for 4-6 days and had a chance to establish themselves.
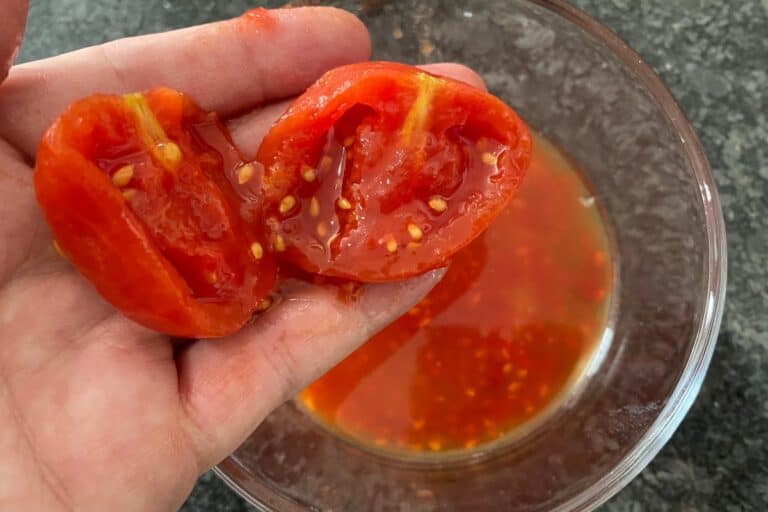
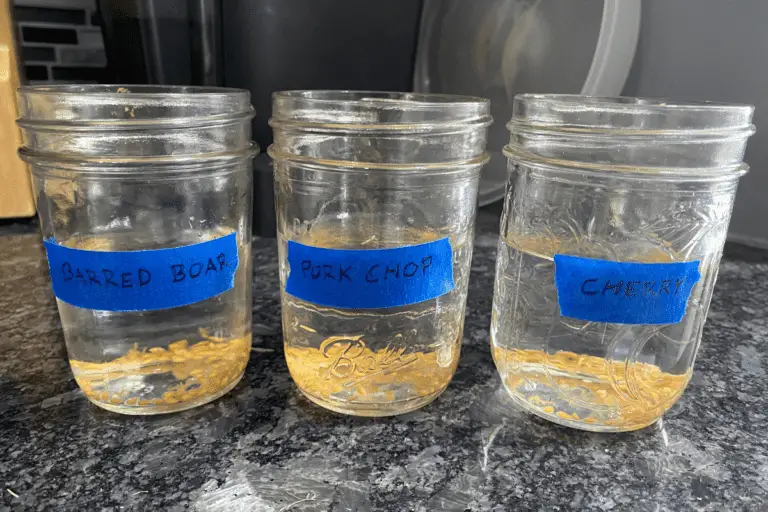
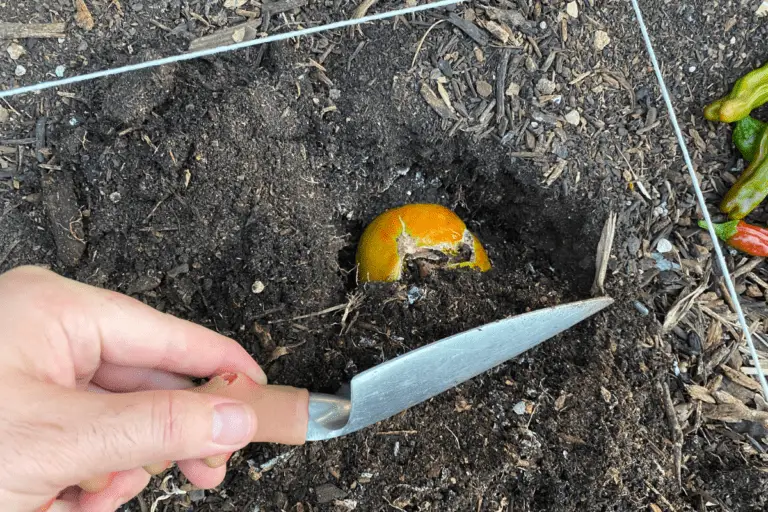
This isn’t the only way to germinate tomato seeds. You can germinate seeds in water. You can germinate seeds from fresh tomatoes. You can even plant whole tomatoes, if you see one in your garden that’s not worth eating but don’t want to compost or trash it.
Additional Information
I love growing tomatoes from seed, but there’s definitely a learning curve at first as you learn the skills you need to grow healthy plants. Check out these related articles for more information about growing tomato seeds: