What Do You Put on the Ground Around Raised Beds?
Ever since I built my first raised beds in 2016, I’ve loved gardening in them. They allow for better soil drainage, reduce the amount of bending required for gardening, and provide a defined growing area.
However, if you don’t give any thought to the areas surrounding your raised beds, you might find yourself dealing with invasive grasses and weeds as well as oversaturated or soggy soil, which is why it’s essential to cover the ground around raised beds to prevent these issues.
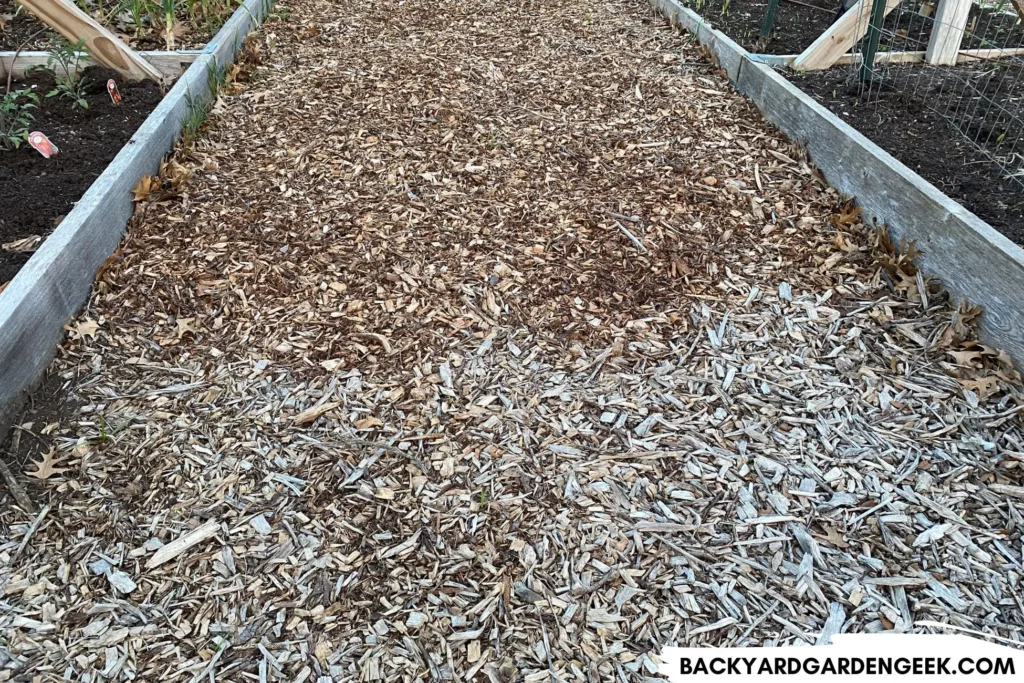
The best materials to put on the ground around raised beds are cardboard topped with thick layers of wood chips. Gravel or stone walkways can be added between raised beds, but there are disadvantages to doing so. In a pinch, straw, hay, or grass clippings can also be placed around raised beds
Generally speaking, using a combination of cardboard and wood chips in the pathways around your raised beds is both an effective and inexpensive way to kill off invasive grasses, prevent weed growth, and keep the soil from becoming oversaturated.
Over time, the wood chips will even compost down into nutrient-rich soil, which you can use to replenish your beds every so often.
In this article, I’ll explain why using thick layers of cardboard topped with wood chips is the best option for covering the ground around raised beds.
I’ll also provide some insights into alternative options such as gravel or stone and compare the pros and cons of each method.
Finally, I’ll share some tips on how to get 100% free wood chips (you read that right!) and what to do if there aren’t any wood trimmers working nearby.
With that being said, let’s dive in and learn how to keep the ground around your raised beds as walkable and weed-free as possible!
What’s the Best Ground Cover Between Raised Beds?
One of the biggest problems with the area surrounding raised beds is invasive grasses like the dreaded Bermuda grass (which I have a ton of in my backyard!).
This type of grass can spread quickly through runners and rhizomes, and it’s notoriously difficult to control. However, using a combination of cardboard and wood chips can help kill off (or at least keep at bay) Bermuda and other such grasses.
Here’s what you’ll need to do:
First, remove as much existing grass as possible from the areas around your raised beds. You don’t necessarily need to do this if you’ve got lots and lots of cardboard on hand, but it’s an additional precaution that can help keep kill off invasive grasses.
If you haven’t yet built or installed your raised beds, I encourage you to read these articles when you have a moment, so you don’t make the same mistakes I did!
- 9 Easy Steps to Build Raised Garden Beds on Your Grass Lawn
- 40 Cheap and Easy Ways to Fill Your Raised Garden Beds
- Can You Put Bark or Mulch in the Bottom of a Raised Bed?
- Full Sun or Partial Shade: What’s Best for Raised Beds?
- Landscape Fabric Under Raised Beds: Is It Necessary?
- Pros and Cons of Raised Garden Beds: Know Before You Grow!
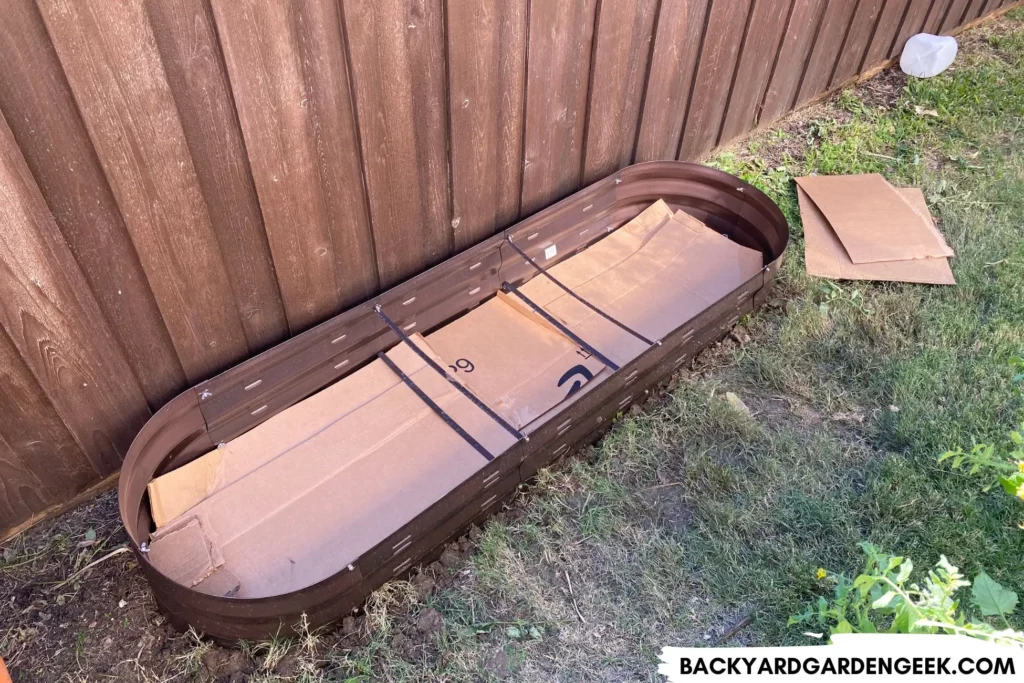
Whether or not you decide to remove the existing grass between your raised beds, lay down at least 2-3 layers of cardboard everywhere.
Don’t skimp on this step. You’ll definitely want to place layers everywhere, and make sure that the cardboard is pressed firmly up against the raised beds. You can even lay it up the sides of the raised beds 1-2 inches to ensure full coverage.
Cardboard is an excellent option because it’s readily available, inexpensive, and biodegradable. The cardboard will prevent sunlight from reaching the soil, which will keep any remaining grass or weed seeds from germinating.
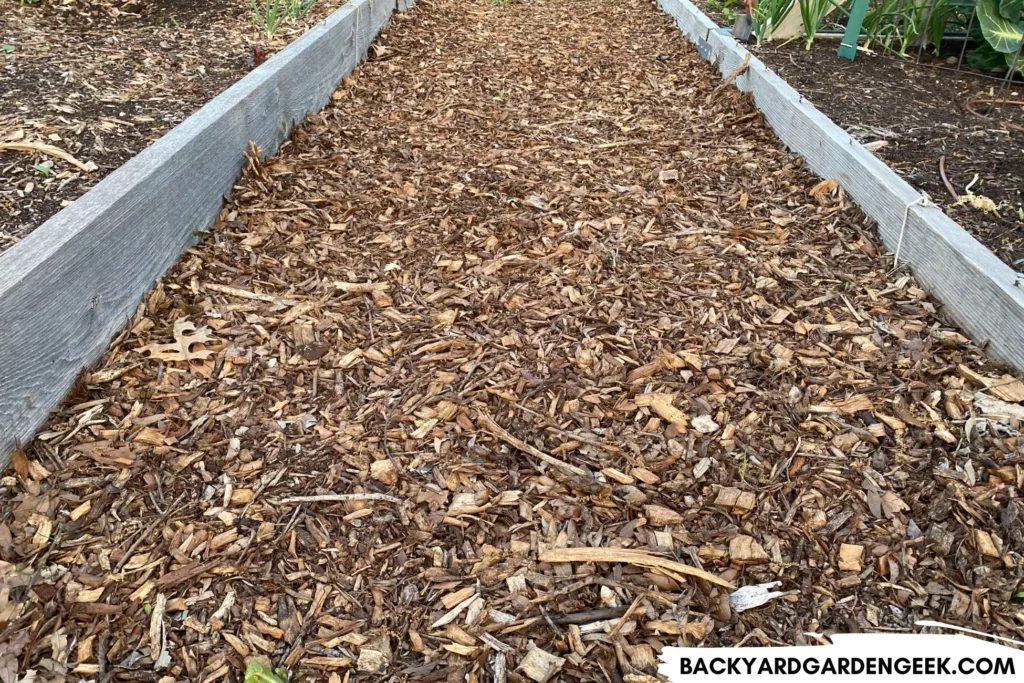
After you’ve put down as much cardboard as possible, add a very layer of wood chips everywhere. Don’t skimp here either. If you’ve got enough wood chips, go ahead and lay them 3-4 inches deep, knowing that they’ll compact over time.
Like the cardboard, the wood chips will further block sunlight from reaching the soil in your pathways. They’ll also retain moisture, which will help keep things from getting too soggy whenever your region gets hit by the next big rainstorm.
Over time, the cardboard and lower levels of wood chips will break down and create a layer of nutrient-rich soil beneath the upper wood chip layer. If you’re ever in need of good compost–and assuming you’ve got extra wood chips on hand–you can dig out the now-decomposed layers of wood chips and add them directly to your raised beds.
In addition to killing off invasive grasses, using cardboard and wood chips can also help suppress weed growth. Weeds can be a major headache for gardeners, especially in the areas surrounding your raised beds.
When you lay down the cardboard and cover everything in wood chips, you’ll not only hinder the advance of invasive grasses. You’ll also keep countless weed seeds from germinating, ensuring your pathways stay free of pesky weeds.
(And even if weeds do pop up here and there, they’re incredibly easy to remove from wood chip covered areas!)
One final surprising benefit of using wood chips around raised beds is that they’ll help with soil saturation.
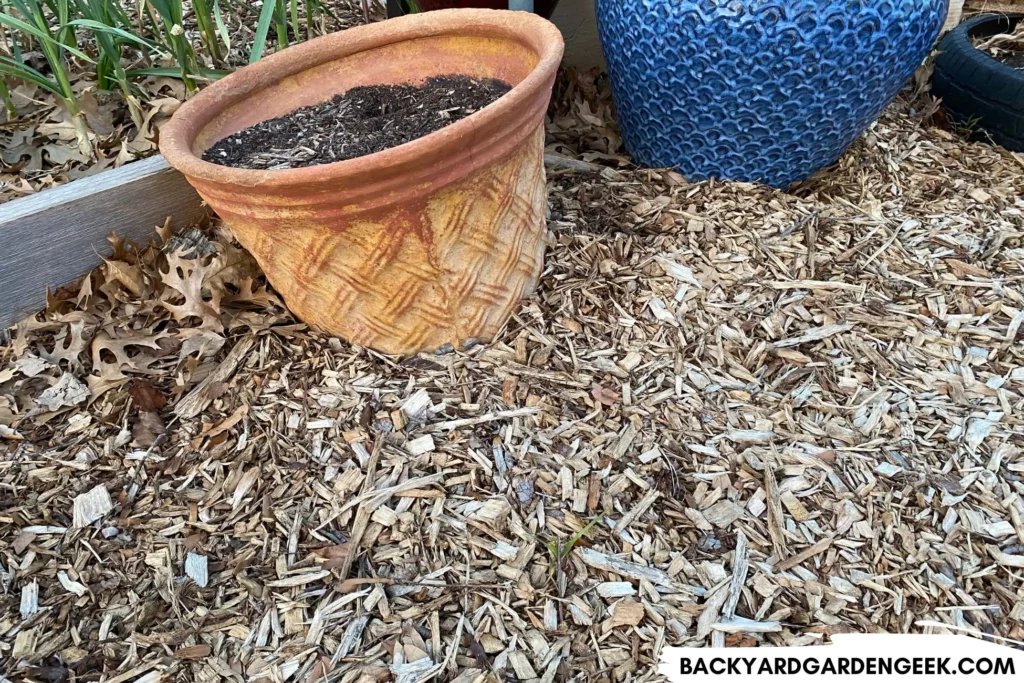
If you live in an area with heavy rainfall or if you’ve got raised beds that are located in low-lying areas, the soil around your raised beds will get oversaturated at certain points during the year, which can cause things to get messy for you when gardening.
By adding a thick layer of wood chips on top of the soil, you’ll create a barrier that helps prevent water from pooling around your raised beds and also keep your shoes dry when you’re gardening.
In fact, the wood chips will absorb some of the excess moisture, helping to keep the soil underneath from becoming waterlogged.
Advantages of Putting Wood Chips or Mulch Around Raised Beds
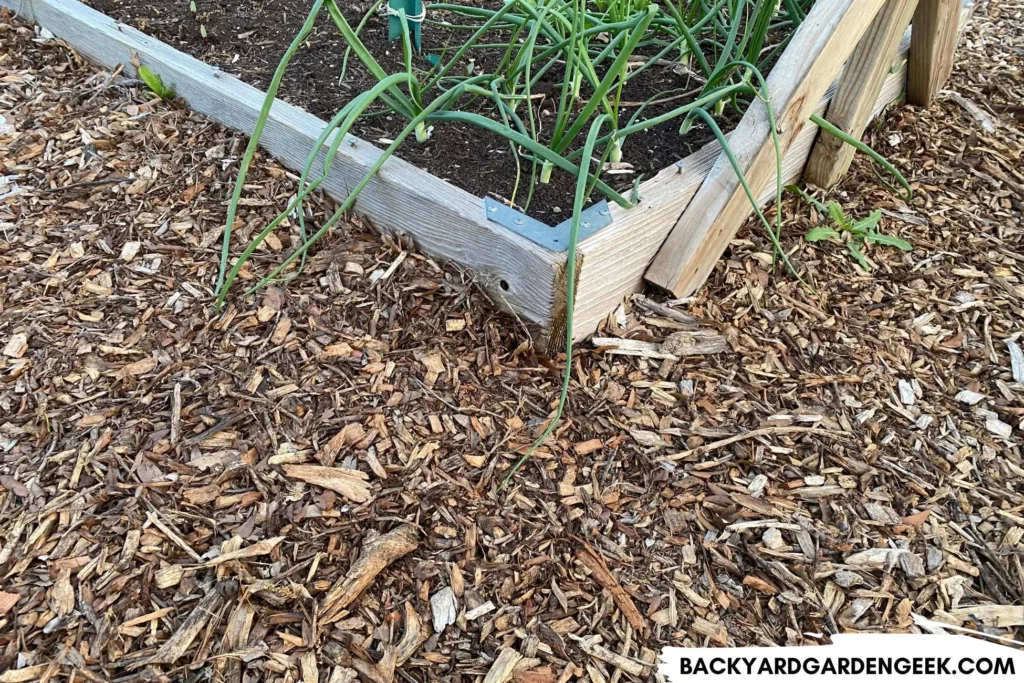
Using wood chips in your garden has numerous advantages. Here’s a list of the ones that immediately come to mind:
Free Wood Chips: As I mentioned in the introduction, you can often get free wood chips delivered to your property if you live in an area where arborists and tree trimmers tend to work, likely in more suburban or urban areas.
I recommend getchipdrop.com. This website connects gardeners with local companies who have extra wood chips they need to dispose of. Simply fill out a request, and the system will match you with a nearby company that’s looking to offload their wood chips instead of paying to drop them at the local landfill.
They’ll even drop them off right on your driveway, making it easy to shovel the chips into a wheelbarrow and fully cover the ground around your raised beds.
Improves Footing: Thick layers of wood chips can help improve footing in your garden. When the soil around your raised beds becomes wet, you might find it difficult to move around without getting mud all over your shoes. By adding a layer of wood chips, you create a relatively dry and stable surface that’s easy to walk on.
Retains Moisture: Wood chips are excellent at retaining moisture, which is crucial in areas with low rainfall. Not only will they help out when there’s heavy rainfall in your area, but if you’ve got extra wood chips on hand, you can always shovel them into your raised beds as added mulch.
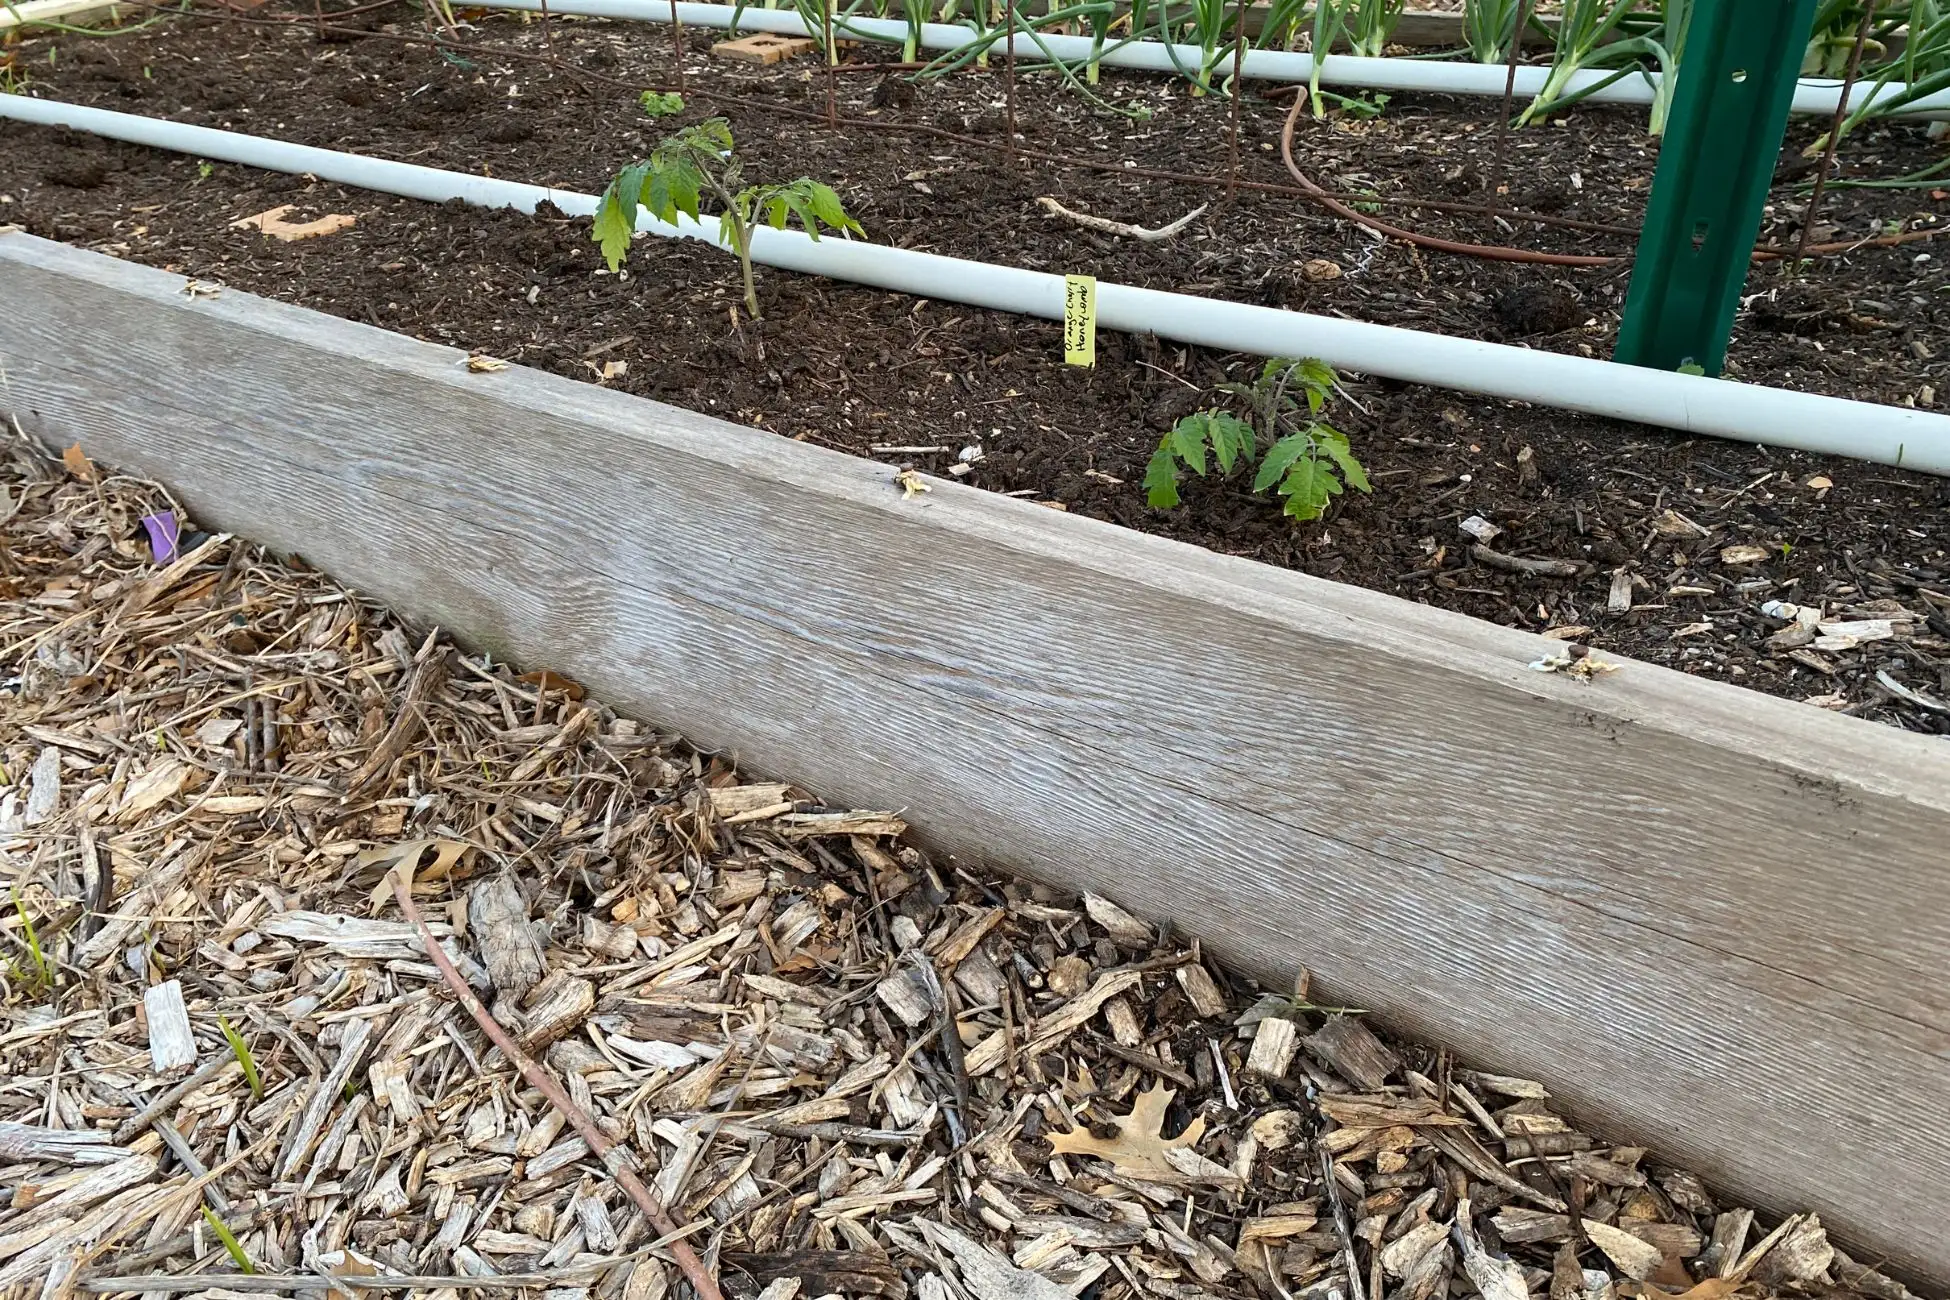
I did this last year as an experiment. In one raised bed, I planted tomato seedlings, but I put no wood chips atop the soil. In the bed next to it, I covered the soil in wood chips. Fast forward 6 weeks, and the tomato plants in the bed with wood chips were around 25% taller than the plants in the bed without wood chips.
In that particular part of my garden, the ground is very sloped, so I couldn’t add wood chips around my raised beds, but I was glad to see what a difference they made for my plants!
For more insights into how my plants have benefited from raised beds, check out these related articles:
- 12 Reasons Why Vegetables Can Grow Better in Raised Beds
- 13 Must-Grow Herbs for Your Raised Garden Beds
- 32 Must-Try Vegetables for Your Raised Garden Beds
- How Deep Should Raised Garden Beds Be for Tomatoes?
- Top 10 Reasons Why Concrete Blocks Are Good for Raised Garden Beds
- Using Topsoil in Raised Garden Beds: Can You Do It?
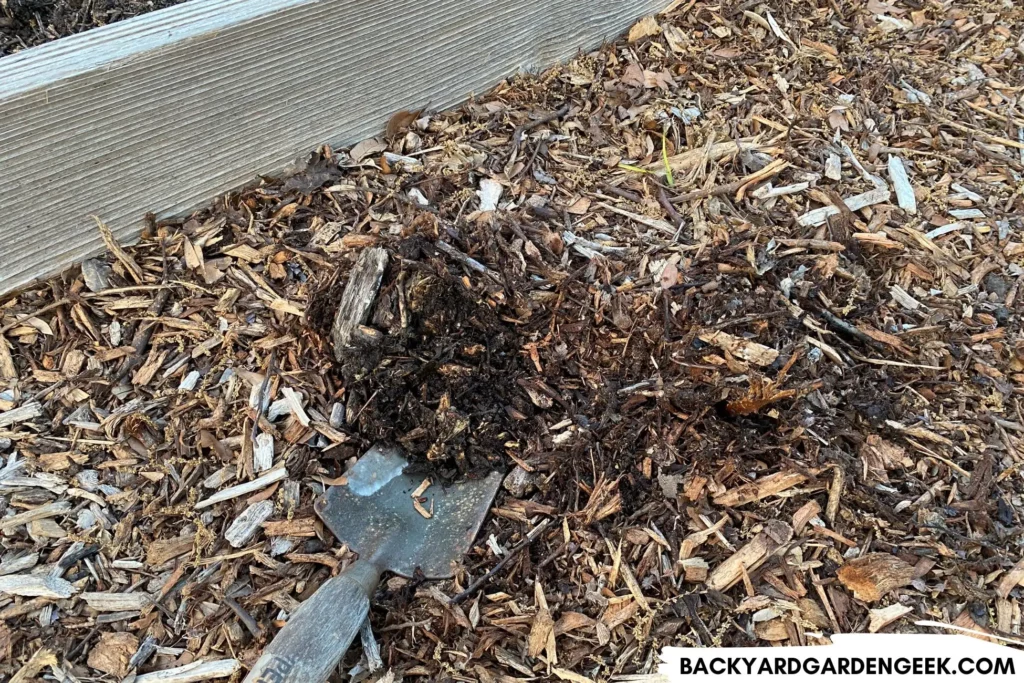
Adds Organic Matter to the Soil: As the wood chips break down, they’ll release organic matter into the soil. This organic matter will help improve soil quality in the areas around your raised beds.
If you ever need to amend your beds, simply pull aside the top layers of wood chips and dig into the nutrient-rich below layers. You’ll have more than enough compost for your raised beds, and all you’ll need to do is lay down additional wood chips to make up for the soil you removed.
Reduces Soil Erosion: If you’ve had issues with water runoff, the thick layers of wood chips create a barrier that’ll help prevent soil erosion. This is especially important in raised beds that are located in low-lying areas or in places on your property where there are slight slopes since the heavy rainfall might otherwise cause soil to wash away.
Enhances Aesthetic Appeal: Finally, wood chips can enhance the aesthetic appeal of your garden, creating a natural look that blends in with your landscape. When laid in between your raised beds, they’ll provide a neat and tidy appearance to the pathways in your garden.
In my opinion, the very best way to cover the ground around raised beds is to place layers of cardboard, then pile wood chips on top of them.
Not only does this kill off invasive grasses and suppress weed growth, but it also helps prevent soil saturation and provides numerous benefits to you and your garden.
By taking advantage of free wood chips from getchipdrop.com and reusing them over time, you can create a healthy and weed-free growing environment for your plants.
Can I Use Rocks Instead of Mulch or Wood Chips?
While using thick layers of cardboard and wood chips is an excellent method for covering the ground around raised beds, you might consider an alternative: using cardboard with gravel or stone.
This method involves laying down layers of cardboard (following the recommendations above), followed by a layer of gravel or stone.
Using gravel or stone in your garden has a few advantages:
Aesthetically Pleasing: Gravel or stone can provide a decorative element to your garden, creating a clean and polished look to your pathways. Additionally, they can complement the design of your raised beds and create a cohesive overall appearance with your deck or patio.
Longevity: Unlike wood chips, gravel or stone won’t break down over time, which means they’ll last much longer. This can be a significant advantage if you’re looking for a low-maintenance solution for the areas around your raised beds.
Easy to Install: Gravel or stone is relatively easy to install. Once you’ve laid down a layer of cardboard on top of the soil, you can simply spread the gravel or stone over the top. It’ll be rather heavy hauling the stone material and dumping it in the appropriate area, but it’s not all that complicated.
While there are several advantages to using gravel or stone, there are also various disadvantages to consider:
Weight: Gravel or stone can be very heavy, which can make it difficult to move and spread around your garden. Additionally, the weight of the stone can compress the soil underneath, but as long as you plan to leave the stone in its place, this isn’t a big deal.
Expense: Gravel or stone can be much more expensive than free wood chips, especially if you’re covering a large area in your garden. Given its weight, the costs associated with delivery can add up quickly.
Difficult to Remove: If you ever decide to rearrange your garden or you need to someday remove the gravel or stone, you’ll find that it’s rather challenging to do so. This is especially true if the stones have sunk into the soil over time.
Wood Chips vs. Gravel and Stone: Which Is Better?
To give you some sense of the pros and cons of using wood chips versus gravel or stone, here’s a quick overview:
| Pros & Cons | Wood Chips | Gravel/Stone |
|---|---|---|
| Pros | Inhibits weed growth | Inhibits weed growth |
| Aesthetically pleasing | Aesthetically pleasing | |
| Easy to Install | Easy to Install | |
| Reduces soil erosion | Reduces soil erosion | |
| Improves footing | Improves footing | |
| Adds organic matter | Longevity | |
| Inexpensive | ||
| Retains moisture | ||
| Easy to remove | ||
| Might attract good bugs | ||
| Cons | Wood chips decompose | Heavy weight |
| Need to be replaced | Expensive | |
| Might attract pests | Difficult to remove |
As you can see, using cardboard with wood chips has several advantages over using cardboard with gravel or stone.
While gravel or stone can provide an aesthetically pleasing look and last longer, this kind of material can be heavy, expensive, and difficult to remove. Wood chips, on the other hand, are relatively easy to move and remove, they’re 100% free (if you can get some from getchipdrop.com), and they’ll break down over time into nutrient-rich soil.
While both methods of covering the ground around raised beds have their advantages and disadvantages, I far prefer thick layers of cardboard and wood chips to gravel or stone.
Final Thoughts
Covering the ground around raised beds is an essential step for any gardener looking to keep their pathways walkable, workable, and weed-free.
Using thick layers of cardboard and wood chips is an excellent way to achieve this goal since they inhibit weed growth, retain moisture, add organic matter to your property, reduce soil erosion, and improve footing.
One word of warning: Free wood chips may not be readily available in more rural areas since there might be fewer tree trimmers working locally.
In such cases, I recommend signing up on getchipdrop.com anyway. And if you ever see tree trimmers working in your area, go ahead and stop and ask if they’d be willing to drop off their wood chips on your property. You might be surprising by how willing they are to do so (since it saves them time and money).
But if you really can’t get your hands on wood chips, you can consider other options such as straw, hay, or grass clippings.
These materials can provide similar benefits to wood chips and are often more readily available in rural areas. They’ll break down faster, but they’re better than nothing!
Long story short, if you follow the recommendations in this article, you can create a healthy garden environment and ensure that the areas between your garden beds remain beautiful and weed-free for years to come!
Additional Information
If you’ve enjoyed reading this article, you might like these additional resources:
- 9 Tips to Ensure Proper Drainage in Raised Garden Beds
- 23 Plants You Shouldn’t Grow in Raised Beds
- Drainage 101: Drilling Holes in Raised Beds and Containers
- Filling Raised Beds with Just Compost: Should You Do It?
- Growing Plants in Cinder Block Holes: A Step-by-Step Guide
- Putting Raised Beds on the Patio: Should You Do It?
- What Plants Grow Well in Cinder Block Holes?
