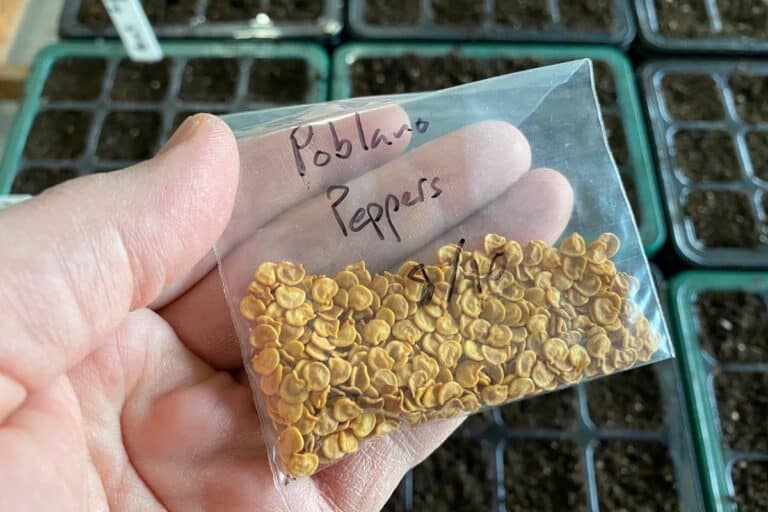
Can I Store Seeds in Plastic Bags? 5 Seed-Saving Tips
One of the things I love most about gardening is saving seeds from my favorite heirloom plants each year. I don’t just love the savings I get from not repurchasing seeds each season. I also love the fact that I’m carrying forward a genetic tradition in my own backyard.
Maybe you’ve considered saving seeds for the first time. If so, have you ever wondered if plastic bags are a good option? Can you simply grab a few Ziploc bags, or do you need to buy something else to store your seeds successfully?
Storing seeds in plastic bags is one of the easiest and most cost-effective ways to grow plants year after year. When done correctly, seeds stored in plastic bags can last for 10 years or more, but care must be taken to select the right kinds of seeds and store them properly.
There’s nothing more rewarding than growing your favorite plants from seed, but there’s also no greater frustration than nurturing seeds that don’t germinate the following year despite your efforts to harvest and store them.
I’ve stored my seeds in various conditions and containers over the years, and I’ve compiled a list of my favorite tips to help you store your seeds.
In this article, here’s what I’ll cover:
- why plastic bags are effective for storage
- how to prepare seeds for storage
- how to store seeds for maximum viability
- helpful tips to encourage dormancy during storage and germination during harvest time
If you’ve always wanted to store seeds but weren’t sure where to start, this article will give you a great introduction to storing seeds so that you don’t have to buy new seed packets every single year.
Storing Seeds in Plastic Bags? Here’s What You Need to Know
When you’ve got a preferred vegetable, fruit, or flower in your garden, you probably want to store the seeds so that you can grow that same variety next year.
This is a no-brainer for me once I’ve found the perfect plant that I want to grow each year.
But when I was a beginning gardener, the biggest struggle was figuring out which seeds to store and how exactly to store them.
Seeds face many obstacles to live to see another growing cycle. That’s why proper storage is so important!
Some people opt to store their seeds in plastic bags, while others opt for paper envelopes. There are benefits to storing seeds in both plastic or paper, depending on your needs, so let’s take a quick look at the pros and cons of each option:
Here are the pros and cons when it comes to using plastic Ziploc bags to store seeds:
| Pros | Cons |
|---|---|
| Very cost effective | Moisture and rot (if seeds are damp) |
| Moisture protection (if seeds are dry) | Not biodegradable |
| Easy storage | Not compostable |
| Extended viability | Synthetic, oil-based materials |
| Simple identification |
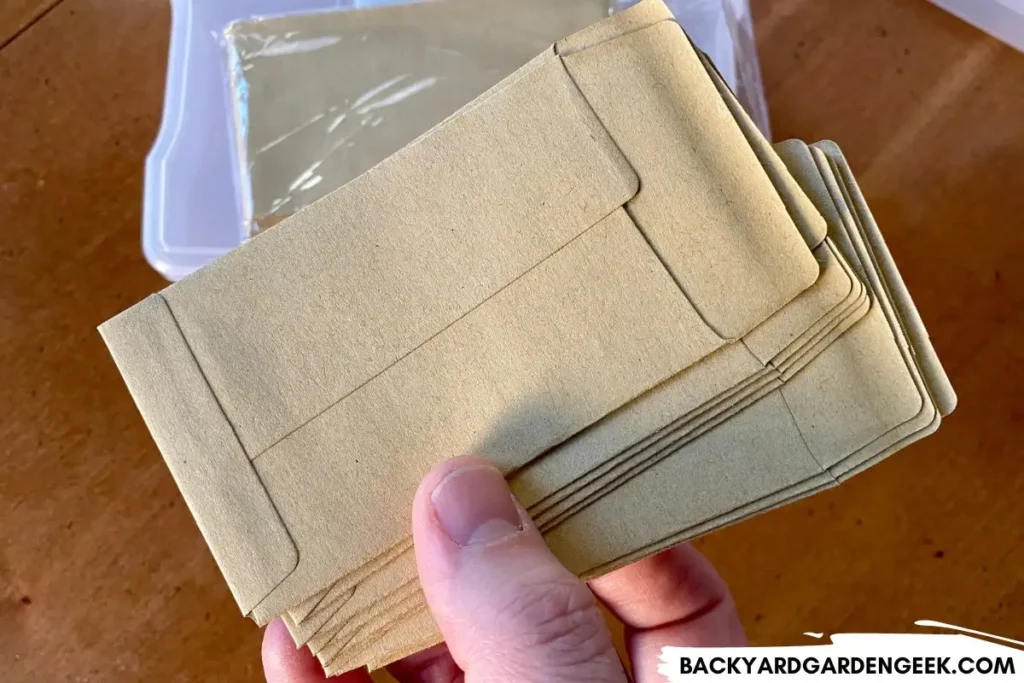
And here are the pros and cons when storing seeds in paper envelopes:
| Pros | Cons |
|---|---|
| Cost effective | Not airtight |
| Can absorb some seed moisture | Can’t keep moisture out |
| Biodegradable | Won’t reseal properly |
| Compostable | Spills easily |
| Natural materials |
As you can see, paper bags have some advantages, but I’ve spilled enough of them to believe that the advantages of plastic bags outweigh the advantages of paper bags. This is why I prefer to store my seeds in Ziploc bags.
Since I choose different varieties to grow each year, this gives me more flexibility in which seeds I use without the worry that my seeds will deteriorate before the next season.
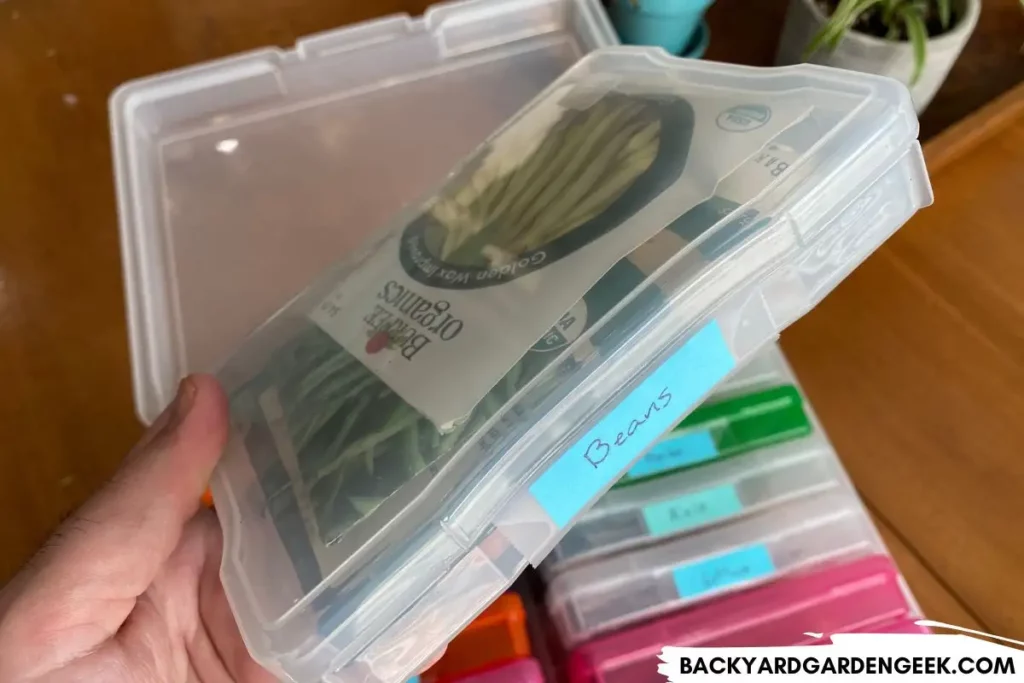
Once my seeds are properly zipped into their storage bags, I organize them into photo storage cases for organization.
I like this organization method because it allows me to group my seeds so that I can easily find what I’m looking for. I can also include each plant’s care instructions in the storage cases for quick reference when I’m planning for the year.
Before I discuss how to properly store seeds in plastic bags, I want to debunk a few myths:
MYTH #1: Plastic bags have harmful chemicals.
I use Ziploc bags, which are food-storage bags and thus safe for seeds.
It’s true that plastic bags will break down over time if exposed to the elements, but my bags are kept in sealed containers in a cool, climate-controlled environment and rarely handled. They’ll last for many years that way, and if I ever notice a plastic bag looking old or worn after a few years, I simply exchange it for a new one.
MYTH #2: Plastic creates humidity.
Plastic Ziploc bags, like standard sandwich bags or snack bags, are low density polyethylene and thus thin enough to let in trace amounts of moisture. However, when I store my plastic bags in my storage case, I throw in a handful of desiccant packets.
If any moisture gets into the case, those desiccant packets will take care of it, but in all my years of seed storage, I’ve never once lost seeds to moisture damage or rot.
MYTH #3: Plastic bags leak air.
If sealed properly, plastic storage bags will create a relatively airless space if you’re careful to remove any excess air when you seal the bag.
I usually just squeeze the bag flat as I’m zipping it tight, which ensure that most of the air in the bag has been pushed out. I don’t generally worry about making these bags airtight since the desiccant packets will do the trick if there’s any moisture in the air.
How Do I Prepare My Seeds for Storage?
While it may seem simple enough to toss a bunch of seeds in plastic bags, you’ll need to keep a few crucial steps in mind to ensure your seeds have the best chance of survival.
By storing your seeds, you’re keeping them dormant. It’s like they’re taking a good long nape, remaining asleep until you put them in environmental conditions that’ll wake them up.
Your seeds don’t necessarily need such sleep–which is why you can germinate newly-harvested seeds or cold stratify them to prepare for germination–but I like to harvest seeds and then save them for the following growing season.
Simply put, these seeds need to stay dormant until you’re ready to plant them. If your seeds were to come out of dormancy while in storage, they’ll either sprout or deteriorate.
Follow these steps to properly prepare and store your seeds:
Step 1: Preparing the Seeds
If you’re storing seeds that you’ve collected from your garden, you’ll need to properly clean them and remove any gel coating, like the coating on tomato seeds.
If you’re buying seeds from a garden center or online retailer, you can skip this step as they’ve already done it for you.
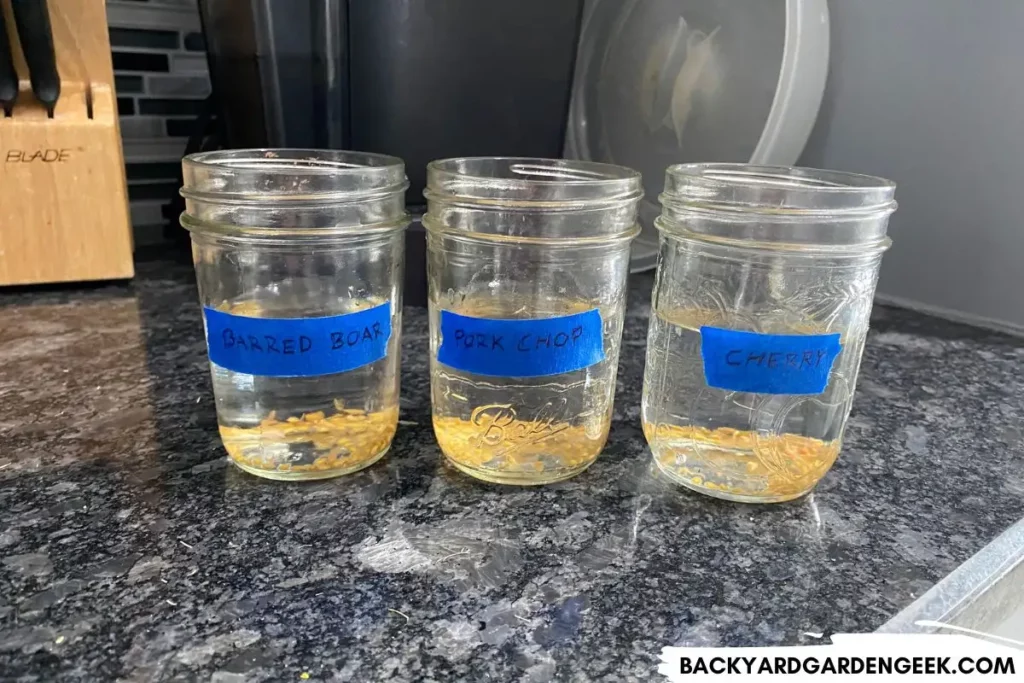
If your seeds have a slimy coating (such as tomato seeds), soak them in a container filled with water for 2 days. Each day, shake the container to loosen and degrade the coating.
Once the seeds look nearly bare, remove them from the water and rinse them a few times to make sure they’re completely clean.
This slimy coating is a food source for the seeds. When your seeds are in storage, you want them to be dormant and asleep. Removing the coating will help keep them dormant by cutting off their source of nutrients.
Just don’t let them stay in the moisture too long since water can encourage seed germination. This is why seeds sometimes sprout inside of fruit and why, when it comes to compost or garden beds, burying whole fruit can lead to seed germination.
Step 2: Drying the Seeds
Once your seeds are clear of any slimy coating, it’s time to dry them.
(Again, if you’re buying seeds from the store, you can skip this step.)
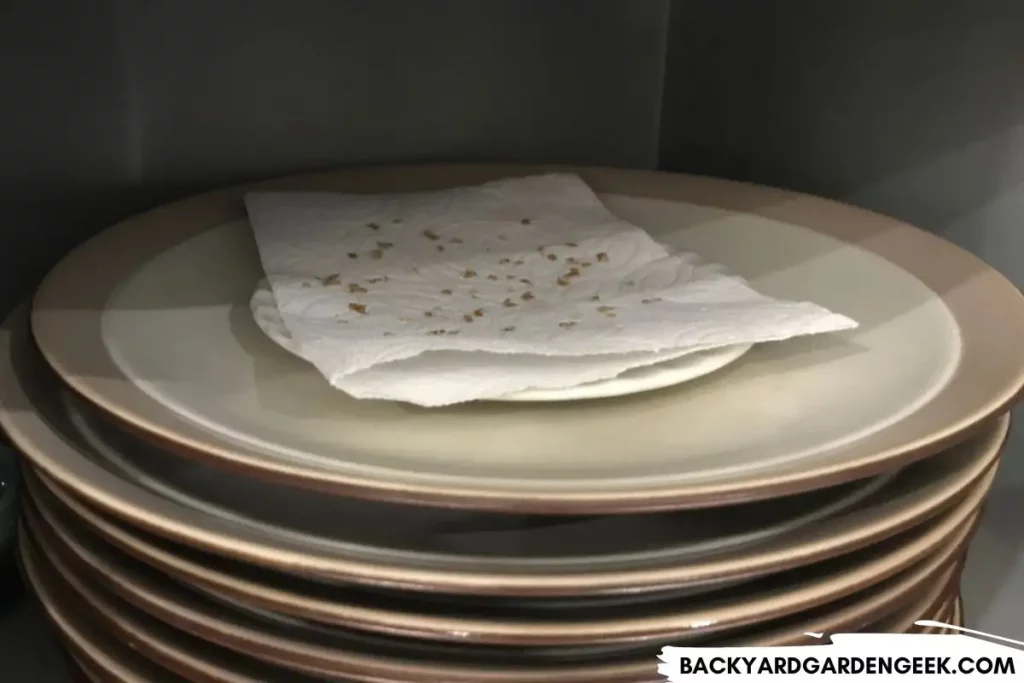
Here’s what you should do: Rinse them off well and lay the seeds in a single layer on a piece of parchment paper or paper towel in a dry, warm area where they won’t get disturbed by pests, pets, or kids. The temperature should not exceed 90°F (32°C).
Move the seeds a bit every day or two to rotate and dry throughout.
Remember that seeds are a food source for a number of pests, including squirrels and birds. Don’t dry them outside. It’s super easy to do so inside your home, so just do it there.
Drying seeds is the most crucial step because any moisture in your seeds will cause them to sprout or rot while in storage.
Check that your seeds are completely dry by touching them a bit. If they bend or feel even a tad bit moist, they need more time to dry.
Step 3: Packaging the Seeds
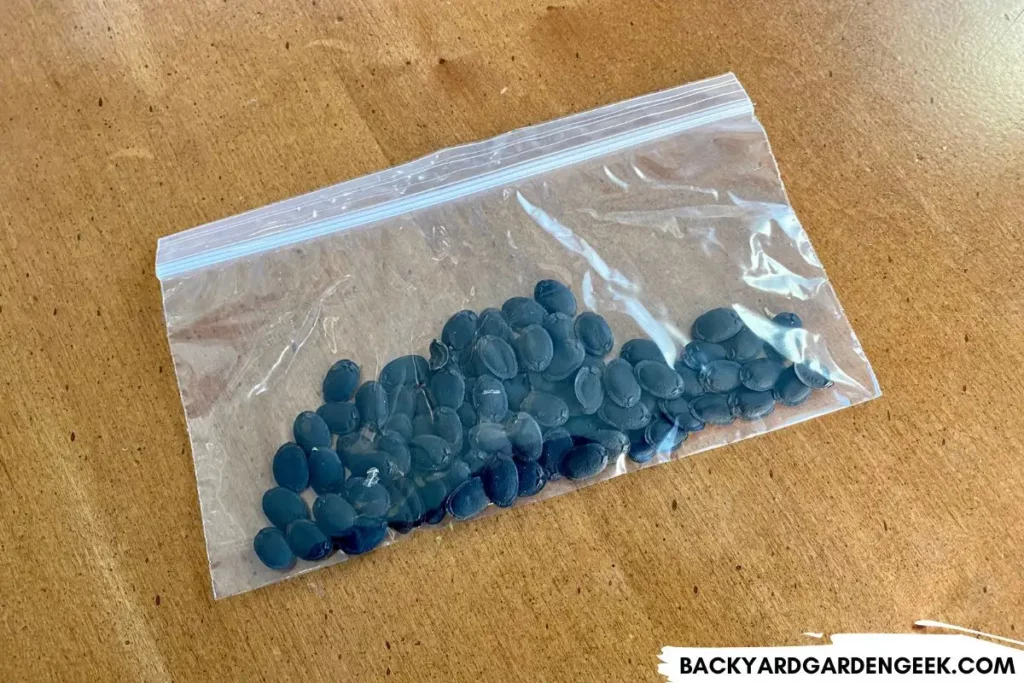
Now that your seeds are dry, it’s time to store them.
Stick to plastic bags when storing your seeds. The standard sandwich and snack bags are fine, but they can allow air and moisture to enter and potentially damage your seeds, so be sure to put desiccant packages in your storage container.
If you dried your seeds on parchment paper, simply drop them into the Ziploc. If you dried your seeds on a paper towel, you’ll need to scrape them off with your fingernail if they’re stuck. You can even fold the whole paper towel and place it in the Ziploc as long as everything’s dry.
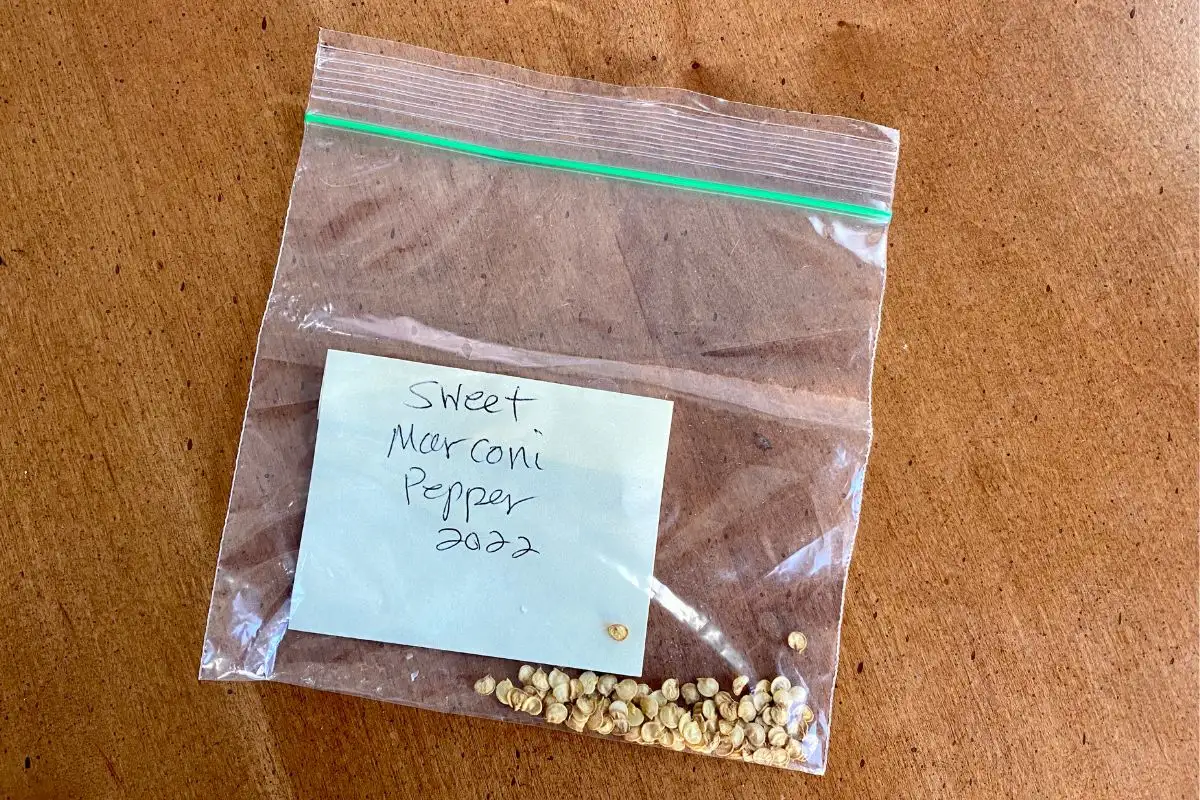
Ensure you push all excess air out of the bag before locking it. As mentioned above, I label sets of seeds and organize the Ziploc bags into photo storage cases at this point.
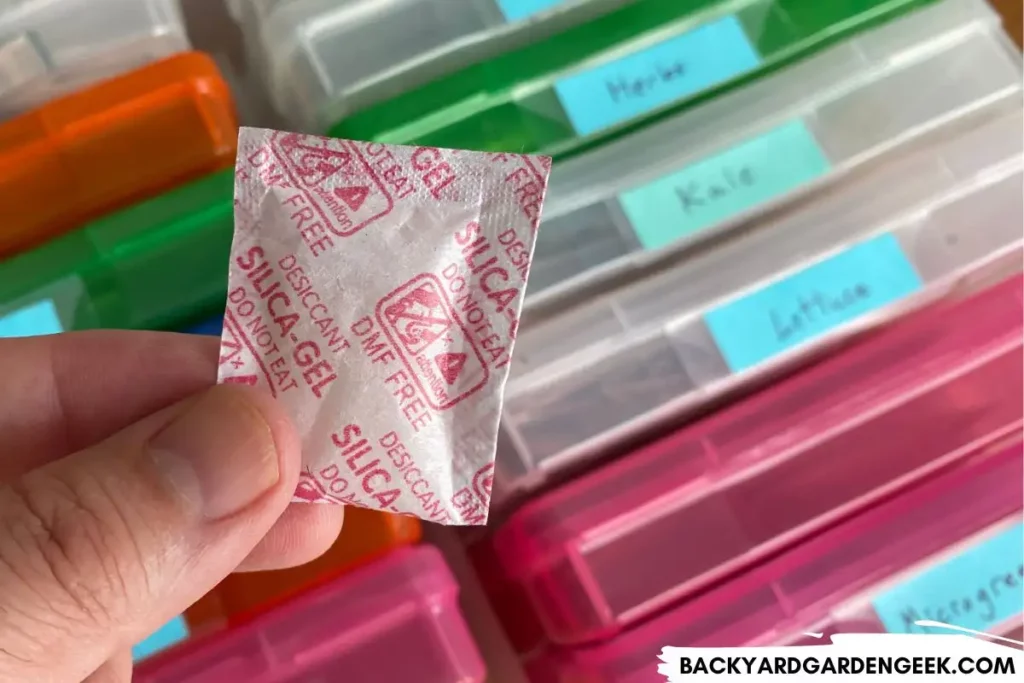
As I noted above, I’ll often add silica gel desiccant packets to my storage container so that moisture doesn’t have a chance to make it to those plastic bags. You can even put packets inside the plastic bags themselves.
These packets draw any excess moisture out of the seeds, ensuring the bag is completely dry and the seeds are not at risk of rotting.
Step 4: Storing the Seeds
Your seeds are ready to store, but where should you store them?
Seeds like cold and dry conditions, so a dark closet or basement is the perfect place. You can even store seeds in the refrigerator.
Seeds don’t need sunlight to germinate since most of them only need warmer temperatures and moisture. With this in mind, you’ll want to store them in an area where they’ll remain dark and relatively cool.
Absolutely keep your seeds away from the sun since sunlight can even cause heat and humidity to build up inside your plastic bags. Even a short period of sun exposure can kill your precious seeds, so keep them inside.
For best results, store your seeds in a climate-controlled dark closet or an untouched corner of your refrigerator.
Step 5: Planting the Seeds
Once you’re ready to plant your seeds, it’s time to bring them out of storage.
If you stored them in the refrigerator, allow the plastic bag to warm up to room temperature before pulling out the seeds. Do this by leaving them on a counter for an hour.
Please do not heat them in a microwave or in the sun. Just let them warm naturally.
Seeds don’t get temperature shock when you pull them from the fridge, but waiting until they reach room temperature before opening the Ziploc is a safe way to proceed.
The viability of seeds in storage varies depending not only on storage conditions but also on the types of seeds you’re using.
Experiment with different types of seeds to find how many years they’ll survive in storage. Many seeds can last 10 years or longer when you store them properly in the first place!
If you’d like to learn about how I handle germinating and growing my seeds, check out these 3 articles:
- Do Tomato Seeds Need Sunlight to Germinate: 5 Planting Tips
- Can You Overwater Tomato Seeds? 6 Tips for Best Results
- Germinating Tomato Seeds with Heat Mats: A Beginner’s Guide
Do Seeds Need Air in Storage?
While seeds need oxygen to grow, they don’t need oxygen during storage.
In fact, no oxygen actually keeps seeds dry and in dormancy longer and thus prolongs their shelf life.
When you’re storing your seeds, please squeeze out as much air as possible from the plastic bags before you seal them.
Excess air can shorten the period your seeds will be in dormancy, which can cause them to deteriorate faster. This excess air will also encourage moisture buildup, which can damage your seeds.
Again, seeds don’t need oxygen in storage, so zip the bag up mostly, squeeze all the air out, then seal off the bag.
Can I Store Seeds in Plastic or Styrofoam Containers?
You can store seeds in all kinds of plastic containers as long as those containers are thoroughly cleaned. I also recommend that you use only those containers that you can seal well. I want to keep as much oxygen and moisture away from my seeds as possible.
Mold is deadly to seeds, so you don’t want to be putting seeds in containers that might have mold spores hiding inside of them. Clean your containers well if you plant to use them for seed storage.
This is another reason why plastic bags are helpful because they don’t require pre-cleaning prior to first use.
More Information
If you’d like to learn more about buying, storing, saving, and germinating your seeds, check out these related articles:
I STORED MY SEEDS IN FILM BOXES AND PUT THEM IN A PASTC=IC CONTAINER THAT THE BOXES CAME IN tHIS SUMMER WE HAD ETREMELY HIGH TEMPERATURES. I HAD STORED THEM IN MY GREENHOUSE FOR CONVIENCE BUT FORGOT ABOUT THEM. WILL THEY BE VIABLE OR SHOULD I BITE THE BULLET AND DISPOSE OF THEM ?
Hi Susan, there’s no way to know for sure unless you try to germinate some of your seeds. I’ve grown plants before from seed packets that had been left outside in a hot shed. The germination rate was pretty low in my case, but out of 50 or so seeds, I got 15 of them to germinate. In other words, give your seeds a chance and see if you can get them to germinate. If so, you’ll be good to go and can harvest new seeds when your plants get mature. If you can’t get any seeds to germinate, at least you’ll know that you’ve got to purchase new seed packets. But give it a try before spending any money. Good luck!