Growing Your Own Plants: 11 Pro Tips + How-To Guide
When I was a young, relatively inexperienced gardener, I purchased all of my seedlings from local garden centers and home improvement stores.
That was fine at first, but after a few years of doing that, I thought I’d give seed-starting a try since that’d save me lots of money over time.
I made a lot of mistakes early on, so here’s a quick guide for those of you who’ve never grown your plants from seed…with pro tips that’ll help seasoned gardeners as well as first-timers.
Here’s an outline of the steps I’ll cover in more detail below:
- Planning the Garden
- Selecting the Varieties
- Following Your Calendar
- Gathering Supplies
- Choosing Your Method
- Preparing Your Seed-Starting Mix
- Caring for Seedlings
- Potting Up
- Thinning and Feeding
- Hardening Off
- Transplanting Outside
Throughout this article, I’ll link out to other seed-starting blog posts that I’ve written. If you spend just 5 minutes reading, you’ll be more than equipped to grow your plants at home and thus no longer rely on garden centers and home improvement stores.
If you’ve never done this before, here’s what I use in my garage so you can do exactly what I do every year:
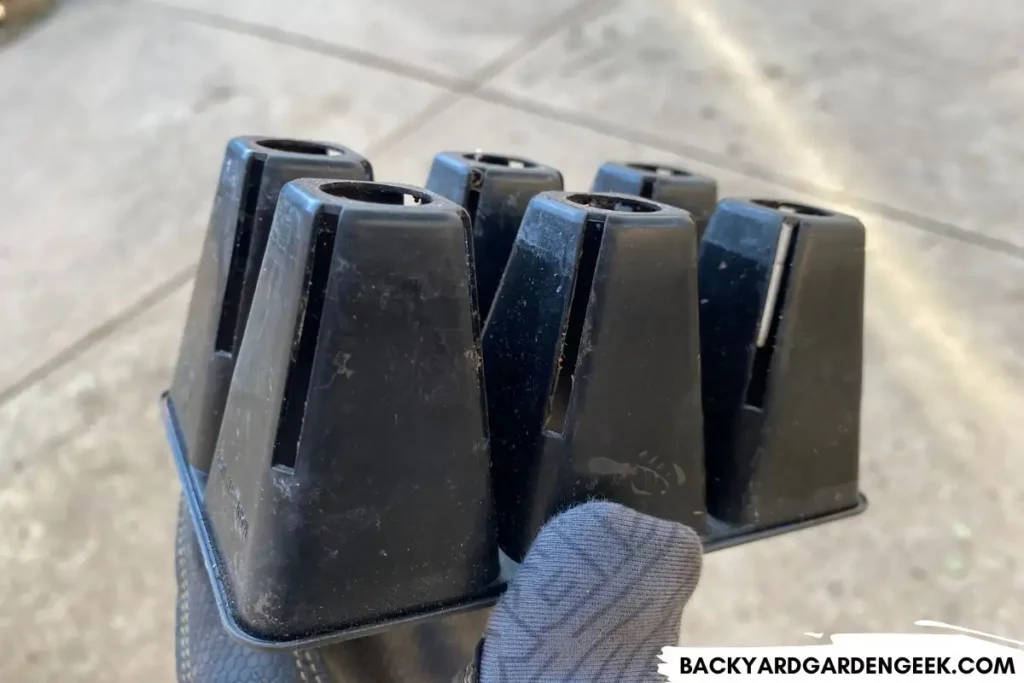
- Seed Cells: I use the 6-cell tray inserts from Boostrap Farmer. They’re the most durable seed cells I’ve ever seen. Pay the extra money up front, and you’ll reuse these tray inserts year after year.
- Seed Trays: Bootstrap Farmer’s 1020 seed trays are much more durable than any other tray I’ve used during the 15+ years I’ve gardened. They’re well worth the upfront cost!
- Lighting: Whether you like the newer LED panel lights (which I’ve been used the past 2 years) or have a shop light sitting around your garage (which I also have), you can grow your own plants with all kinds of light, assuming it’s bright enough to give your seedlings the start they need. Technically speaking, some lights are more natural than others, but I’ve had lots of success with all kinds of lighting.
- Heat Mats: I use the Vivosun brand heat mats. They’re relatively inexpensive, and they give off just enough heat to keep my seedlings warm in my colder garage.
- Seed-Starting Soil: There are all kinds of brands on the market, including potting soil options, but I use a good seed-starting soil mix like Pro Mix that provides an ideal environment for growing seedlings.
- Timer: Any decent timer will do. Plug your lights into the timer, and you’ll never have to manually turn them on and off.
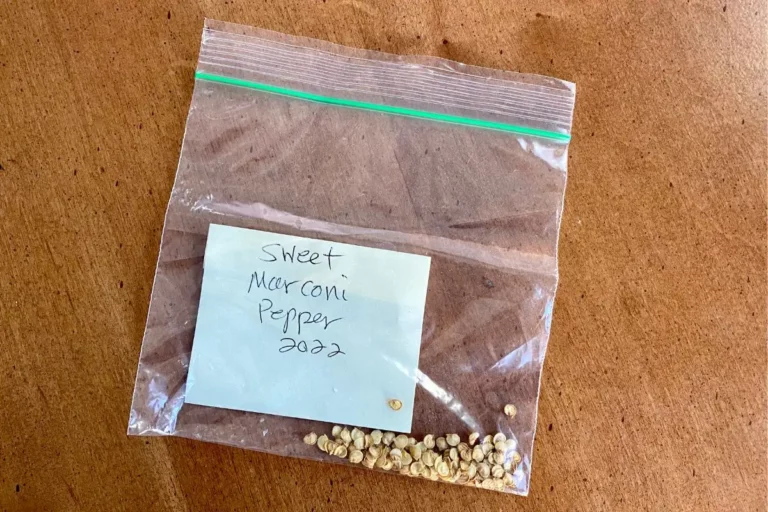
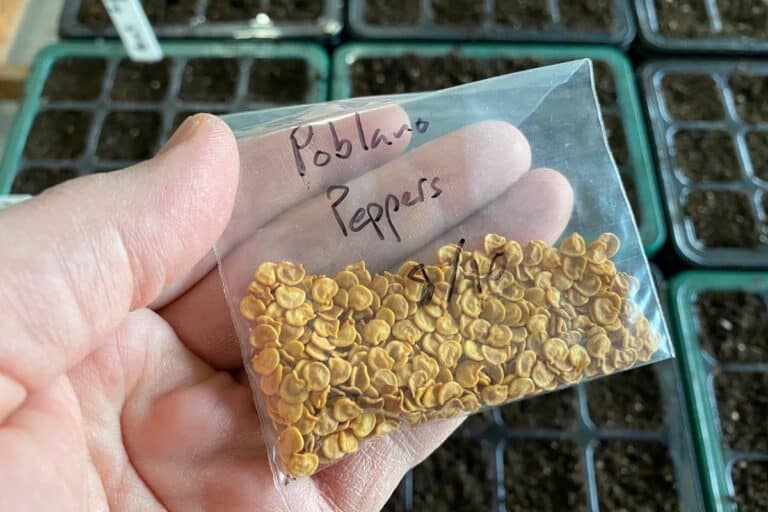
- Seed Storage System: My favorite method is using plastic photo storage cases. They’re not technically made for seed storing, but you’d be amazed at how well they work. I label each case, making it super easy to find the seeds I want to find each year.
Now that I’ve covered the materials you need, let’s jump into my step-by-step guide!
1. Plan Out Your Garden
When it comes to seed starting, you’ll do best if you have a plan in mind before you begin.
My first step is always sketching out my garden beds on a small, cheap whiteboard. I like whiteboards since I can easily erase any mistakes I make or easily change my mind. This initial sketch helps me visualize which varieties will do best in my garden and where I should plant everything this year.
When it comes to specifics, I then turn to graph paper. Here, I can get precise about placement, ensuring each plant has the space it needs to thrive. This step is crucial, especially when you’re juggling different needs—like my garden beds that get full sunlight versus those tucked behind my A/C units or along the fence line, receiving only partial light.
I’m a big believer in companion planting, but I don’t worry too much about the details since I’ve learned how to quickly recognize pests like aphids, spider mites, and other nasty bugs.
To keep things easy, I often just ring my garden beds with onions and garlic. Not only do they make great neighbors for many plants, but they also play a crucial role in pest deterrence.
And let’s not forget a few strategically placed marigolds. These bright, cheerful flowers are more than just eye candy. They’re a natural way to keep unwanted visitors at bay.
By the time I’m ready to move from paper to soil, I’ve got a well-thought-out plan that’ll help me get the most out of my small backyard space.
2. Select Your Varieties
Have you ever felt like this?
If you’re anything like me, you’ve probably gone overboard on a few occasions.
The excitement of browsing through seed catalogs can lead to ambitious, unrealistic plans, so please remember to keep things manageable. Think about the space you have, the time you can dedicate, and the number of plants you realistically have space for.
Whatever you do, don’t go overboard! But if you end up growing more plants than you can fit in your garden, don’t try to crowd your plants. Just give some seedlings away to friends and family. Your garden won’t be overcrowded, and your friends and family will appreciate the gesture. It’s a win-win scenario!
The key to successful gardening is selecting varieties that thrive in your growing region. This means considering your local climate, first and foremost. While seed catalogs offer a wealth of options, local knowledge is invaluable. Garden centers, community gardens, and local Facebook gardening groups can be goldmines of information. They can guide you towards varieties that have proven successful in your area, and offer tips tailored to your local environment.
I once tried to grow a tomato variety in Texas that I had grown successfully in New Jersey a few years before. Guess what happened? It was terrible. The plant just couldn’t handle the Texas climate and didn’t produce a single tomato.
Don’t make that mistake! By choosing the right varieties, you’ll set yourself up for a season of gardening success.
3. Pay Attention to Your Timeline
Timing in seed starting isn’t just a matter of marking dates on a calendar. It’s about making sure your plants are the right size when it’s time to put them outside.
The goal is to start your seeds at just the right time—not too early that your seedlings outgrow their indoor space (which I’ve done on too many occasions!) and not too late that they miss the ideal growing conditions outside.
Some seeds, like tomatoes and peppers, thrive when given a big head start indoors, allowing them to develop before going outside.
On the other hand, many root vegetables (like carrots and potatoes) prefer direct sowing.
To get the timing right, work backward from your area’s last expected frost date. This date is the pivot around which your entire seed starting schedule turns. For example, if tomatoes need 6-8 weeks before the last frost to start indoors, mark those weeks on your calendar as your sowing window.
But remember, these are guidelines, not hard rules. Weather can be unpredictable, and sometimes you need to adjust your plans. Keep an eye on the local forecasts and be ready to adapt.
4. Gather Your Supplies
I’ve noted this above, but you’ll need to get your hands on some good seed-starting supplies if you want to grow your own plants.
The nice thing about this is that you can then use those supplies for years to come, assuming you buy high-quality ones and not the cheapest options you can find on Amazon.
Here’s what I use in my garage:
- Good Seed-Starting Soil: This isn’t just regular garden soil. It’s a specially formulated mix that’s light and fluffy to encourage easy root growth and ensure good moisture retention. You can use potting soil too, but I prefer the seed-starting soil.
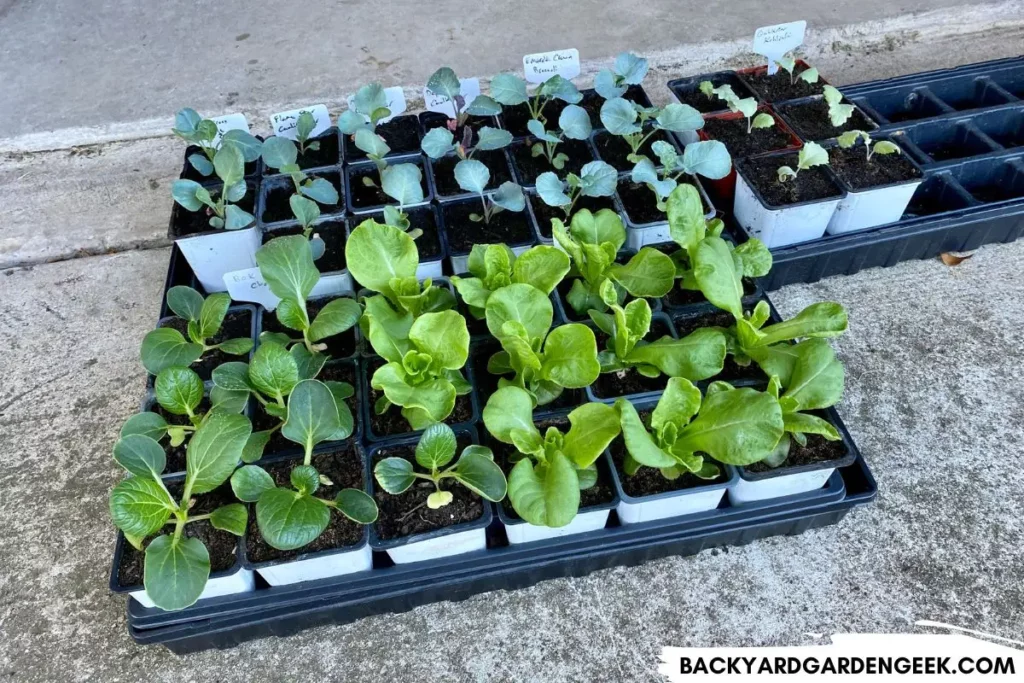
- Seed Cells: These Bootstrap Farmer seed cell tray inserts sit nicely in 1020 seed trays and are perfect for individual seeds. They make managing a large number of different plants much more manageable, and they also help in keeping the root systems intact during transplantation. Don’t buy the cheapest plastic ones! Invest in the high-quality ones sold by Bootstrap Farmer. They’re a little more expensive but well worth it since you’ll use them for years.
- Heat Mats: Many seeds need warm soil to germinate effectively. Heat mats gently warm the soil, improving germination rates and overall seedling health, especially in cooler environments.
- Grow Lights: Sunlight can be inconsistent, especially in early spring. LED panel grow lights are a fantastic, energy-efficient option, but if you’re on a budget, standard shop lights will also do the trick. These lights ensure your seedlings get the light they need for sturdy growth.
- Timer for Grow Lights: Consistency is key in providing light to your seedlings. A timer automates this process, ensuring your plants get the right amount of light without any extra effort on your part.
- Photo Case for Storing Seed Packets: Organization is vital, and a photo storage case is an excellent tool for keeping your seed packets dry, safe, and organized. This small investment saves a lot of time and hassle when managing your seeds.
Each of these items plays a crucial role in the seed-starting process. By gathering these supplies ahead of time, you’ll set a solid foundation that will carry your seedlings from germination to robust growth, ready for the outside world.
5. Choose Your Method
When it comes to starting seeds, there are numerous methods out there, each with its own set of benefits.
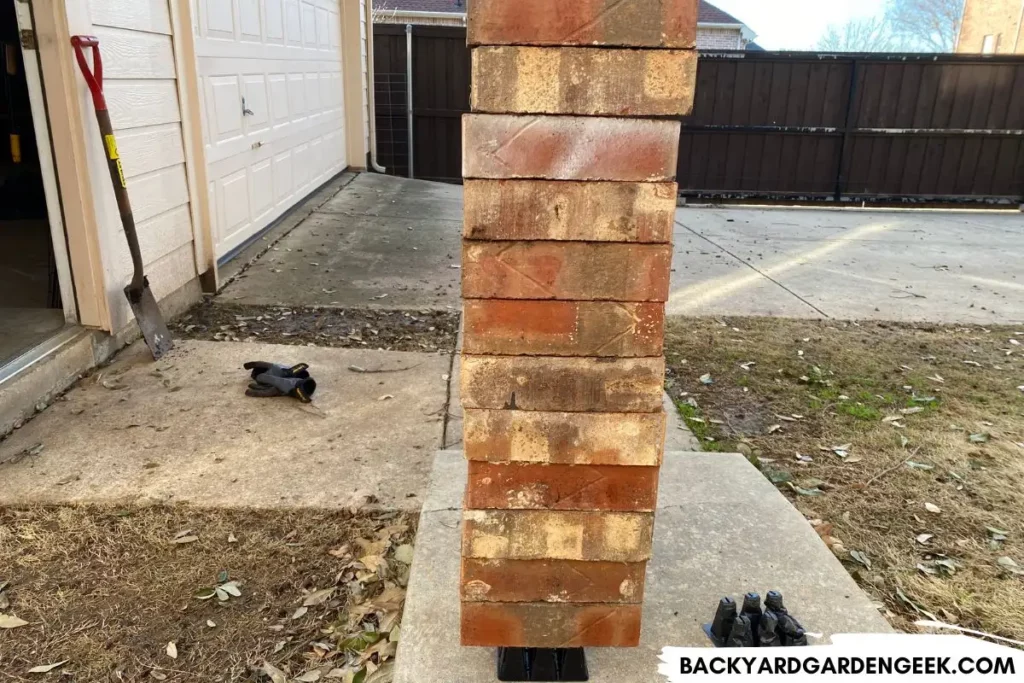
My go-to options for seed trays seed cell inserts are the high-quality ones sold by Bootstrap Farmer. Their durability and reusability mean that I’ll save money in the long run over the cheaper plastic ones you can find anywhere on Amazon.
Just last week, I stacked 12 bricks atop a single Bootstrap Farmer cell. It held up just fine! See the cheap cell next to it? It crumbled by the 3rd brick.
While peat pots are popular among many gardeners, I usually steer clear of them. My preference for reusing trays each year makes peat pots less appealing, as they’re single-use only.
Reusing trays not only reduces waste but also ensures I’m familiar with my tools, making the process smoother with each season.
Another method I often employ is the paper towel and plastic bag method for certain hard-to-germinate seeds—or any seeds, for that matter! This involves placing seeds between moist paper towels and then into a plastic bag to create a mini greenhouse effect.
The consistent moisture and warmth significantly improve germination rates, and once the seeds sprout, I carefully transplant them into my Bootstrap Farmer seed cell insert trays.
This method is particularly useful for seeds that require extra attention and a controlled environment to kickstart their growth. It’s also super helpful for older seeds since I can easily tell which ones germinated and which ones are no longer viable.
The only downside is the use of additional plastic. I’m not a fan of waste, so I usually reserve the paper towel method for older seeds that might be harder to germinate.
6. Prepare Your Seed-Starting Mix
Healthy seedlings need a good seed-starting mix. This mix is crucial because it’s specifically designed to provide a balance of drainage, aeration, and moisture retention that young seedlings need.
I like purchasing seed-starting mixes, but you can easily make your own at home. To create your own seed-starting mix, combine equal parts peat moss or coconut coir for moisture retention, vermiculite for aeration, and perlite to ensure good drainage. This combination creates a lightweight and nutrient-rich environment ideal for young plants.
If you’re feeling adventurous, you can also add a small amount of compost for added nutrients, but please ensure it’s fully decomposed to avoid problems.
Please don’t use garden soil straight from your beds. It’s usually it’s too heavy for seedlings.
If you’re making your own mix, ensure it’s well-blended for consistency. Before filling your seed trays, moisten the mix slightly. It should be damp, not soaking wet, to provide the perfect environment for seed germination.
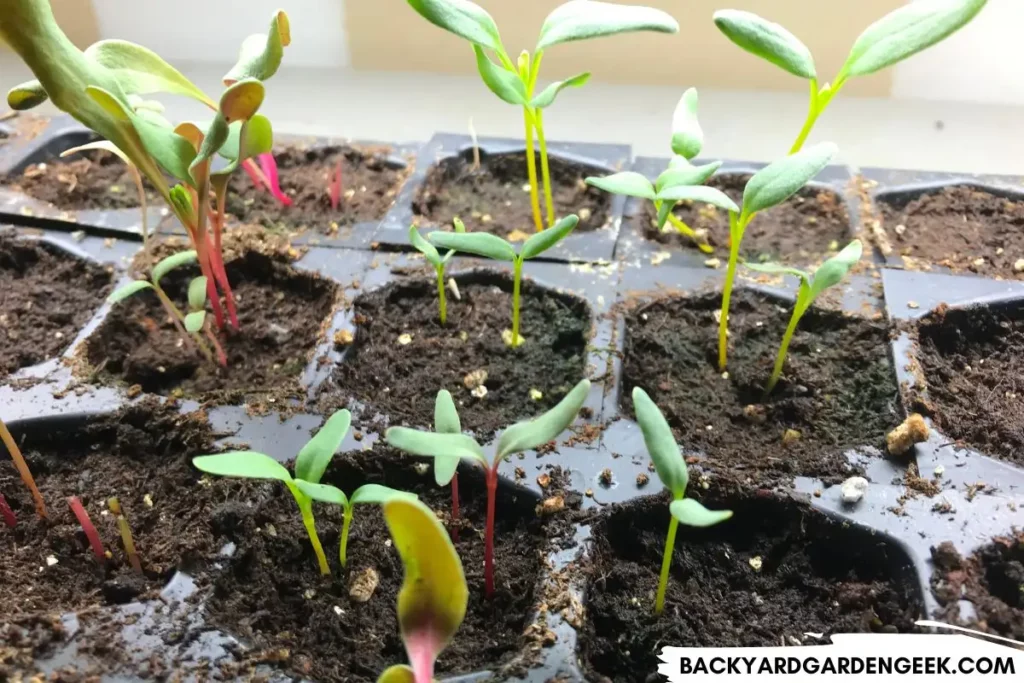
7. Care for Baby Seedlings
Proper watering is crucial in the early stages of seedling growth, so you’ll want to practice bottom watering.
This method allows the seedlings to absorb moisture from the bottom up, ensuring the roots get the water they need without the risk of flooding your plants or creating a mess around your growing station.
I use a long-spouted watering can for precise watering with minimal mess. The long spout lets me reach into trays and pots without displacing the soil or seedlings, providing control and reducing spills. This approach makes watering much easier than using a typical gardening can since I can regulate how much water comes out easily.
A critical lesson I’ve learned is to never let the soil completely dry out. Seedlings are especially vulnerable and can be quickly lost to dry conditions. I once forgot to water my seedlings for a few days, and I lost quite a few of them. They simply dried up.
You’ll want to keep a close eye on the moisture level, ensuring the soil remains consistently moist but not waterlogged.
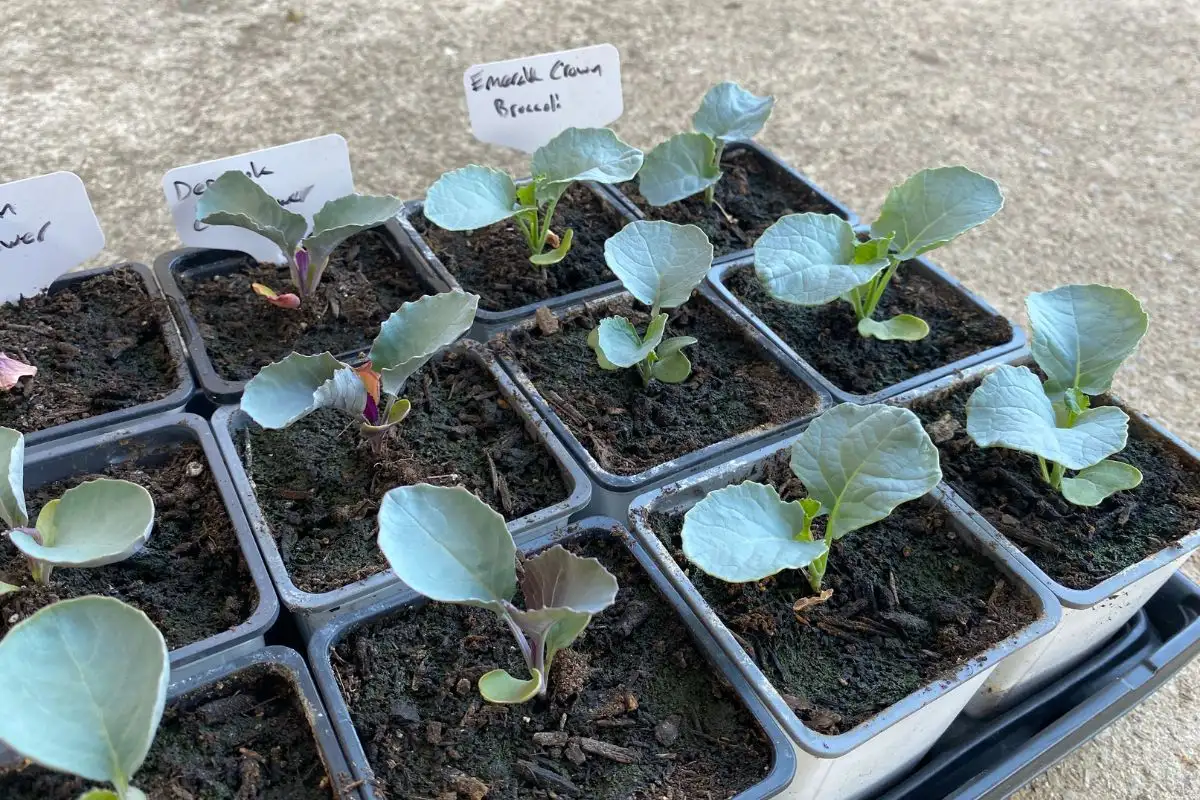
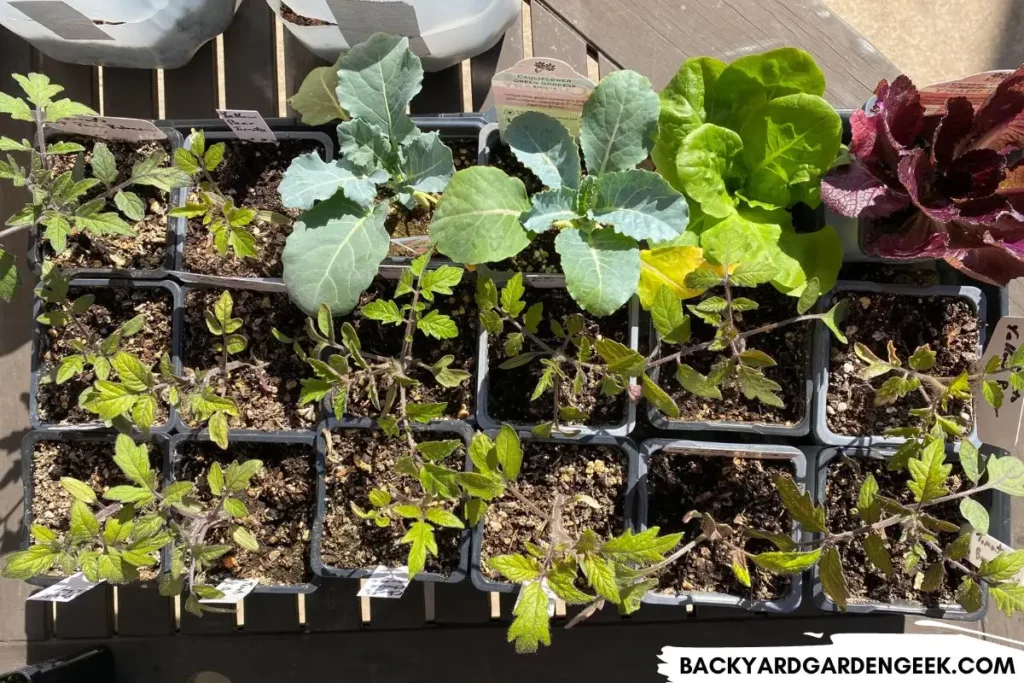
8. Pot Up When Necessary
One critical aspect of nurturing seedlings is ensuring they don’t become root bound.
This occurs when the roots run out of space to grow in their initial containers, causing them to circle and entangle. Root-bound plants will still grow in your garden, but they’ll require an additional week or two to get to the same size as seedlings that aren’t root bound.
When you notice the roots starting to fill the container, it’s time to give them more room.
I prefer using Bootstrap Farmer 6-cell insert trays for this very reason. Their design, with slits on the sides of the cells and a sufficiently large hole at the bottom of each cell, makes the process of potting up straightforward and gentle on the seedlings.
When it’s time to pot up, I carefully flip the tray over and use my finger to push on the hole, easing the seedling out without damaging the roots or the stem. This method is not only effective but also ensures the seedlings are handled with the care they need.
9. Thin and Feed
Thinning seedlings can feel a bit like holding auditions for your garden. It’s as if you’re playing Mother Nature, picking the winners and losers.
But rest assured, it’s a necessary step to ensure the strongest and healthiest plants thrive.
When thinning, use a pair of thin, sharp scissors and select the weaker-looking seedlings, leaving only the most robust ones with ample space to grow.
You can sometimes separate the seedlings instead of thinning them out, but I’ve found that this risks damaging them. It also takes quite a bit of time. Because of that, I prefer to cut the weak seedlings at the base of their stems. This may feel a tad mean, but it’s an important step in the process.
As for feeding your little seedlings, I have a secret weapon—a diluted fish emulsion mixture. To create this nutrient-rich mixture, combine one tablespoon of fish emulsion fertilizer with one gallon of water, then bottom water as necessary. This mixture will deliver helpful nutrients to give your seedlings a little boost.
10. Harden Off
One of the final steps before transplanting your seedlings is hardening them off.
This process prepares your little plants for the windy world outside, building up their resilience and ensuring they can withstand the challenges of wind, sun, and fluctuating temperatures.
To do so, I gradually expose my seedlings to outdoor conditions, starting with a few hours of gentle morning sunlight and increasing the duration over 4-5 days. This exposure to natural sunlight and wind helps your seedlings develop hardy stems and adapt to the sun’s intensity.
But what if you’re worried about the windy conditions in your area? You can mimic outdoor breezes right inside your home by setting up a rotating fan. The gentle, intermittent airflow encourages your seedlings to strengthen their stems in response to the simulated wind. This will then help them withstand stronger gusts when placed outside.
Remember, patience is key, so don’t rush the hardening-off process since your seedlings need to develop some resiliency before they’re outside 100% of the time.
11. Transplant Outside
When you’re ready to transplant your seedlings, there are a couple of tricks you can use to ensure their successful transition.
Once you’ve carefully placed your young plants in the ground, you’ll want to protect their roots from harsh sunlight and rainy weather conditions. You can do this by covering the area around the transplanted seedlings with a layer of mulch, leaves, or wood chips.
These will act as a protective shield, preventing the soil from drying out and keeping the roots cool and happy.
I did a test once where I planted tomatoes in 2 garden beds side-by-side. In one bed, I put no mulch. In the other bed, I covered the soil in mulch. Around 8 weeks later, the tomato plants that had been given a mulch cover were over 30% taller than the ones grown in the garden bed that had no mulch. From then on, I’ve covered all of my beds in mulch after my plants go in.
Finally, I like to give my newly transplanted seedlings a little boost with a fish emulsion mixture. A day or two after transplanting, I mix 2-3 tablespoons of fish emulsion with 1 gallon of water and pour the mixture around the base of each plant. This gentle feeding provides them with essential nutrients during their transition and helps them establish their new home.
Just be sure to mix everything outside. Fish emulsion smells, and you don’t want to stink up your house!
Additional Information
Obviously, this is a high-level overview of the process I use to grow my own plants each year. If you want to learn more about my tips and tricks for starting plants from seed, check out these additional articles:
- Buying Heirloom Tomato Seeds: Where to Buy + Helpful Tips
- Buying Tomato Plants vs. Growing From Seeds: Pros and Cons
- Can You Overwater Tomato Seeds? 6 Tips for Best Results
- Covering Newly Planted Seeds: Will It Help Them Germinate?
- Do Tomato Seeds Need Sunlight to Germinate: 5 Planting Tips
- Germinating Seeds from Fresh Tomatoes in 7 Easy Steps
- Germinating Tomato Seeds in Water: A Step-by-Step Guide
- Germinating Tomato Seeds with Heat Mats: A Beginner’s Guide