Covering Newly Planted Seeds: Will It Help Them Germinate?
One of the most challenging things about growing plants from seed is making sure your soil stays warm enough and moist enough to encourage high rates of germination.
Heat mats are an easy solution when it comes to keeping soil warm–or waiting until it’s appropriately warm outside to direct sow your seeds–but it’s difficult to keep soil consistently moist, so you’ll want to consider covering your seeds during the first few days after planting when the seeds are most vulnerable to temperature and moisture fluctuations.
Covering newly planted seeds can aid the germination process by keeping the soil more evenly moist. Seeds sown in seed trays do best with clear plastic domes or wrapping while seeds sown outside benefit from a light layer of mulch or straw to keep the soil from drying out too quickly in the sun.
I love growing plants from seed for numerous reasons, which I’ll discuss further below, but many years ago, when I first transitioned from buying plants at my local garden center to growing my own plants from seed, I wasn’t sure how to keep the soil consistently moist.
The seed tray soil always seemed either too wet or too dry, and when it came to direct sowing, my germination rates were always quite low. Frankly, it was very disappointing.
What I’d like to do in this article is to share what I’ve learned over the years when it comes to growing your plants from seed, particularly why, when, and how to cover your seeds to get the best possible germination rates.
Here’s what I’ll go over below:
- the basic do’s and don’ts of seed trays
- using humidity domes to cover seed trays
- using plastic wrap to cover seed trays
- covering directly sown seeds with wood chips or mulch
- covering directly sown seeds with straw or leaves
If you continue reading this article, you’ll avoid the mistakes I made as a beginning gardener and take joy in growing your own plants from seed!
Covering Your Seeds: Understanding the Basics
Whether you’re new to growing plants from seed or you’ve been doing it for a few years now, you’ve likely done so in 1 of 2 ways:
- Seed Trays: Growing plants in seed trays requires a bit more work since you’ll have to up-pot your plants after they’ve grown a bit, but trays provide more control over the planting and watering process.
- Direct Sowing: When done properly, direct sowing your seeds requires less work since your plants won’t need to be up-potted or transplanted, but it’s more difficult to keep your soil evenly moist, especially when warmer summer months arrive.
With this in mind, let’s look at the why’s, when’s, and how’s that you’ll need to consider if you’re interested in testing out different ways to cover your newly planted seeds this growing season.
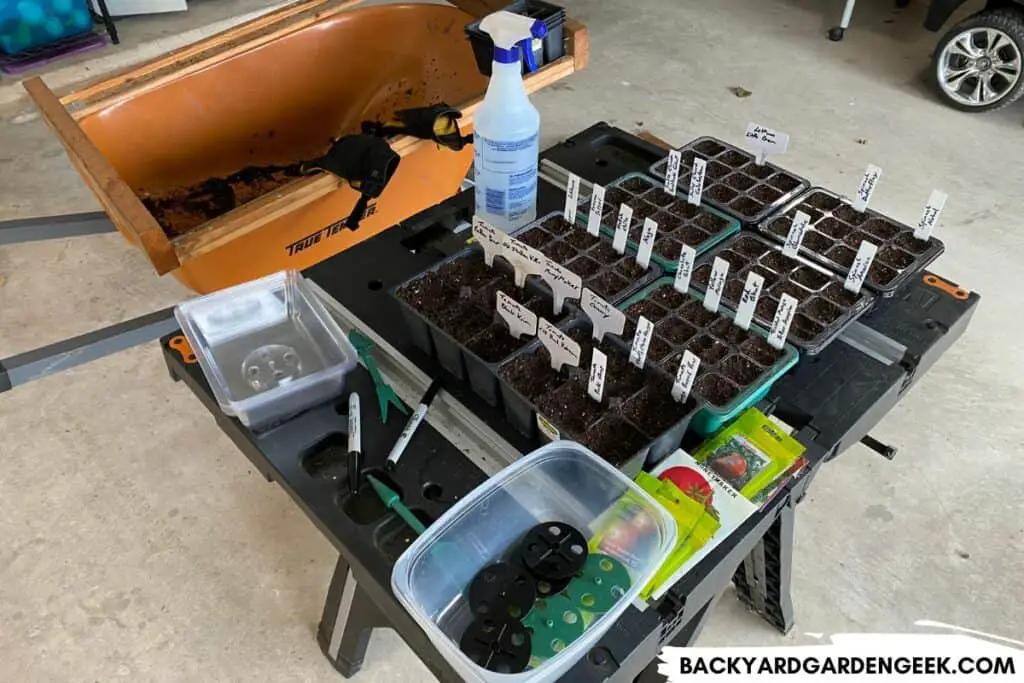
Covering Seeds in Seed Trays: The Do’s and Don’ts
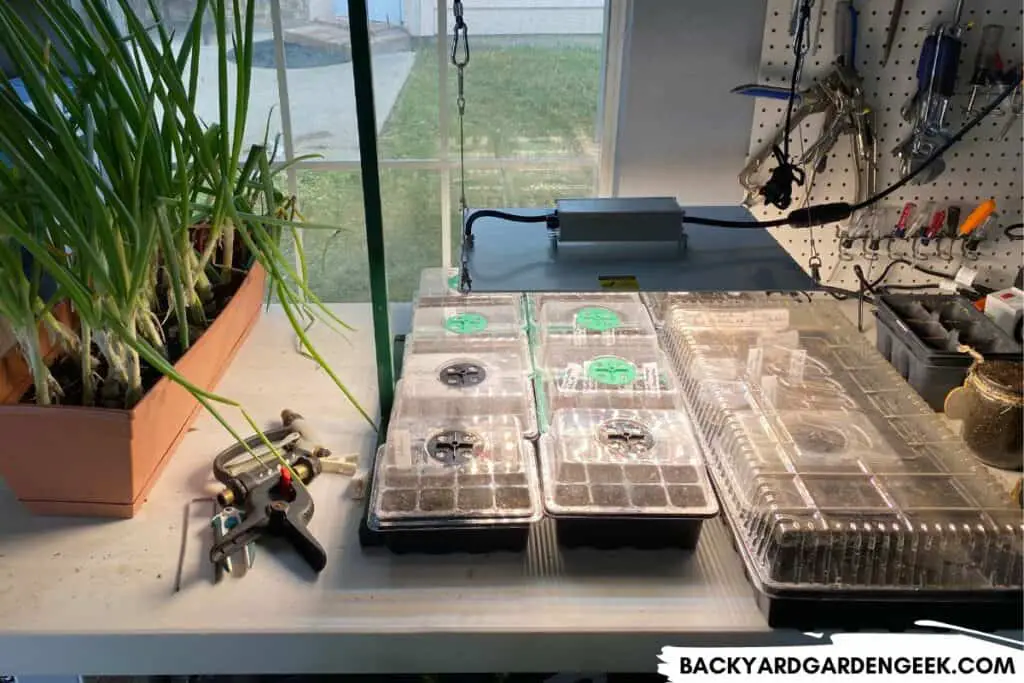
I love seed trays because they give me so much control over how my seeds are grown.
I can easily adjust how much light they receive, increase the soil temperature with heat mats, and adjust my watering practices to make sure I’m watering just enough to keep the soil moist but not too much to drown the seeds.
What I’d like to do here is to share some common problems you’ll experience when growing seeds in seed trays, some products not to use because they aren’t designed well, and tips on how to cover and water your seeds so that the soil in your seed trays remains as evenly moist as possible.
Let’s start with the problems you’ll want to avoid when germinating seeds in seed trays:
1. Poor Quality Soil
To achieve the best germination rates possible, I recommend either heavily amending soil from your garden or (even better) using a high-quality seed starting mix like Pro Mix.
If you’re planning to grow your own plants from seed instead of purchasing them at the local garden center or home improvement store, Pro Mix will give you a great head start. It’s loamy and airy, which will allow oxygen to reach your seeds while also retaining moisture well, whether you’re germinating your seeds in a climate-controlled environment or in a garage or shed.
For amending purposes, you’ll need high-quality compost and perlite. Those are the basics. But you can also add a slow-release fertilizer. Just be careful to follow the package instructions so that you don’t over-fertilize and thus damage your seedlings.
2. Poor Quality Seed Trays
All seed trays are not equal, especially when you’re searching for seed trays on Amazon or other online retailers.
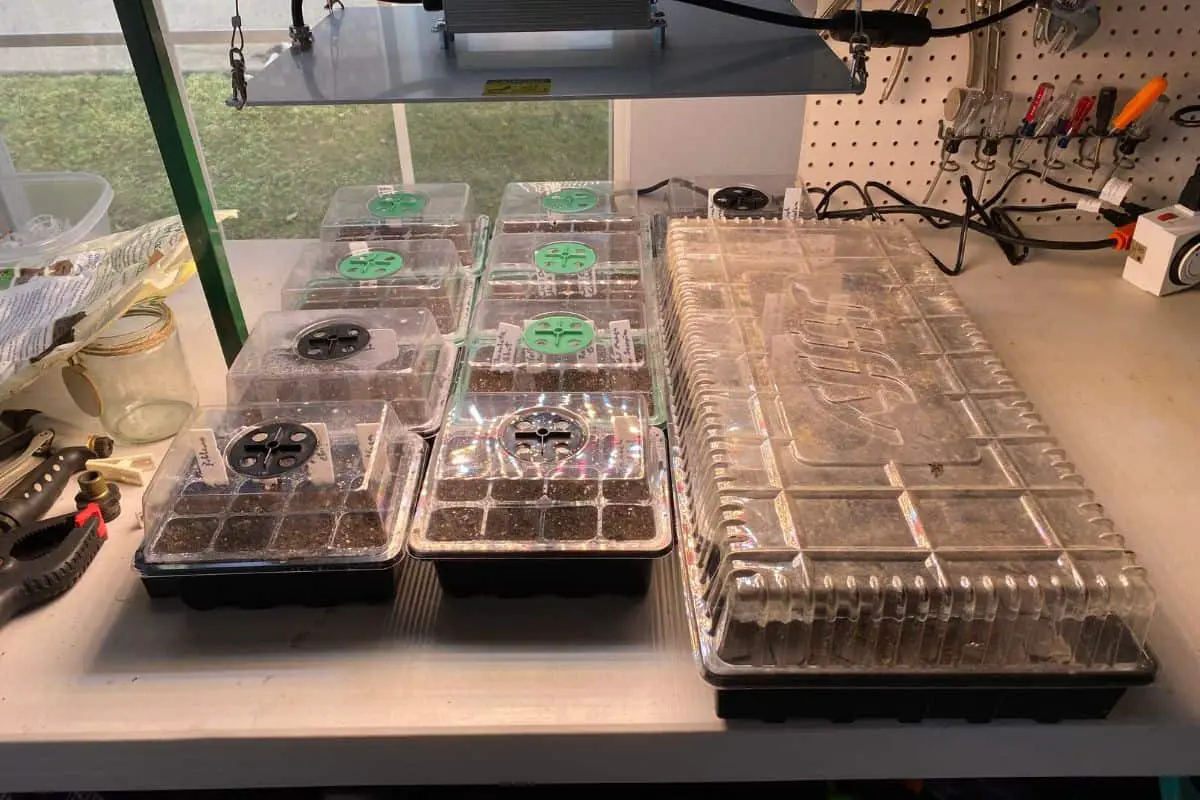
You’ll have many options to try out, and I recommend testing different products to see which you prefer, but a product that I’d avoid are the 6-pack seed trays that come with plastic lids and humidity domes. Here’s what most of them look like:
In theory, these look like great products, but in practice, I found them difficult to use and had pretty poor germination rates overall when using this design. The holes at the bottom were quite small, and the plastic was fairly inflexible, so I ended up cracking several trays when it came time to transplant the seedlings into larger containers.
I much prefer the heavy duty seed trays sold by Bootstrap Farmer used in conjunction with quality 6-cell seed trays that you can place side-by-side so that you’ve got 72 cells total in a single seed tray.
For an easier solution, I use the Burpee self-watering seed starting system. It’s a little pricey at first, but I’ve reused it for years, so I feel like I’m getting my money’s worth.
3. Overly Dry Soil
You’ve got to be careful when growing your own plants from seed. If your soil dries out, there’s a good chance you’ll have stunted or delayed seedling growth or no growth at all.
As I’ll discuss in more detail below, the use of plastic domes or plastic wraps can help keep your seedling soil nice and moist, but what’s key is regular watering. I set an alarm on my phone to make sure I don’t forget to water my seedlings.
I grow them in a detached garage, so I occasionally forget about them with all that’s going on in my life and with 3 rambunctious kids to take care of. The alarm helps me remember to go out there every other day and make sure the soil is as moist as I want it to be.
4. Overly Wet Soil
If you’re reusing soil from your garden–or if you’re purchased a low-quality alternative or gotten a recent shipment of bulk soil dropped off on your property–you might have noticed that your soil seems overly sandy or compact.
The problem with such soil is that it often acts like a sponge: It retains water and remains fairly dense, which isn’t a great environment for seed germination.
This is why I prefer either heavily amending my garden soil–typically with high-quality compost, perlite, and a slow-release fertilizer–or purchasing a bag of Pro Mix if I’m short on time since that simplifies things.
Now that I’ve covered some of the common problems you’ll experience when growing seeds in seed trays, let’s look at different ways to cover your seeds so that you can keep your seed-starting soil as consistently moist as possible to encourage better germination rates.
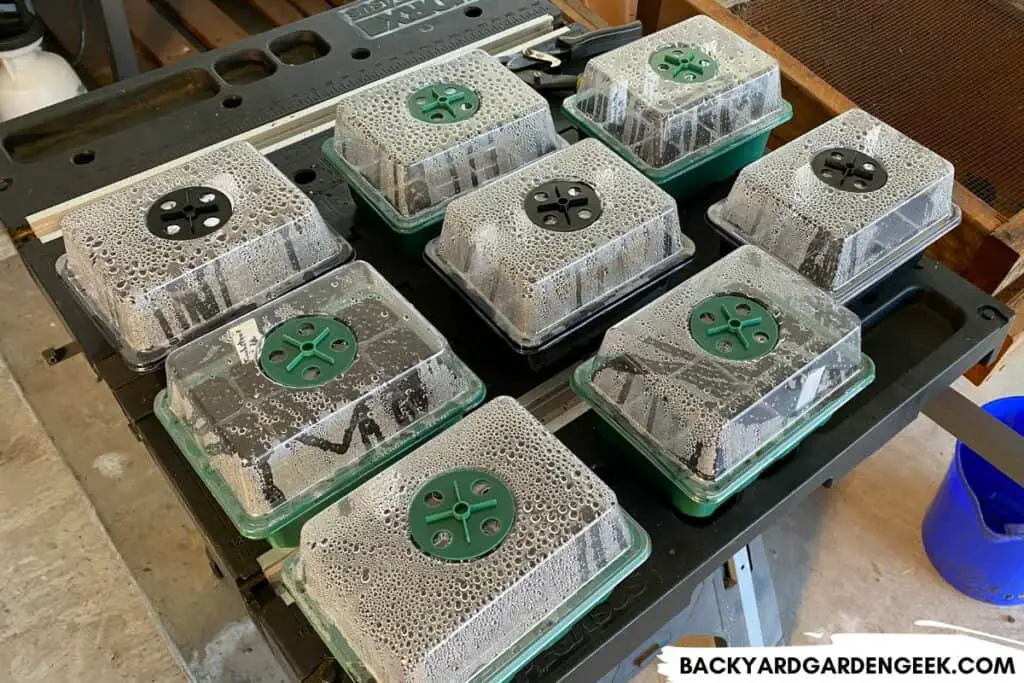
Covering Seeds with Plastic Humidity Domes
If the goal of covering your seeds is to keep the soil more consistently moist, then humidity domes are a good way to control soil moisture, especially if your seed trays are (like mine) in a detached garage or a shed, basically anywhere where temperature fluctuations outside could increase the rate of evaporation and thus more easily dry out your soil.
Humidity domes help to temper that process by allowing the evaporating moisture to condense at the top of the dome instead of escaping into the air.
Unfortunately, the market is saturated with cheap junk, so you’ve got to be extra careful when purchasing humidity dome products. Here are the problems I’ve encountered with them over the years, as well as advice for how to handle each problem.
1. Overly Foggy
I’ve purchased several products that didn’t allow any water moisture to escape the dome whatsoever. In theory, that sounds great, but in practice, it meant that my domes fogged up entirely with condensation and water droplets.
I had to remove the domes every day because I wasn’t able to see my plants’ growth through the foggy plastic, but it was a pain because I had purchased 6-cell tray domes, which meant that I had to remove dome after dome after dome to see my seedlings. This is why I recommend going with one larger dome instead of lots of small domes.
2. Cheap Air Releases
Lots of humidity domes now come with air releases, but whether or not they actually work depends on how they’re designed.
Some of them are very cheaply made, and I’ve purchased several where there either weren’t enough holes or the holes were too small to make much of a difference whatsoever.
Humidity domes are best with some degree of air release; however, that entirely depends on the humidity in your region, so be sure to look for domes that have more than 1 adjustable air release vent.
3. Leaking Lids
Another problem with cheap humidity domes is that many of them don’t attach firmly to their bases, and when they do attach, they attach on the outside of the base.
What this means is that water moisture will gather inside the dome, slowly run down the sides, then leak outside of your plastic tray.
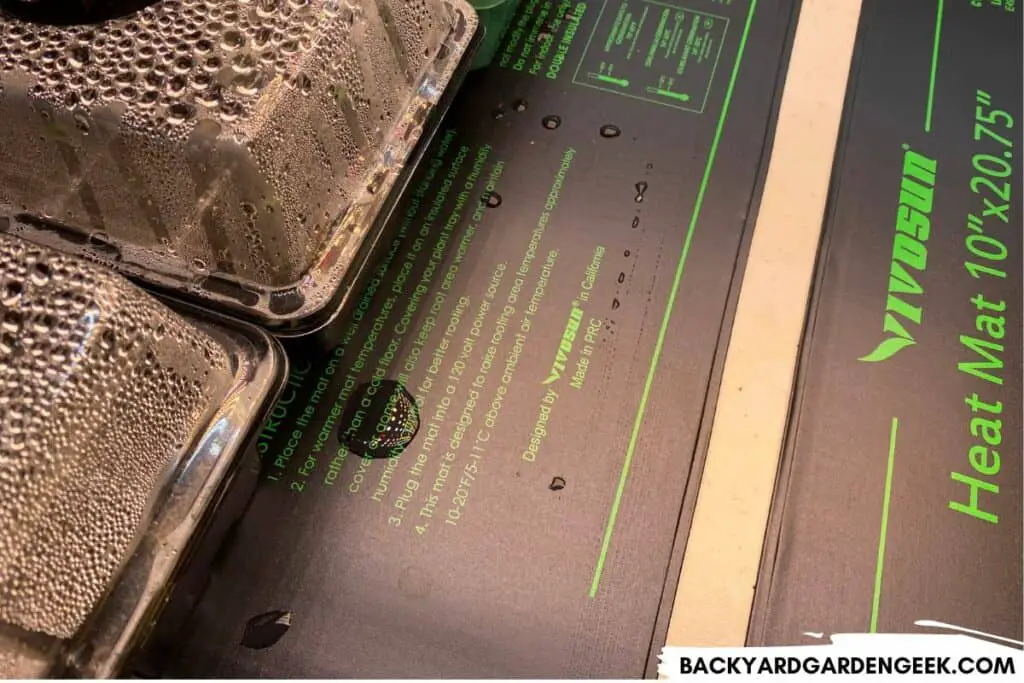
I was annoyed by this, but I wiped away the water with a microfiber cloth, and that took care of the problem. Unfortunately, I had to do this at least once a week since the domes leaked water onto the heat mats every few days.
4. Cheap Plastic Warps and Cracks
By far, one of the biggest challenges when buying seed trays and humidity domes on Amazon or at your local retailer is the quality of the product.
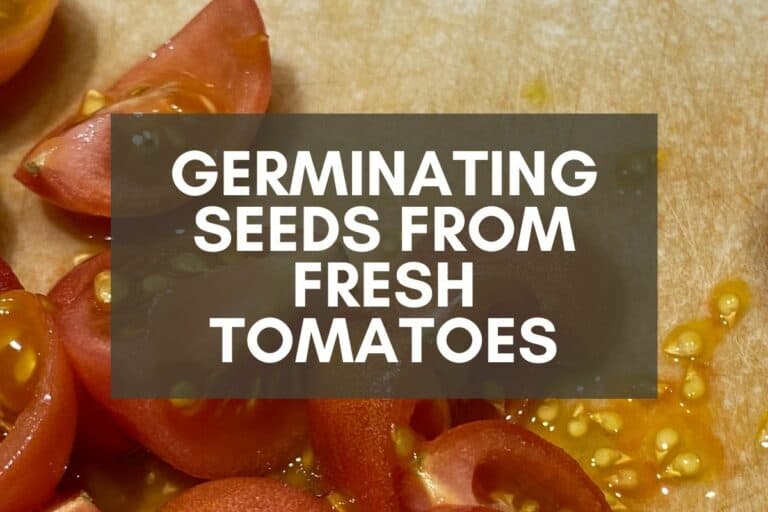
For example, I love the Burpee self-watering system and have raved about it in articles on germinating seeds with heat mats and germinating seeds from fresh tomatoes, but the humidity dome that comes with the system is pretty cheaply made, so I don’t use it (but even then, I still love this product!).
When you purchase cheap humidity domes, you’ll save money early on, but over time, the domes can crack and warp, making them terrible in the long term.
I’m not a big fan of filling the world with cheap plastic, so I prefer Bootstrap Farmer seed trays and humidity domes because they’re made with thicker, stronger plastic, which means they’re going to last for many years.
They’re more expensive up front, but at least I know I’m getting a quality product that I’ll be reusing season after season. Overall, Bootstrap Farmer products are some of my favorites.
There’s lots of options out there. Just type the phrase “seed trays” or “humidity domes” into Amazon, and you’ll see what I mean. But beyond the Burpee self-watering system, I’m now sticking with Bootstrap Farmer products because of their overall quality.
If you want to see a general overview of their products, check out this comprehensive list to see what you can find on Amazon.
Whatever product you end up using this year, the goal of covering your seeds is to keep the moisture in the soil from evaporating too quickly, thus drying out the soil and potentially stunting the growth of your brand new seedlings.
Be sure to keep a log of what works and what doesn’t as you grow your seedlings this year. If you don’t track what happens, you won’t remember what works and what doesn’t in the years to come.
Covering with Plastic Wrap
Much like humidity domes, plastic wrap can come in handy when you’re first getting your seedlings started. But you’ll want to keep some things in mind if you decide to use plastic wrap.
1. Bottom Watering
With plastic wrapping, you’ll create a tight seal around your seed trays. This is great when it comes to keeping moisture in, but it means that you’ll have to take off and reapply the plastic wrap if you plan on watering the top of your soil.
In general, I recommend bottom watering your seed trays, whether or not you’re wrapping the tops of them in plastic wrap.
With bottom watering, you’re adding water to the tray that’s holding your seed trays, allowing the soil in the seed trays to absorb water from below instead of from above.
This not only takes less time and creates less of a mess. It also allows you to keep the plastic wrap firmly attached to the seed trays since you’ll never need to remove it.
2. Visibility
One of the downsides of using plastic wrap is the same downside that comes with using poorly-made humidity domes–a lack of visibility.
When you begin bottom watering your seed trays, that moisture will be absorbed by the soil and will then attempt to evaporate into the air. But the plastic wrapping will block the evaporation process, which will result in greater moisture retention but also the development of fog and water droplets on the underside of the plastic wrap.
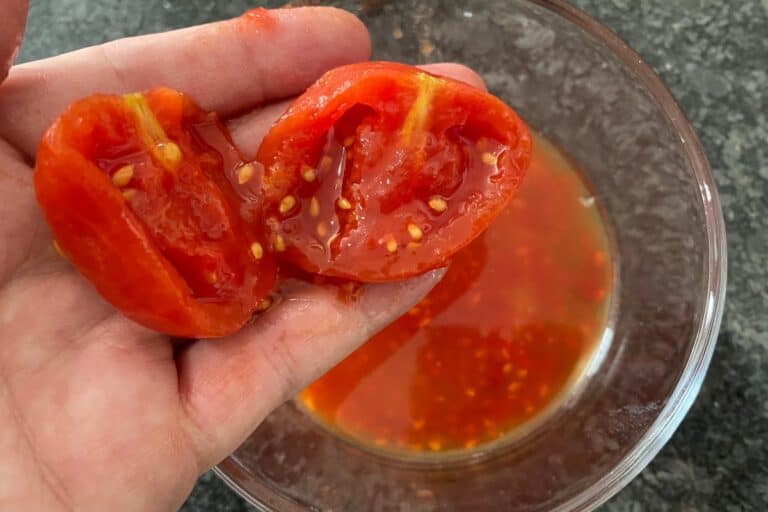
For the first few days after you’ve planted your seeds, this isn’t a big deal at all. Your seeds will begin producing radicles, which is the first root to emerge from the seed. The cotyledons will soon follow, which are the plant’s first little leaves, the ones that initially appear then die off once the true leaves begin emerging from the plant.
Whether you’re growing plants from heirloom seeds or experimenting with harvesting and growing hybrid seeds from hybrid plants, all seeds will produce radicles and cotyledons, so you’ll need to keep a close watch on your seed trays since some seedlings will pierce the surface much sooner than other seeds.
If you’d like to see what radicles look like, you can germinate seeds in water or in paper towels to watch the process firsthand.
3. Temporary Solution
Plastic wrap can be helpful when you’ve just planted your seeds, but it’s a temporary solution only.
As your seeds begin growing, they’ll send their radicles into the soil and their cotyledons towards the light. Once the cotyledons pierce the surface of the soil, they’re going to grow upward quickly, reaching for as much light as possible as they funnel that energy to the growing plant.
You’ve got to remove the plastic wrap at this point and either replace it with a humidity dome or simply get rid of it entirely.
If you leave the plastic wrap in place, the cotyledons will grow out of the soil, come into contact with the plastic wrap, and squish themselves up as the plant attempts to continue growing without having the room to do so. This can damage or kill the developing plant, especially if the plastic wrap isn’t removed quickly enough.
Humidity domes have the same issue, but unlike plastic wrap, humidity domes sit a few inches above the soil, so the plant has much more time to develop before it’ll come into contact with the dome.
Long story short, you’ll want to remove plastic wrapping (or humidity domes) before your seedlings get tall enough to touch them. That way, you’ll avoid these problems entirely.
Covering Seeds Directly Sown in Your Garden
Now that I’ve gone over the why’s and how’s of covering seed trays, I’d like to share some thoughts on what you might want to consider if you’re directly sowing seeds in the garden.
There are many plants that do best when you sow them directly in your garden, not in seed trays. I find the best performers are root vegetables, but some leafy greens and herbs do just fine as well.
You’ll always want to direct sow these root veggies:
- Beets
- Carrots
- Garlic
- Parsnips
- Potatoes
- Radishes
- Rutabagas
- Turnips
These leafy greens and herbs usually do well when directly sown in your garden, provide you keep the soil consistently moist and watch out for bugs that’ll attack your developing plants:
- Arugula
- Basil
- Cilantro
- Dill
- Lettuce
- Mustard
When sowing seeds in your garden, moisture levels are key. If your soil dries out, your seeds will too, including any newly-developing plant.
1. Covering Seeds with Wood Chips or Mulch
I recommend putting down a thin 1/2 inch layer of wood chips or mulch over an area where you’ve recently seeded, enough to keep the soil moist but not so much that you choke out the plant’s ability to grow. This kind of covering will help with soil moisture levels, and once your seeds start to grow, they’ll grow right up through the thin covering as they reach toward sunlight.
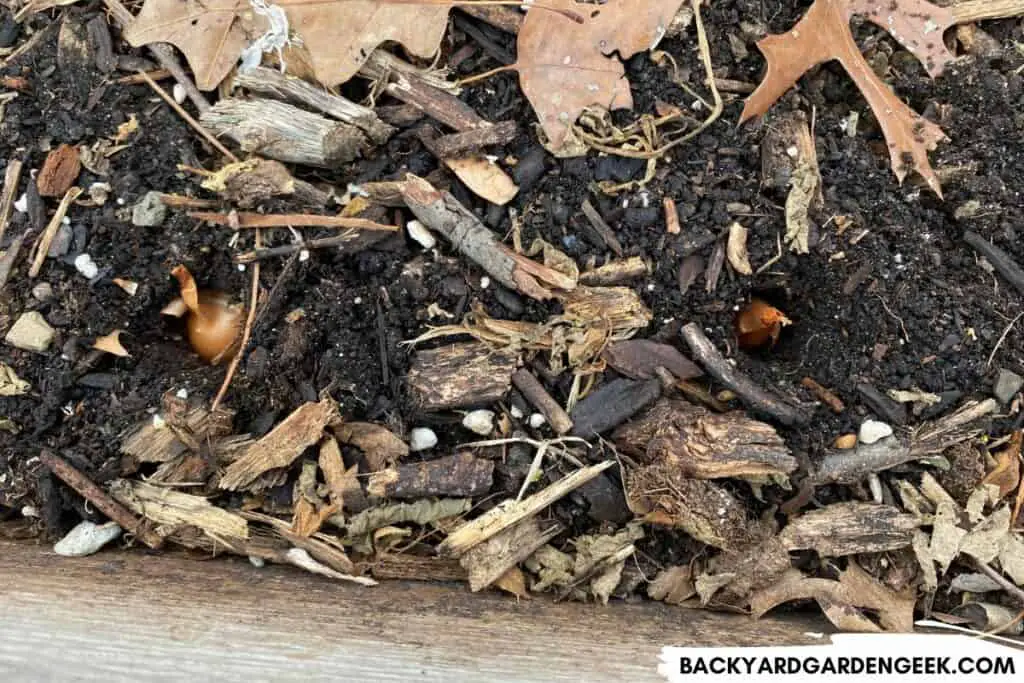
Just don’t put down too thick a layer. If you do, your seedlings might not grow at all, or they may get too leggy as they struggle to get to light.
2. Cover Seeds with Straw
If you’re worried about covering seeds in wood chips or mulch, straw is a great option since it’s relatively lightweight and thin. It breaks down easily, and it’ll help keep your soil more evenly moist.
At your local store, you might see a product that’s straw plus added “tackifiers.” Don’t be concerned. Tackifiers are perfectly fine for your garden. They’re an organic bonding agent that helps hold the straw together so that it doesn’t blow away in the wind.
Like straw, tackifiers will decompose into good organic matter, but in the meantime, straw held together with tackifiers will provide a great layer of protection for your newly-planted seeds.
3. Cover Seeds with Grass or Leaves
I’m a big fan of reusing my yard’s natural materials in my garden, which is why I don’t dump grass clippings or leaves in my trash bin if I can avoid doing so.
Grass clippings are great for both your yard and garden, assuming you’ve got a good mower with a sharp blade that’ll chop everything up well. Once you’ve mowed your lawn, you can add the grass clippings to your compost pile or spread a thin layer over your newly planted seeds, which will help with moisture retention.
Two quick words of warning:
- Do not use grass clippings if your grass has grown tall and possibly gone to seed. If you do that, you might unwittingly spread grass seeds around your garden.
- Do not do this with Bermuda grass or any other rhizomatous grasses. Their stems can grow new grass, so if you add rhizomatous grasses to your garden, you’ll potentially cause problems for yourself down the road.
Much like grass clippings, leaves are great for mulching your garden beds or the beds around your home. If you chop them up with the mower first, they’ll decompose quickly.
In general, I prefer to put wood chips, straw, or glass clippings in my garden beds since leaves can provide hiding places for bugs to thrive (depending on how long they’ve been on the ground undisturbed). But if the leaves have fallen in the past week or so, I’ll chop them up and bag them with my mower, then add the leaf shavings to my garden as a light top layer.
How Long Should I Keep My Seeds and Seedlings Covered?
As I noted above, if you’re growing your seeds and seedlings in seed trays, you’ll want to keep them covered as long as possible, but you’ll need to remove the humidity dome before the developing plant grows tall enough to make contact with the plastic.
Coming into contact with the humidity dome won’t kill your seedlings immediately, but if they continue growing, they’ll squish themselves up against the dome. This can result in damage to the plant or even death since it’s unable to continue proper growth.
Additional Information
If you’ve enjoyed reading about the best ways to cover your seeds, you might be interested in these seed-related articles as well, especially if you love tomato plants as much as I do: